Custom Cursors are a great way to add a level of professionalism and polish to any project. A Cursor created specifically for a project can be used for player feedback and fits into the project universe better than the normal Mouse icon in most situations. There are several methods that can be used to add this functionality, all of which come with their own strengths and weaknesses.
NOTE: Recommended Reading This section covers topics that may not have been encountered yet. To learn or review those topics, please see: Mouse Input and {icon university}[[zilch_engine_documentation/zilch_editor_documentation/ZilchManual/Graphics/CamerasViewportsRenderers/|Cameras, Viewports and Renderers]]
Using a Custom Cursor
Hiding the Mouse
| Pros | Cons |
|---|---|
| Quick to implement | Mouse Icon can leave window bounds |
| Retains all mouse functionality | Will become visible if it does |
The first option involves making the Mouse Cursor invisible while not affecting any of its functionality. This has two easy-to-see benefits: it's quick to implement and all functionality is retained.
class HiddenMouseExample : NadaComponent
{
     [Dependency]
     var Transform : Transform;
     function Initialize(init : CogInitializer)
    {
        // Set the Mouse to invisible
        Zilch.Mouse.Cursor = Cursor.Invisible;
         // Connect to MouseMove Event
        Zilch.Connect(this.Space, Events.MouseMove, this.OnMouseMove);
    }
// Code continued below
This would be the start of a component attached to the object that will act as the Custom Cursor. After making sure the object has a transform Component using the Dependency - Component using the Dependency attributes, it then sets the Mouse Cursor to be invisible. The final part of the code-block connects to the MouseMove event, which is fleshed out in the following code-block:
    // continued from above
        function OnMouseMove(event : ViewportMouseEvent)
        {
            // Get mouse WorldPosition on the Z-Plane at depth 0
            var mousePosition = event.ToWorldZPlane(0);
            // Set the MouseCursor Objects position to the Mouse position
            this.Transform.Translation = mousePosition;
        }
    }
The OnMouseMove function will fire every time the Mouse is moved, keeping the custom cursor in the same location as the invisible Mouse. It could also connect to other Mouse Events, such as MouseDown or MouseUp, in order to interact with these events visually (e.g., by changing the SpriteSource of the object). All other working functionality can then be given to the Mouse itself, so that it can react with objects that have the Reactive Component attached the them.
A large drawback to using this method is the fact that it allows the Mouse icon to leave the boundaries of the Game window, which will make the Mouse visible and not hide it again even if the Game is brought back into focus. Below is an example of how a Sprite with this script attached would act:

It would also be possible to set the Mouse invisible from the LogicUpdate event, keeping the cursor invisible in within the editor even when leaving the game window.
Locking the Mouse
| Pros | Cons |
|---|---|
| Mouse stays within widow bounds | Loses most mouse functionality |
| Allows use of multiple Spaces | More complex the hiding the mouse |
A second option, rather than hiding the Mouse, is to lock it to the center of the screen. It helps to solve the issue of the the Mouse staying within the the Game boundaries but also comes with its own set of problems.
class LockedMouseExample : NadaComponent
{
    // An Archetype of the Custom Cursor Object
    [Property] var CursorArchetype : Archetype;

    // An Archetype of the Space to be built
    [Property] var CursorSpaceArchetype : Archetype;

    // An Archetype of the GameCamera to use in the Cursor Level
    [Property] var CameraArchetype : Archetype;

    // Reference to the CameraViewport of the created Cursor Space
    var CurViewport : CameraViewport = null;

    // An empty Level used to create the Custom Cursor in
    [Property] var CursorLevel : Level;

    // Reference to the Custom Cursor Object once it's created
    var CursorObj : Cog = null;

    // The Space the Custom Cursor will inhabit
    var CursorSpace : Space = null;

    // Reference to the Translation of the Custom Cursor
    var CursorTranslation : Real3
    {
        get { return this.CursorObj.Transform.Translation; }
    }

    // Calls a function to give the Cursor Position in Screen Space
    var CursorScreenSpacePosition : Real2
    {
        get { return this.CurViewport.WorldToScreen(this.CursorTranslation); }
    }

    // Calls a function to give the Cursor Position in the Viewport
    var CursorViewportPosition : Real2
    {
        get { return this.CurViewport.ScreenToViewport(this.CursorScreenSpacePosition); }
    }
// Code continued below
Just from the initial setup it becomes obvious that this method is much more complex than simply making the Mouse invisible and having an Object follow it, but it also offers benefits.
NOTE: Get-Sets In order to reduce the amount of repetitive typing, a number of getters have been used to hold references to other functions. For further explanation of get-sets, see Get-Sets.
When this component is attached to the current level's LevelSettings object, it will create an Object in a new Space that is built on top of the GameSpace. This object allows it to function properly in a 3D game. As the getters have defined most of the variables, much of the script is ready to be used.
...
    function Initialize(init : CogInitializer)
    {
        // Traps the Mouse, locking it and making it invisible
        Zilch.Mouse.Trapped = true;

        // Creates a new Space for the Cursor to inhabit
        this.CursorSpace = this.GameSession.CreateNamedSpace("CursorSpace", this.CursorSpaceArchetype);
        // Loads the CursorLevel inside the newly made space
        this.CursorSpace.LoadLevel(this.CursorLevel);
        // Create the GameCamera
        var cam = this.CursorSpace.Create(this.CameraArchetype);
        // Set the viewport based on the GameCamera
        this.CurViewport = cam.CameraViewport;
        // Creates the Custom Cursor at (0,0,0) in the new Level
        this.CursorObj = this.CursorSpace.CreateAtPosition(this.CursorArchetype, Real3());
        // Connects to the MouseMove Event In the Cursor Space, NOT the Game Space
        Zilch.Connect(this.CursorSpace, Events.MouseMove, this.OnMouseMove);
    }
...
The Initialize function creates the required Space, Level and Object for the Custom Cursor. It's important to make sure that the objects are being made in the CursorSpace, not the main GameSpace.
...
    function OnMouseMove(event : ViewportMouseEvent)
    {
        // Get a new position by adding the distance of the MoveEvent to the Cursors current position
        var newPos = this.CursorViewportPosition + event.Movement;
         // Create a new position within the Viewport for the Cursor while also Clamping the range
        var newCurViewportPos = Math.Clamp(newPos, Real2(), this.CurViewport.ViewportResolution);
         // Adjust the Viewport position to the proper Screen position
        var newCurScreenPos = this.CurViewport.ViewportToScreen(newCurViewportPos);
         // Set the Cursor Objects position to the newly determined position in World Space
        this.CursorObj.Transform.Translation =
        this.CurViewport.ScreenToWorldZPlane(newCurScreenPos, 0.0);
    }
}
Similar to hiding the mouse, the code-block above uses MouseMove Events to control the movement of the Custom Cursor object. This time, however, a few more steps are needed:
The intended new cursor position is found by adding the current viewport position of the Cursor and the Mouse Movement vector given in the MouseMove Event.
The new cursor viewport position must be clamped within the boundaries of the viewport.
The viewport position must be converted to screen position as there is no way to directly convert from viewport space coordinates directly to worldspace.
The cursor screenspace position must be converted to worldspace so the custom cursor can be moved.
The biggest problem with using this method is the fact that most Mouse functionality is lost, as it becomes locked to the center of the screen. All Cursor functionality will have to be determined using either collision events or Cursor position, which can become taxing on the system as it has to either check the position every frame or resolve various collisions.
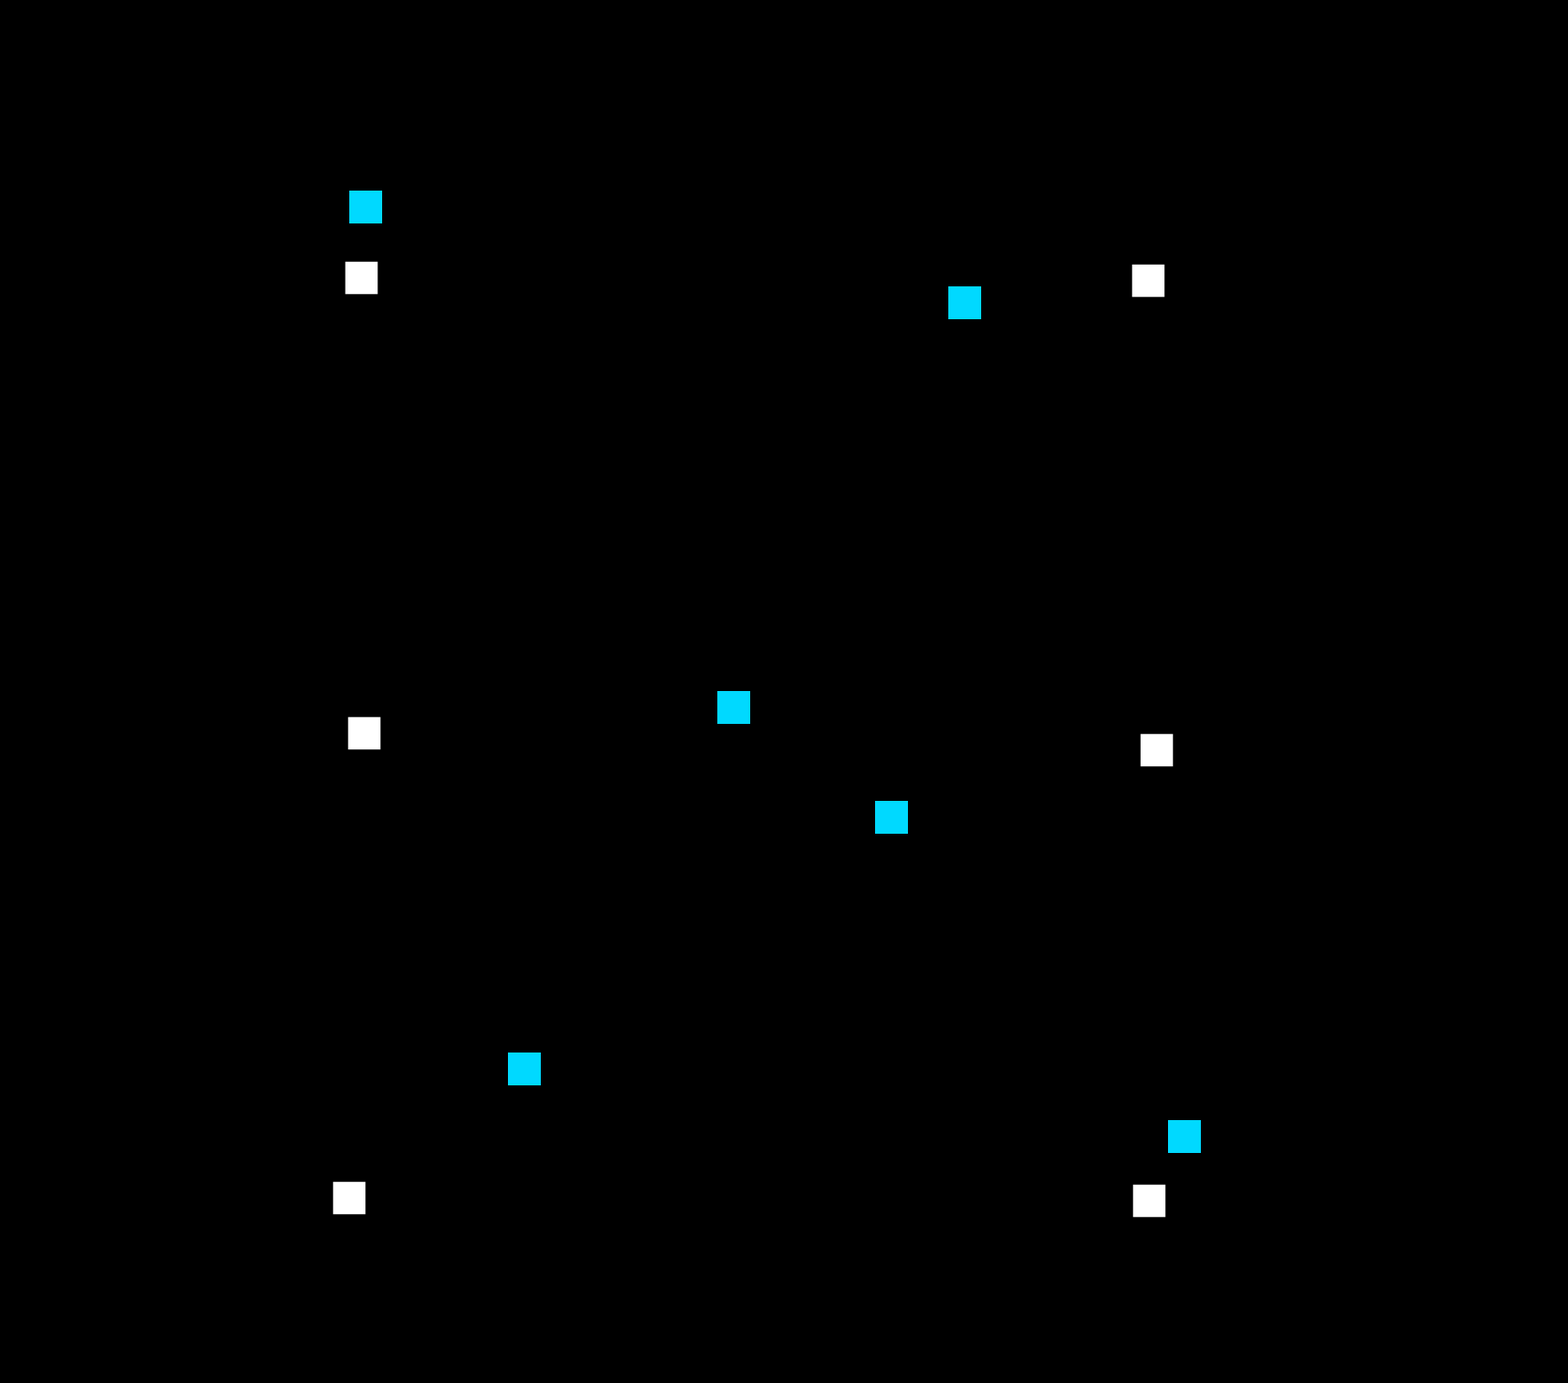
Below is an example of this script attached to the LevelSettings object of an empty level, with the blue sprite given as the CursorArchetype and the white sprite following the same script as the hidden cursor example, to show how the mouse is attempting to move from the world origin.

Related Materials
Manual
- Mouse Input
- Getters and Setters
- {icon university}[[zilch_engine_documentation/zilch_editor_documentation/ZilchManual/Graphics/CamerasViewportsRenderers/|Cameras, Viewports and Renderers]]