The MultiConvexMesh Editor is a tool that allows the user to create a MultiConvexMesh Resource to use as the Mesh in a MultiConvexMeshCollilder. The Editor provides a number of different methods for creating the Mesh allowing the user a great of customizability.
Using the MultiConvexMesh Editor
The following section will be split up into two main sections: the In-Editor properties and methods of the MultiConvexMesh Editor and creating a MultiConvexMesh using the Editor.
In-Editor Properties and Methods
Properties and Methods to the Left of the Editor View
MeshThickness - Determines the length the Mesh is extended in the z-axis.
SpriteSource drop-down menu - Sets the base SpriteSource that the Mesh is being created for. It is used for reference and Auto-Computing.
ClearColor - The color of the Editor window's background.
OuterContourColor - The color of the outer edges (the contour line) of the current shape of the MultiConvexMesh being created.
DrawMode enum - Sets the DrawMode for the MultiConvexMesh currently being created. Options include:
None- Removes all internal coloringEdges- Only shows the internal edges of the polygons of the MultiConvexMeshFilled- Shows the combined area of the polygons of the MultiConvexMesh
AutoComputeMode enum - Sets the mode for auto-computing the MultiConvexMesh. Options include:
Alpha- Uses alpha values of the SpriteSource to compute where the vertices for the MultiConvexMesh should be.Intensity- Uses the color intensity values (derived from a comparison of RGB values) of the SpriteSource to compute where the vertices for the MultiConvexMesh should be.
SurfaceLevelThreshold - Sets the value that defines how much the Alpha/Intensity affects the Auto-Compute process. Value ranges from
0.0-1.0.AutoComputeMethod enum - Sets the method for auto-computing the MultiConvexMesh. Options include:
Pixels- Uses pixel position to the perform the auto-computing process.MarchingSquares- Uses the Marching Squares algorithm to perform the auto-computing process.
SimplificationThreshold - Determines how close any vertex can be from another
AutoCompute()- Computes the calculations to generate a MultiConvexMesh based on the parameters defined above.
Properties and Methods Above the Editor View
X - Sets the X position of the currently selected vertex.
Y - Sets the Y position of the currently selected vertex.

This property toggles the grid and determines the size of each grid square
SetGridSizeToPixels()This method sets the grid size to be the same as the pixels of the current SpriteSource
SnappingThis property defines whether or not a selected vertex will snap to the closest grid vertex. Options include:
None - The selected vertex will not snap to a grid vertex
IfClose - The selected vertex will only snap to a grid vertex if it is close enough to that the grid vertex
Always - The selected vertex will always snap to the closest grid vertex
Using the MultiConvexMesh Editor
Adding a MultiConvexMesh Resource
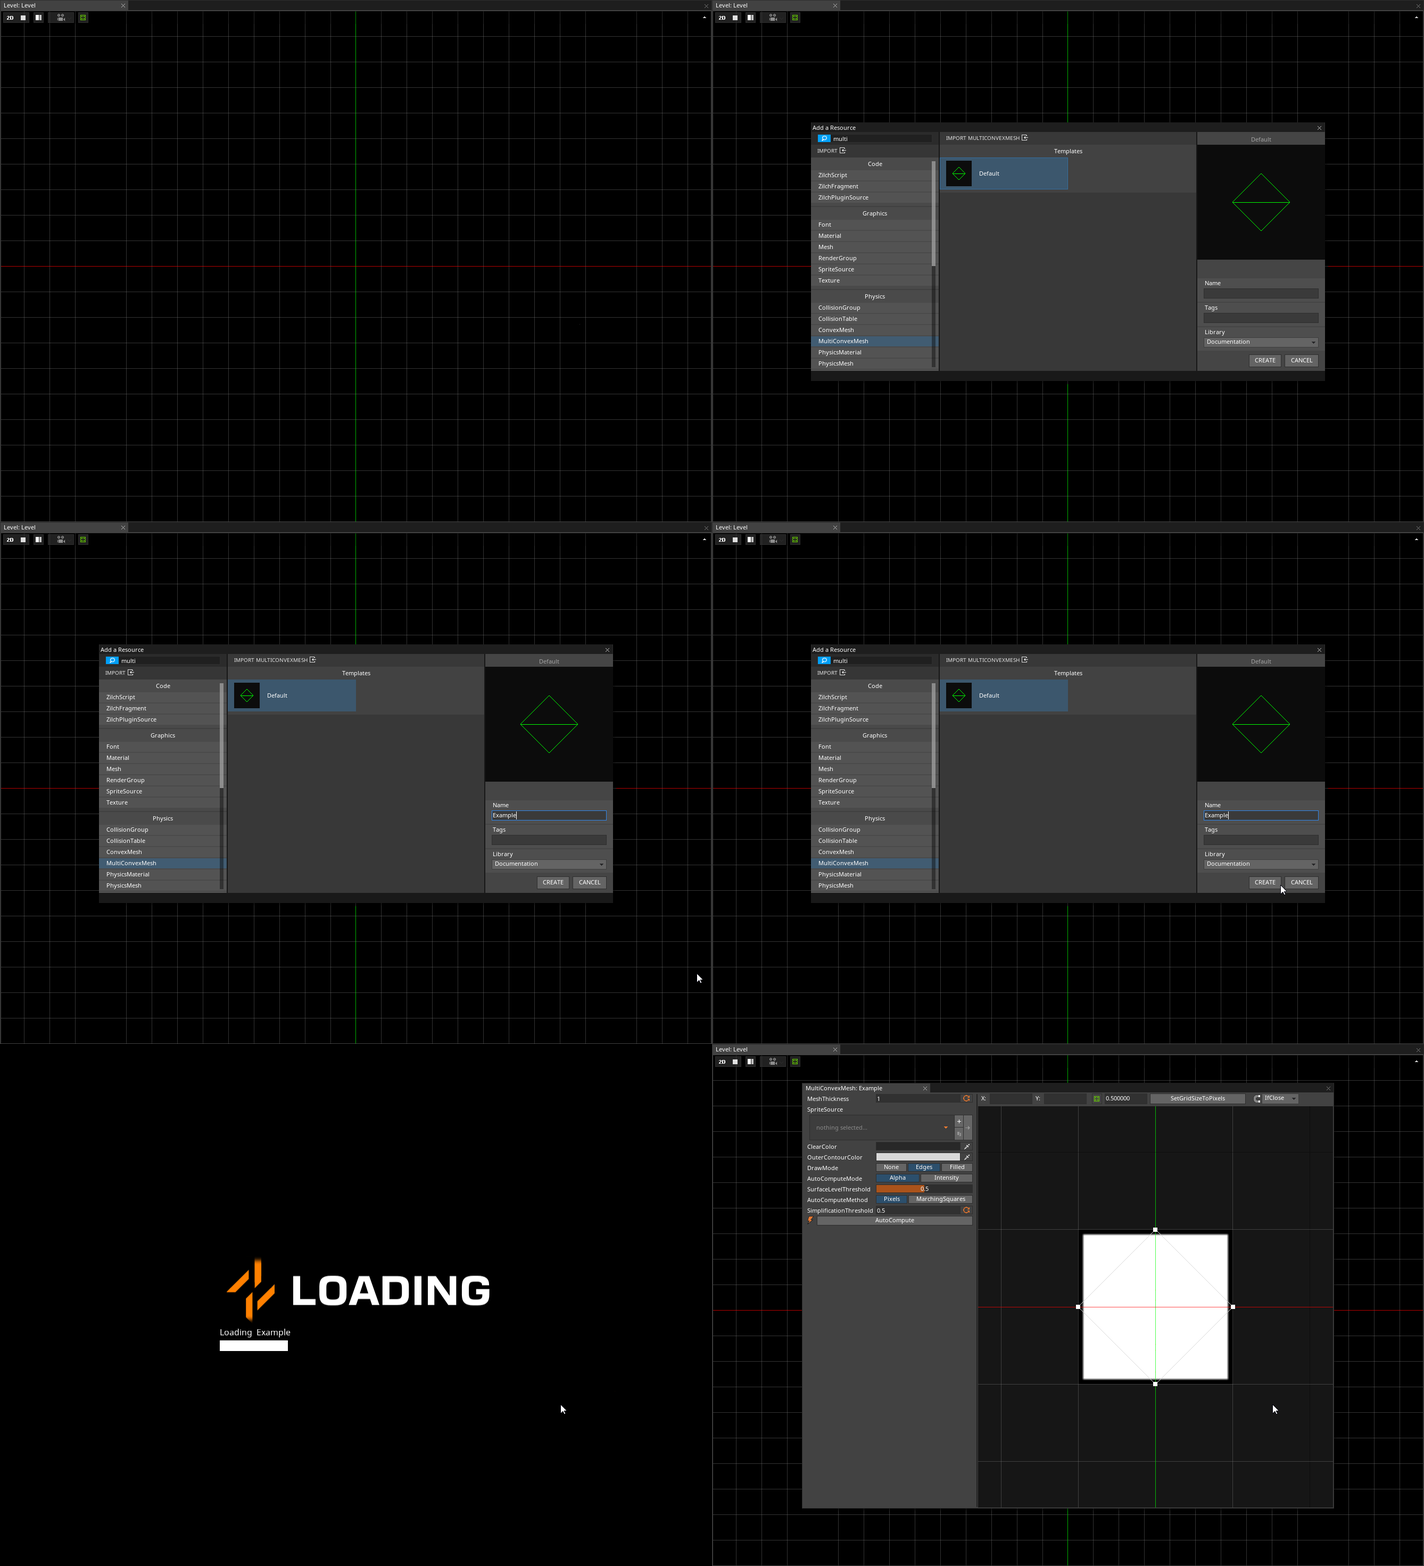
To add a new MultiConvexMesh Resource, use the Add Resource window.
When the Resource is created, the MultiConvexMesh Editor window will automatically open, like so:
Editing the MultiConvexMesh Resource
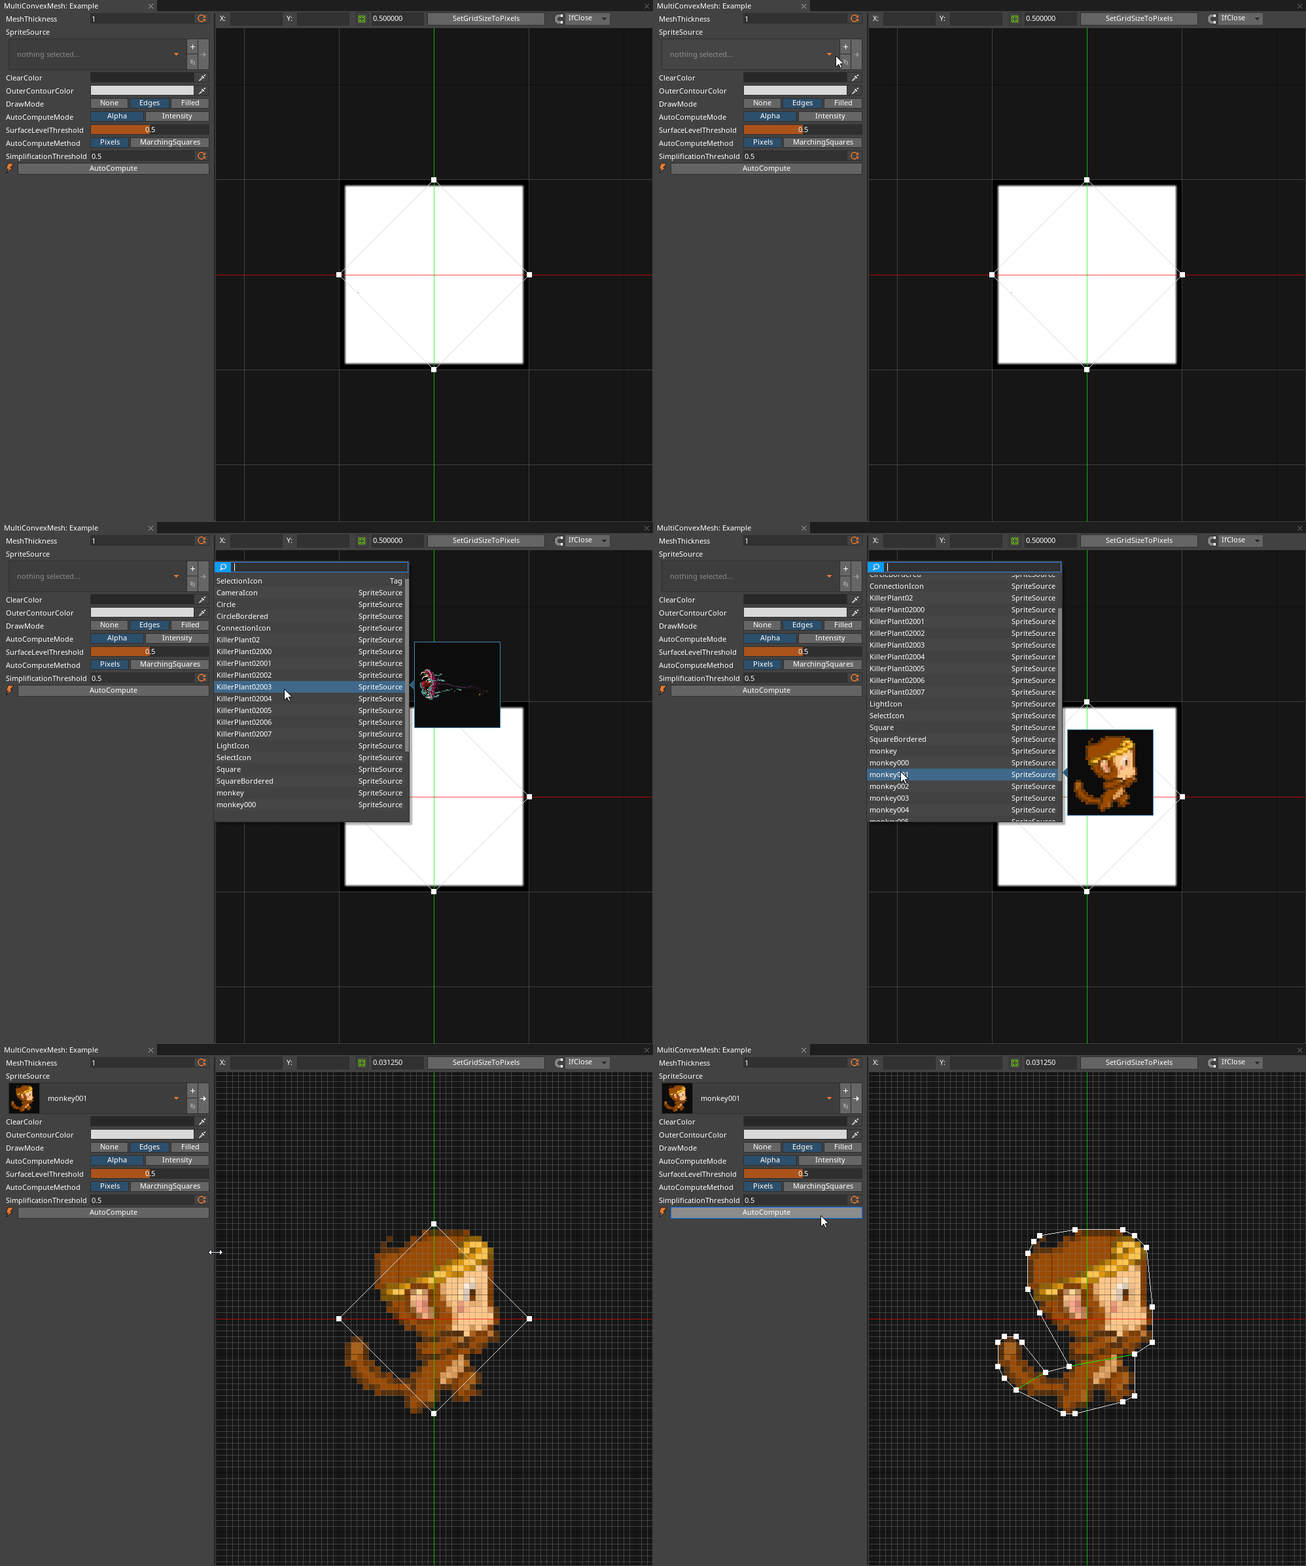
The first thing one needs when making a new MultiConvexMesh is select a SpriteSource to use as the base onto which the Mesh is created. Once a SpriteSource is selected the grid size will often need to be adjusted and AutoCompute can be run.
As can be seen, the entire sprite is covered, but there is extra space covered by the mesh. Because this sprite has no transparent parts all pixels are above the alpha threshhold of 0.5. If the AutoComputeMode enum option is set to Intensity instead the SurfaceLevelThreshold option now has an affect on the AutoCompute process.
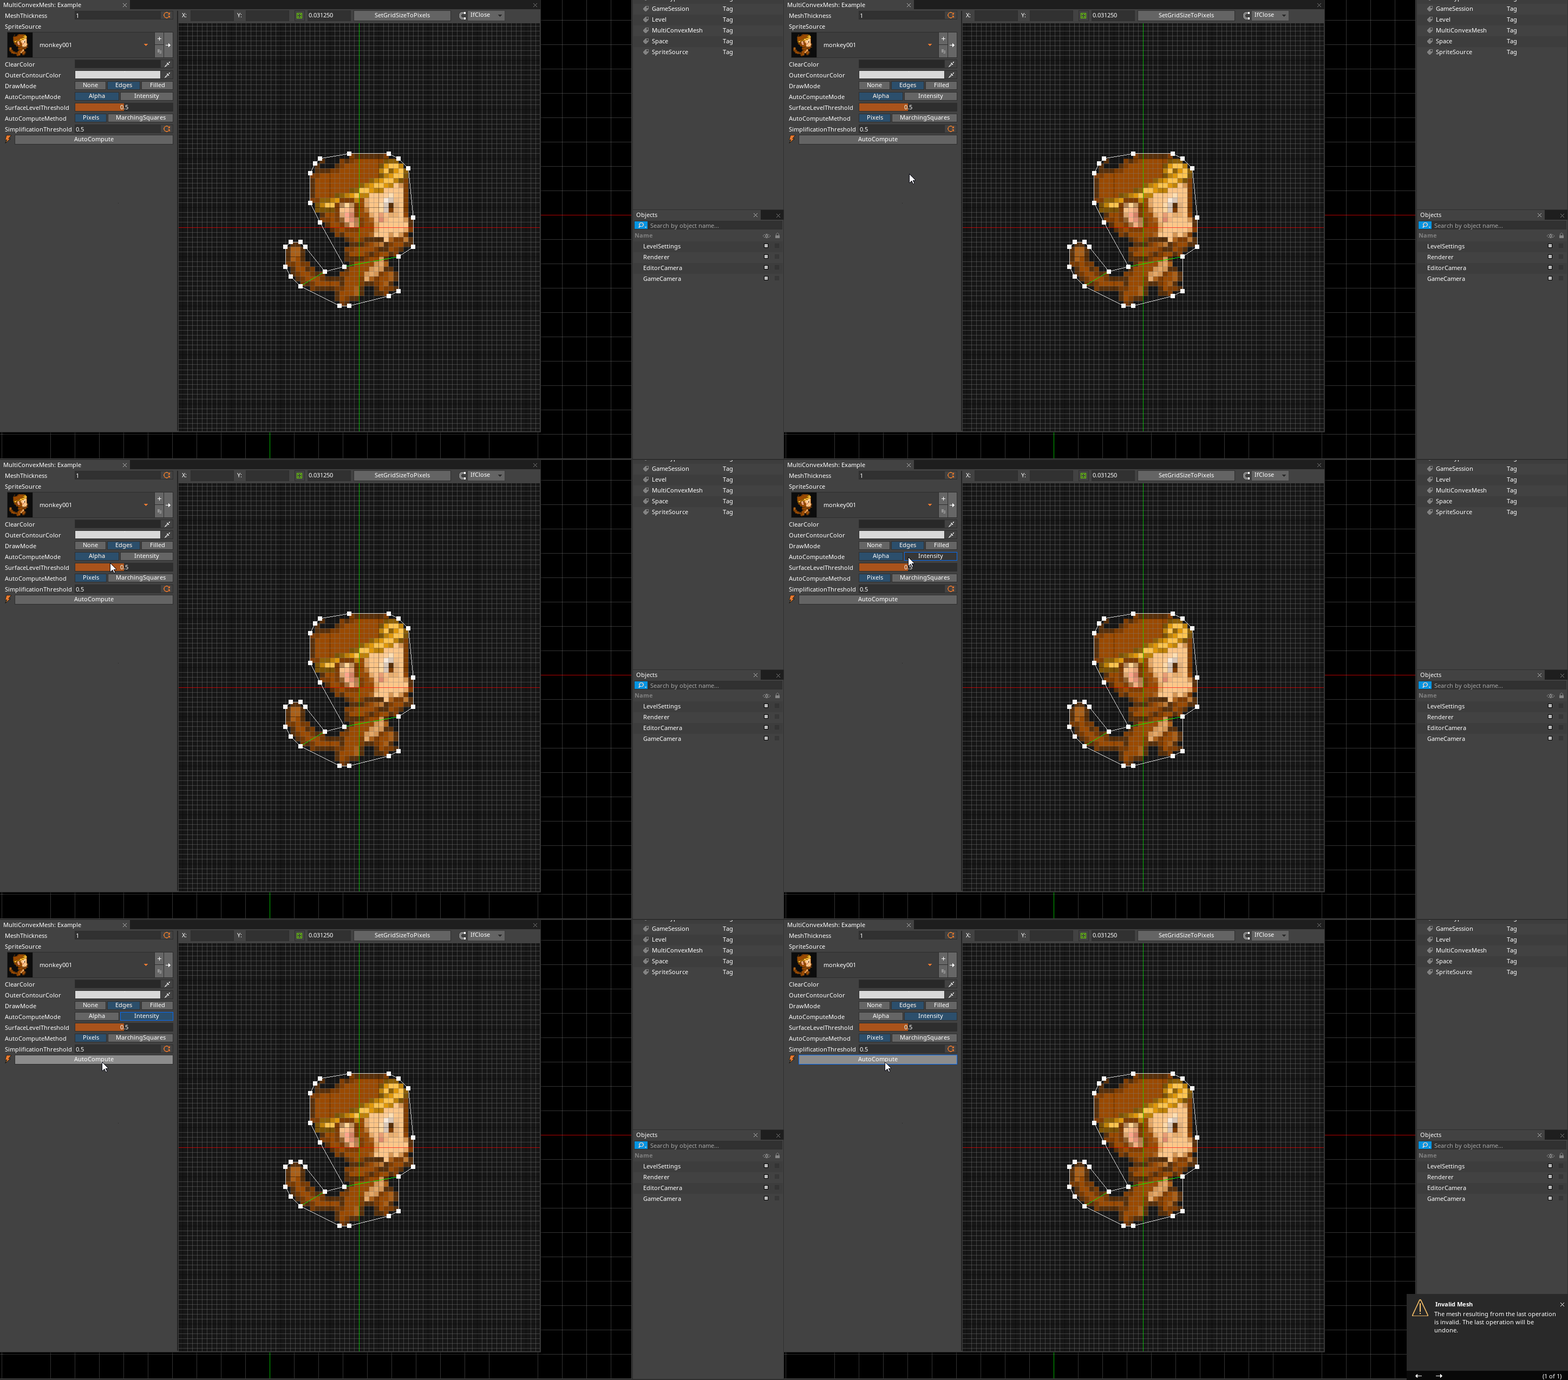
Notice the warning popping up in the bottom right which says Invalid Mesh. This is means that no convex mesh could be constructed at the current SurfaceThreshold .
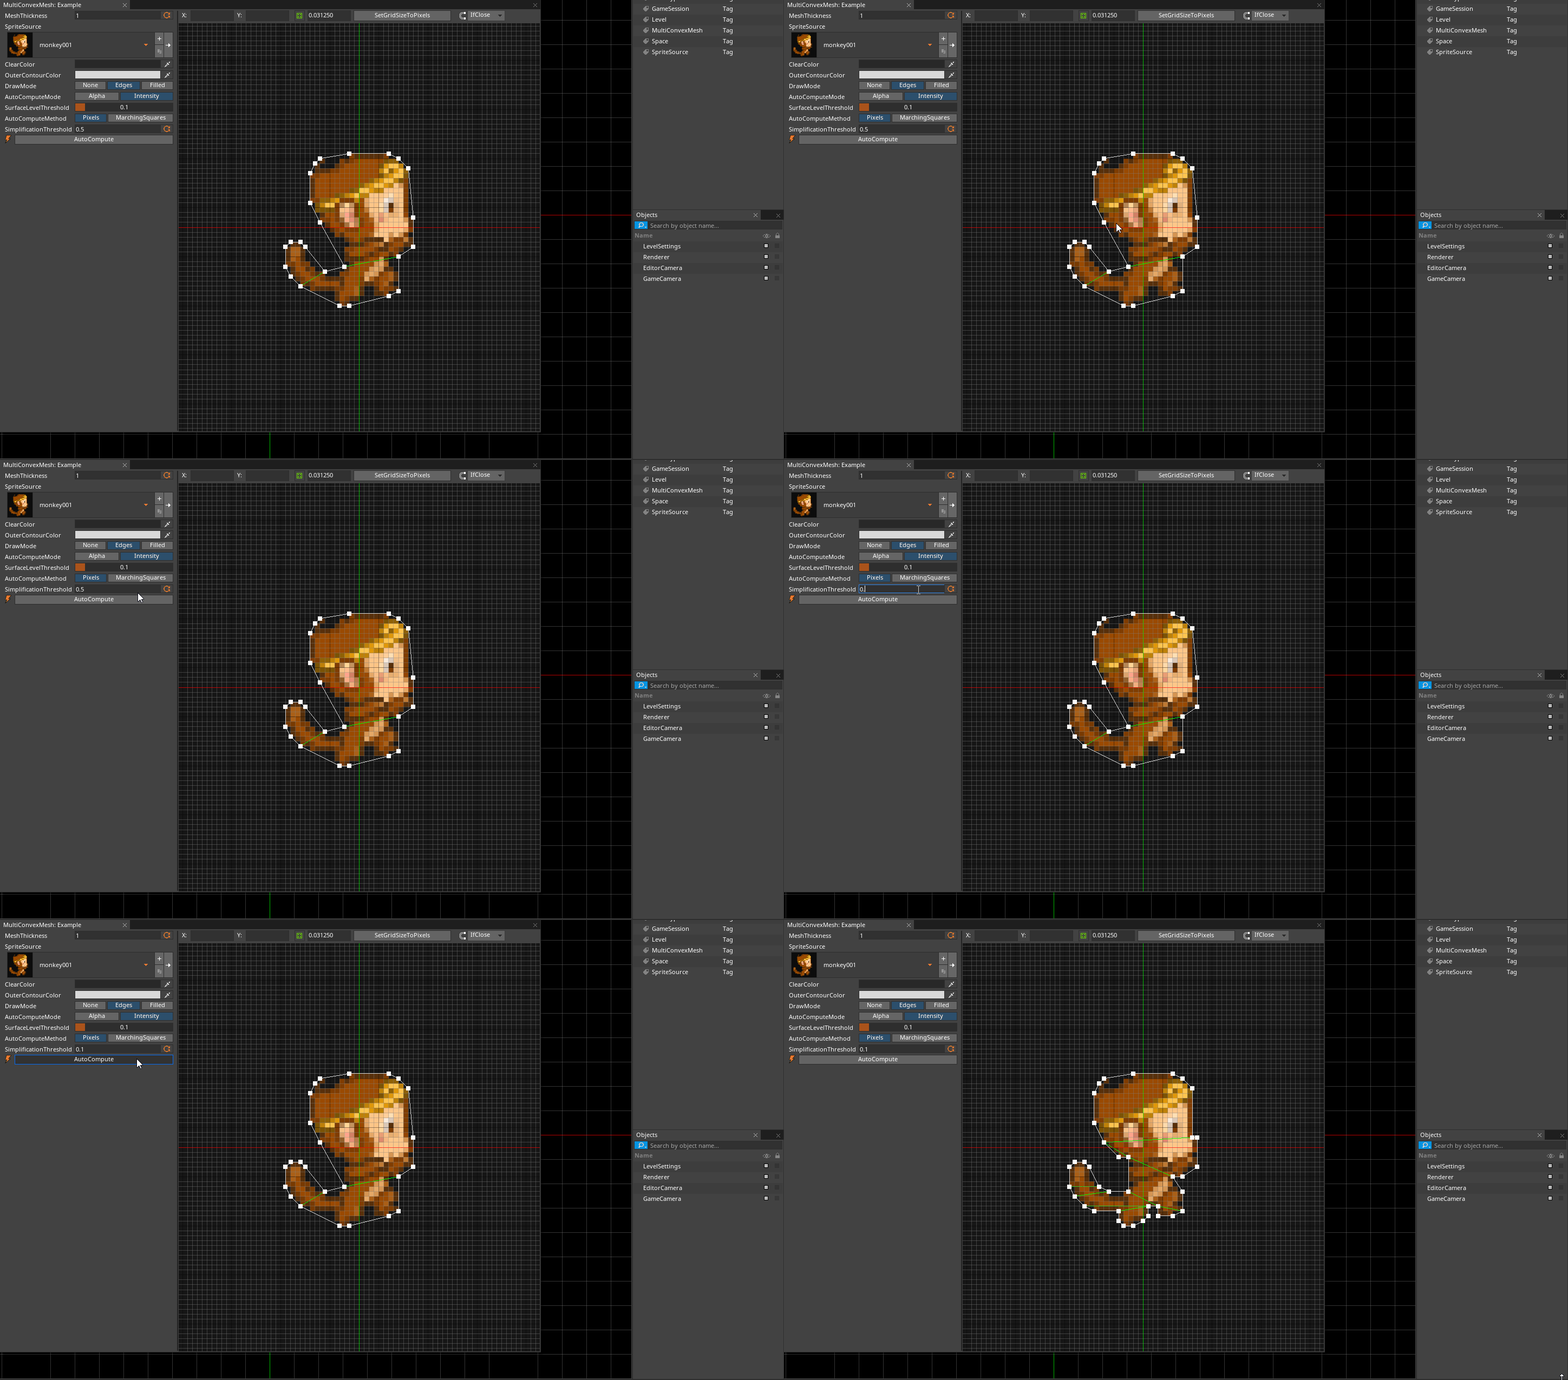
As the value of SurfaceThreshold is lowered, and Intensity is selected as the AutoComputeMode enum, other parts of the SpriteSource that have a lower average color value will be included, as seen above. However, notice the new mesh generated fits better then before. If we need it to fit even closer name=Simplification Threshold, icon=pencil-square-o can be lowered to generate a higher definition mesh.
