In Zilch, albedo refers to the color of a Material as defined by the reflected light an object should realistically reflect. In the case of non-metals, or dielectrics, the vast majority reflect almost all light as diffuse. In the case of metals, or conductors, almost all light is reflected, rendering a reflection of its surroundings if the metal is polished or smooth. The rougher the surface is, however, the more blurred the reflection will become. Metals also tint the light they reflect leading to the different colors of metals such as gold, copper, and silver.
The albedo fragments in Zilch handle both of these cases depending on the values of other fragments, such as metallic, roughness, and specular. Other frameworks and engines may refer to this as the base color or diffuse map. When setting this property by map or by value, there are other considerations to take into account when visualizing how the final material will appear.
For a quick example of this difference, compare the following three screenshots. They all have the same albedo value of R:255 G:226 R:155, which should appear as gold when seen as a metal. The first image shows a sphere with only the AlbedoValue fragment on it. The second also has a SpecularValue fragment set to 1.0. The third has a MetallicValue fragment set to 1.0 instead of specular.
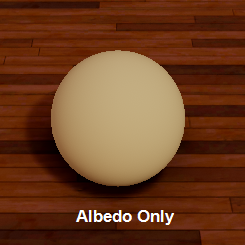
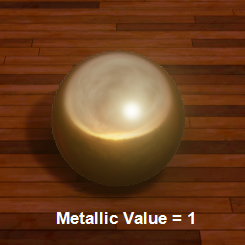
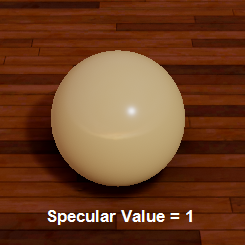
The following page will first cover the differences between the AlbedoValue fragment and AlbedoMap fragment, with demonstrations designed to show different albedo settings in conjunction with other material shader fragments as well as in different environments that have notably different indirect and direct lighting schemes.
Using the Albedo Fragment
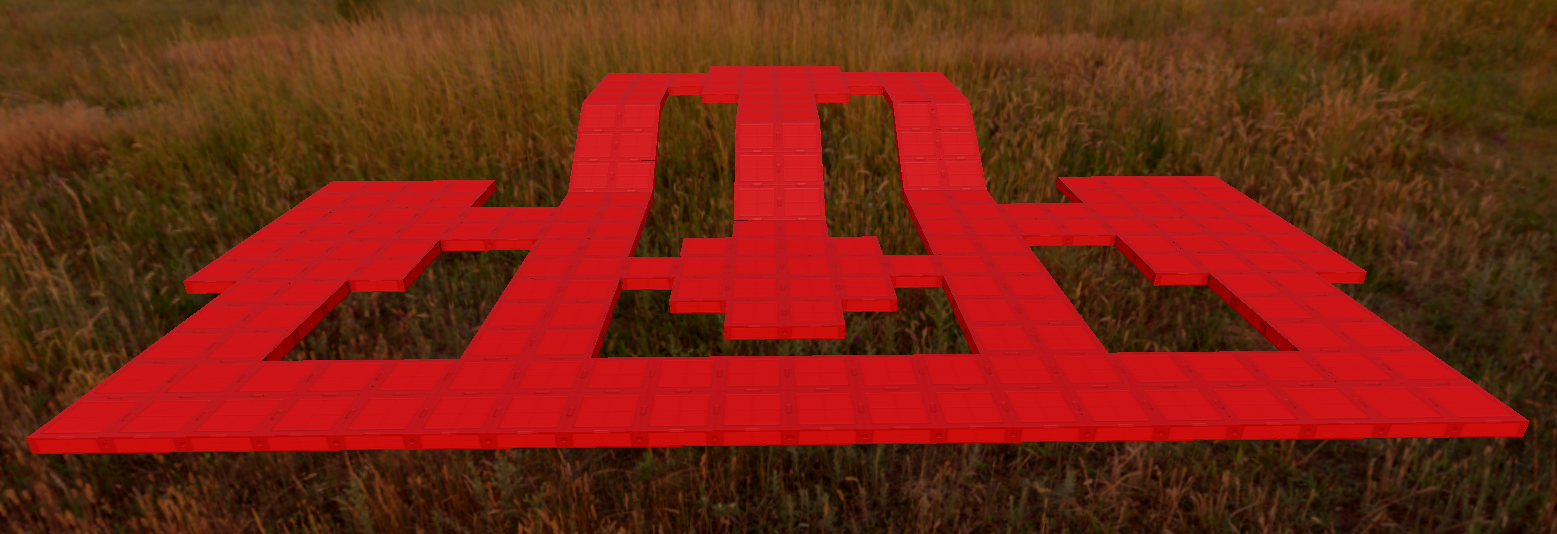
The albedo of a material may be set using either a map or by value. Setting albedo by value will apply a particular color uniformly across the material, while using an artist-produced albedo texture map allows the user to have precise control over the color at every point on the material. If there is no albedo map or value fragment on a material, the material will appear red by default.
AlbedoValue
When an AlbedoValue fragment is added to a material, the user may set a color value to be uniformly applied to the material. To add an AlbedoValue fragment to a material, click on the Add NadaFragment button in the Properties window:
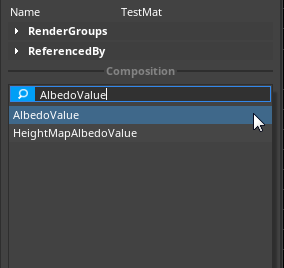
Before getting into how albedo is affected by material fragments, let's look at how a material appears with only an AlbedoValue fragment on it. The following screenshots show a range of albedo values applied to spheres with no other fragments applied to the material:
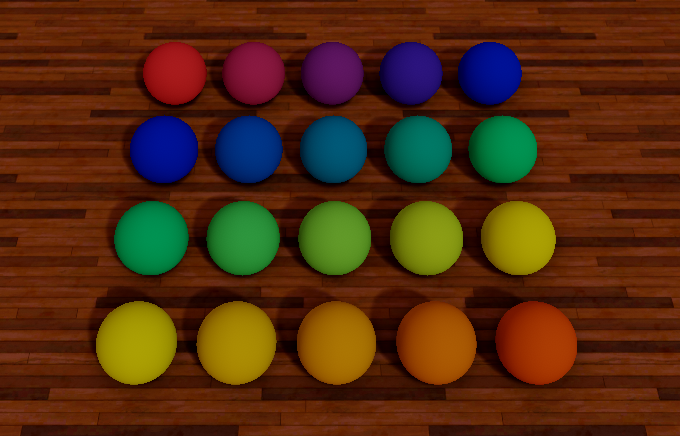
Using the [ShaderInput] attribute to access the AlbedoValue fragment within a NadaScript, one may change the albedo value during runtime. The following gif shows this effect in engine (all other shader inputs are at default values):
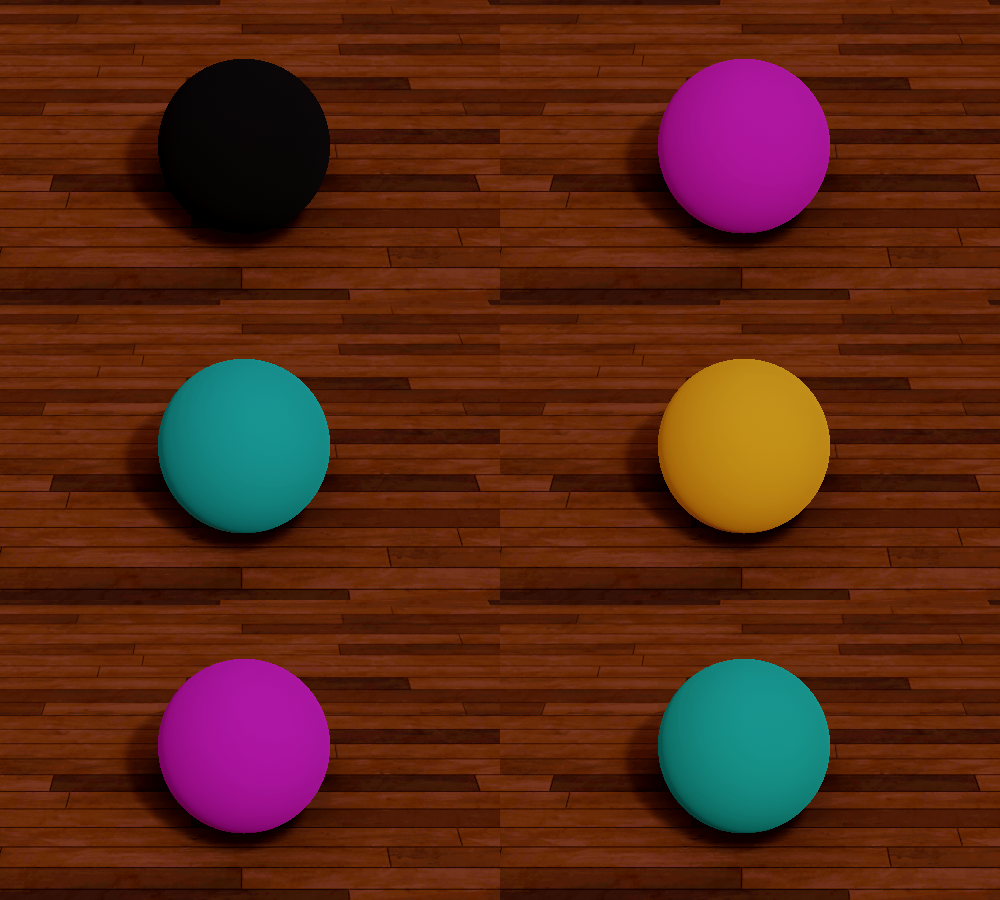
The following script used to achieve the above effect must be placed on an object that is using a material with at least an AlbedoValue NadaFragment.
class ChangeAlbedo : NadaComponent
{
  // The shader input for Albedo value (necessary to change value at run-time)
  [ShaderInput] var AlbedoValue : Real4 = Real4(0,0,0,0);

  // User-defined albedo values
  [Property] var AlbedoValue1 : Real4 = Real4();
  [Property] var AlbedoValue2 : Real4 = Real4();
  [Property] var AlbedoValue3 : Real4 = Real4();
  [Property] var AlbedoValue4 : Real4 = Real4();
  [Property] var AlbedoValue5 : Real4 = Real4();

  // Time and Ease properties for Actions
  [Property] var Time : Real = 1.0;
  [Property] var Ease : Ease = Ease.QuadInOut;

  function Initialize(init : CogInitializer)
  {
    // Call the function that contains the action loop
    this.AlbedoOne();
  }

  function AlbedoOne()
  {
    // Action sequence changing albedo value from one
    // user-defined value to the next
    var seq = Action.Sequence(this.Owner.Actions);
    Action.Property(seq, @this.AlbedoValue, this.AlbedoValue1, this.Time, this.Ease);
    Action.Property(seq, @this.AlbedoValue, this.AlbedoValue2, this.Time, this.Ease);
    Action.Property(seq, @this.AlbedoValue, this.AlbedoValue3, this.Time, this.Ease);
    Action.Property(seq, @this.AlbedoValue, this.AlbedoValue4, this.Time, this.Ease);
    Action.Property(seq, @this.AlbedoValue, this.AlbedoValue5, this.Time, this.Ease);
    // Action call back to this function, creating an infinite loop
    Action.Call(seq, this.AlbedoOne);
  }
}
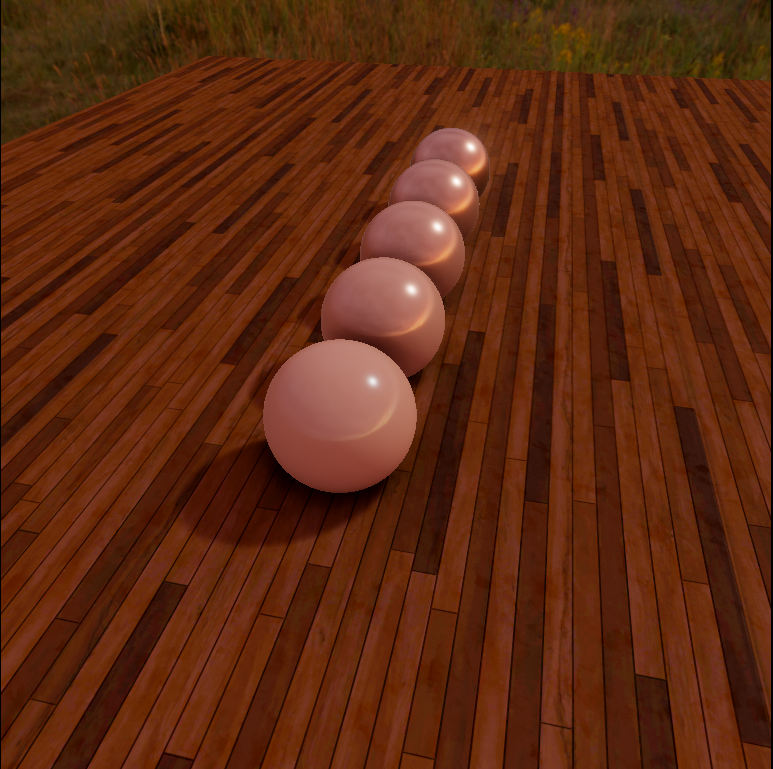
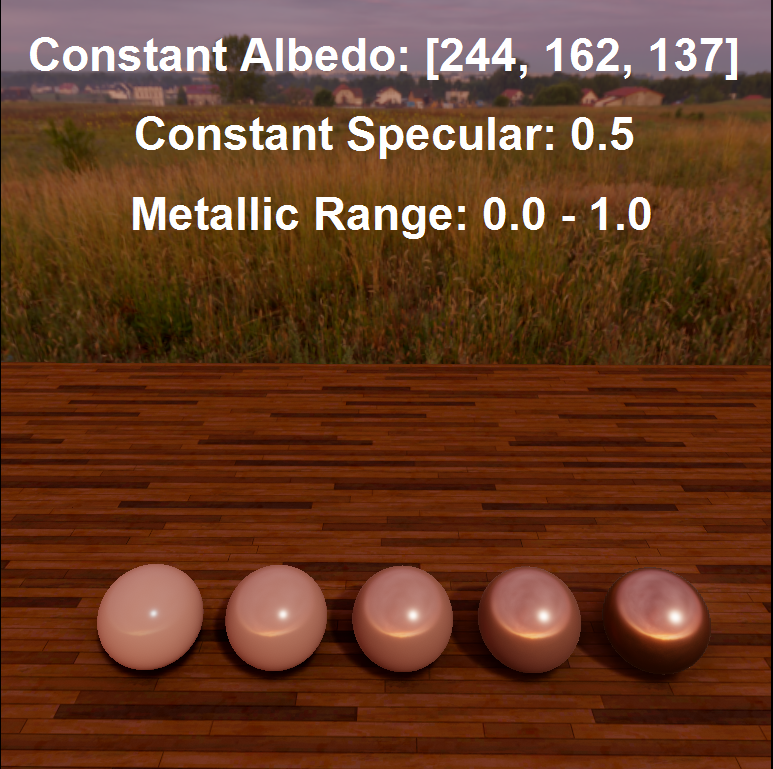
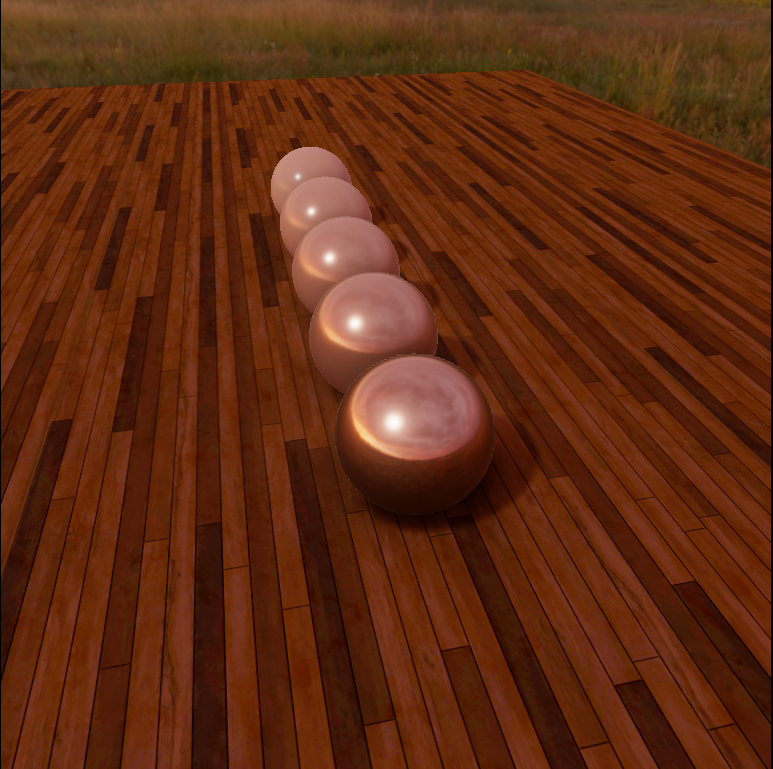
Note that in the previous two examples there were no other fragments on the material other than AlbedoValue, leaving the default values for roughness, specular, and metallic intact. Changing the values of the other default fragments can significantly alter how the albedo appears. To see some of these effects, the next set of screenshots will show one line of spheres that has roughness values increasing from 0 to 1 and another line that has metallic values increasing from 0 to 1. Specular will remain constant at the default value of 0.5. The albedo value will remain constant at R:244 G:162 B:137, or Copper, so as to focus on the change brought by the roughness and metallic fragments:
AlbedoMap
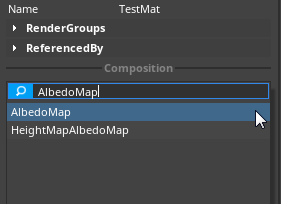
An albedo map is a texture provided by an artist for use on a Model. While most of these textures will be unique to the model for which they were made, others, such as tileable textures, may be applied to the materials on a number of geometric primitives and look completely natural. To apply an AlbedoMap fragment to a material, click on the Add NadaFragment button in the Properties window:
Tileable Texture
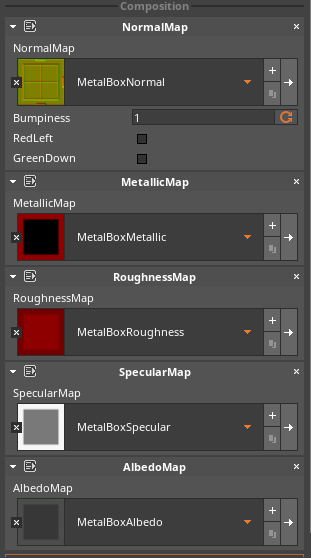
Before moving on to unique, artist-crafted models, let's take a look at how professionally-made tileable textures, complete with Normal, Metallic, Roughness, and Specular maps, appear when applied to some primitive shapes. The following screenshot shows the Properties window window of a material using a tileable, metal box texture:
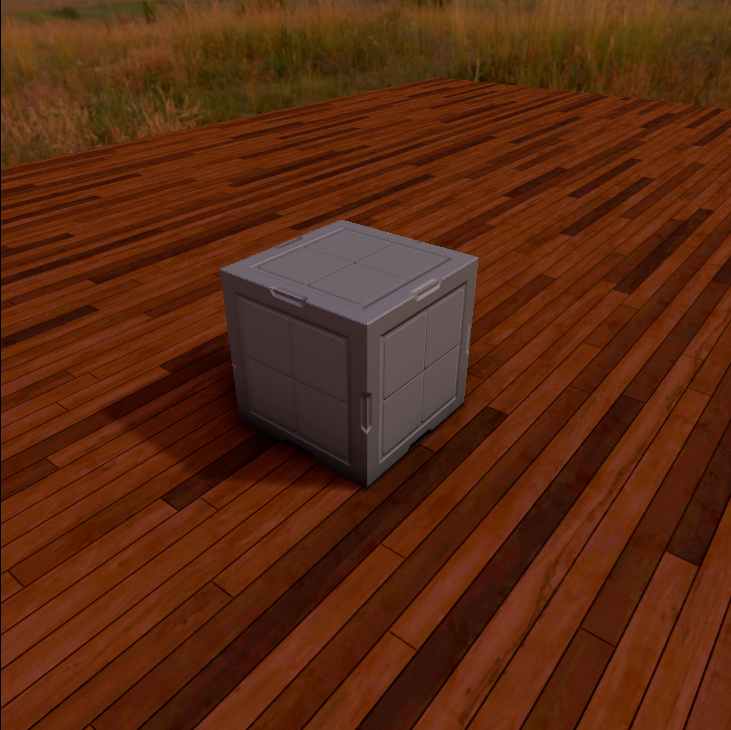
Using all of the maps made available by the artist, a simple cube becomes a PBR-ready object to use in a level environment:
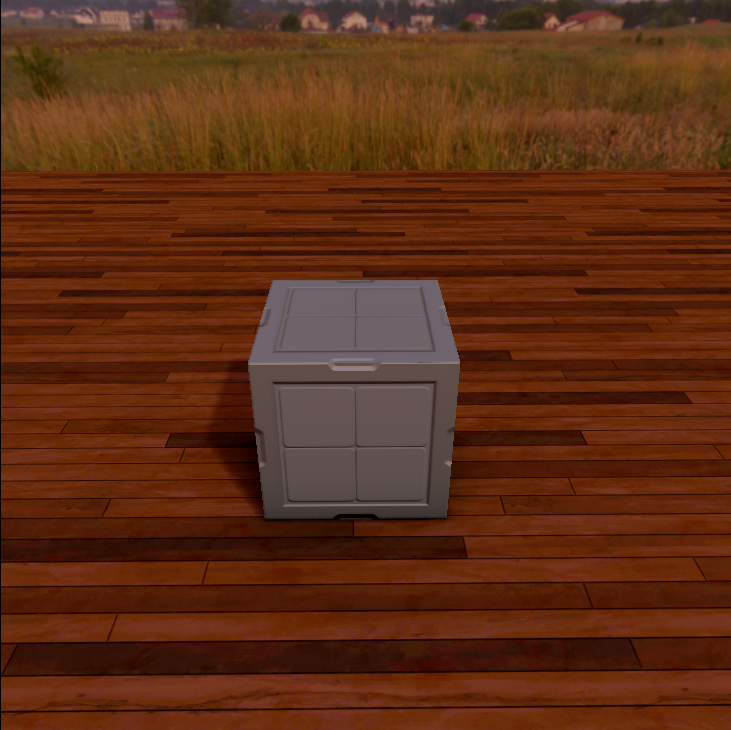
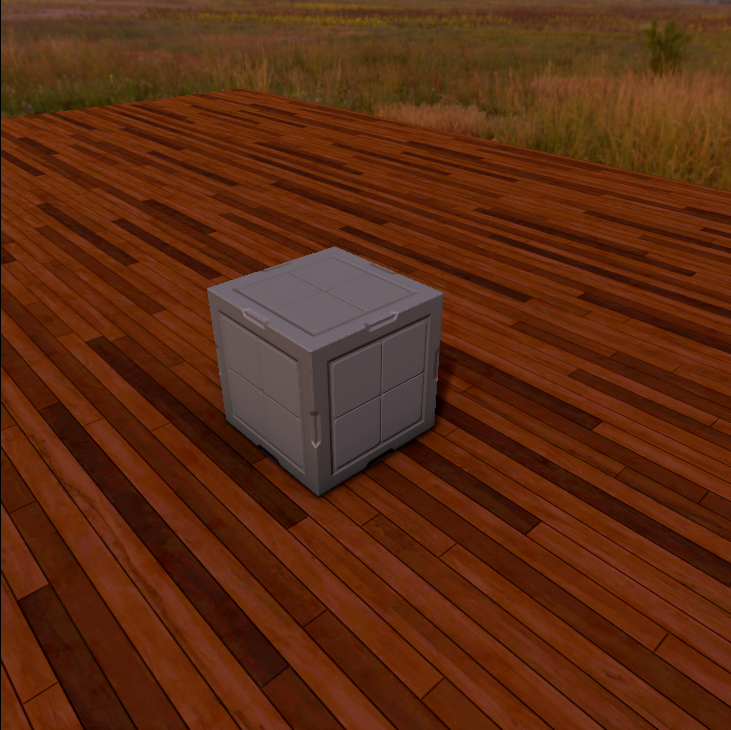
By changing the scale of the object slightly (e.g. [4, 1, 4]), it's a quick jump to creating the floor for a level using only this object:
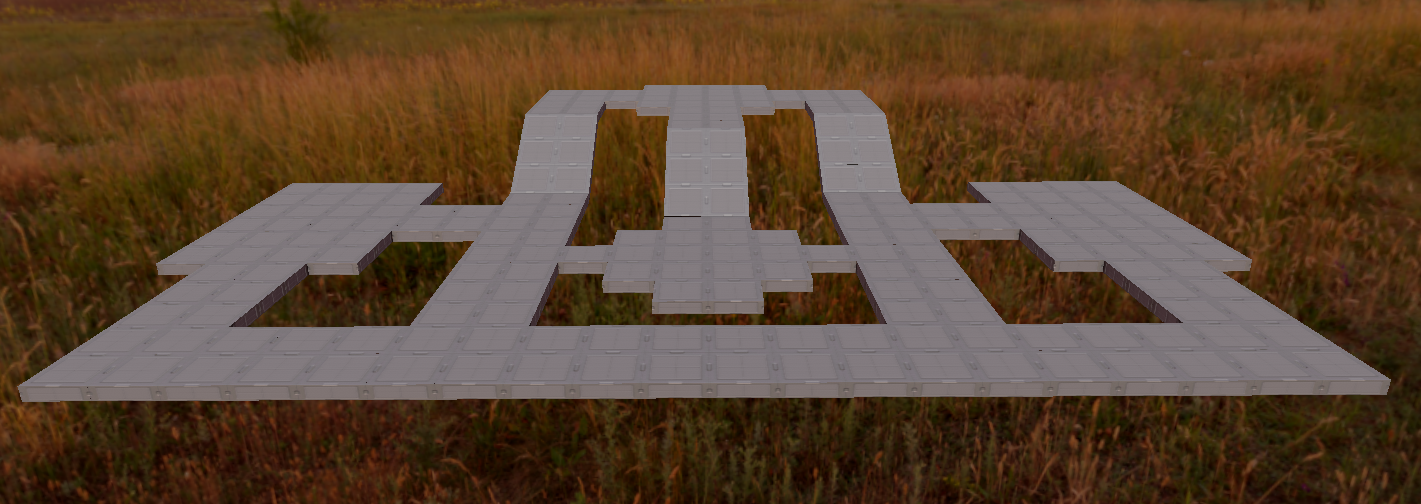
As this particular material has maps for all of the default fragments included in a new Material, it presents an ideal case to see how the Material's appearance, specifically the albedo, changes when one or more of these maps is removed.
Model-Specific Textures
In a game with many artist-crafted, unique models, these will make up the majority of the texture maps. Just as was shown with the tileable textures directly above, even though it does provide the color of the object, it is only one part of a whole that is significantly altered when one or more of the other texture maps is removed.
Let's take a look at how model-specific textures are applied to unique models.
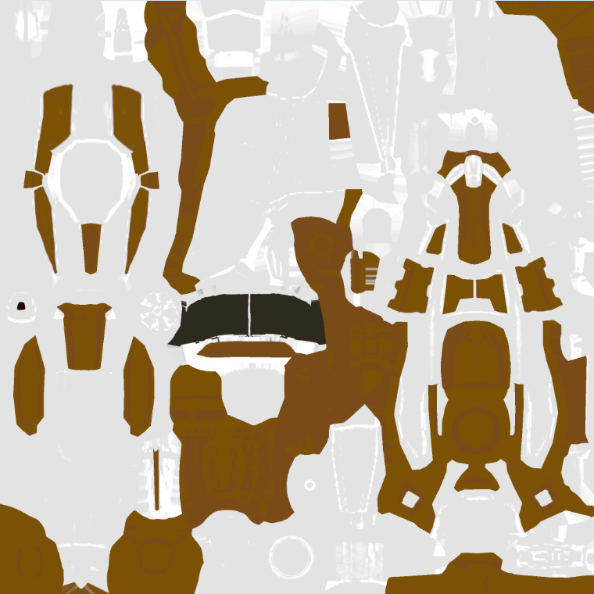 The albedo map that will be applied to the material before being imported into Zilch
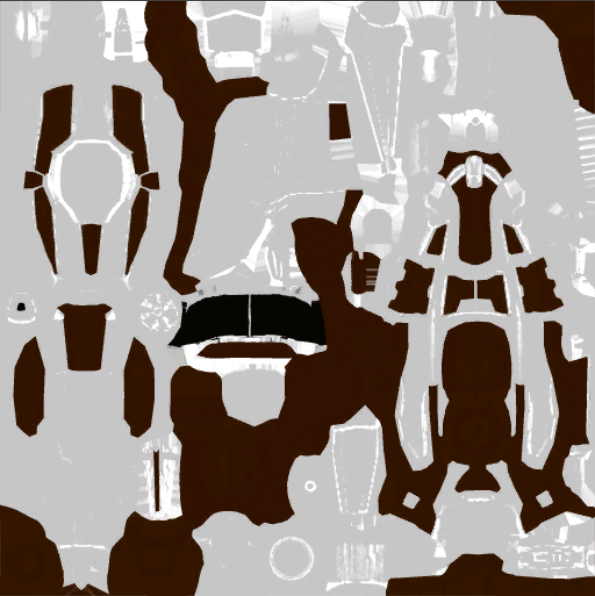 The albedo map after being imported into Zilch and gamma corrected
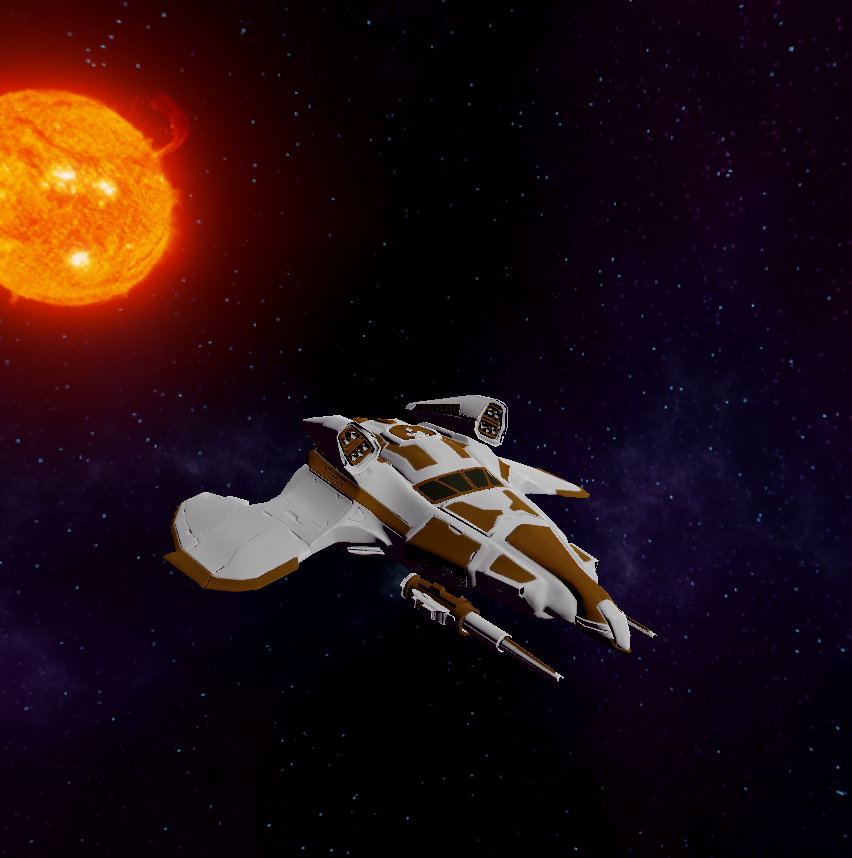

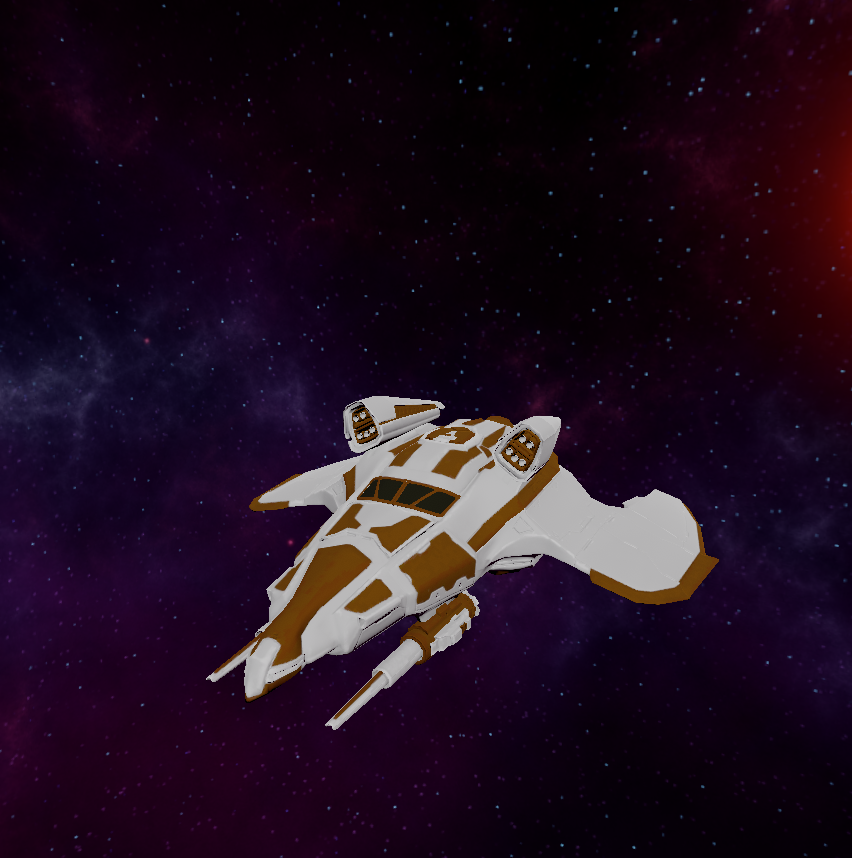
The AlbedoMap fragment has been added to a Material and applied to the Model


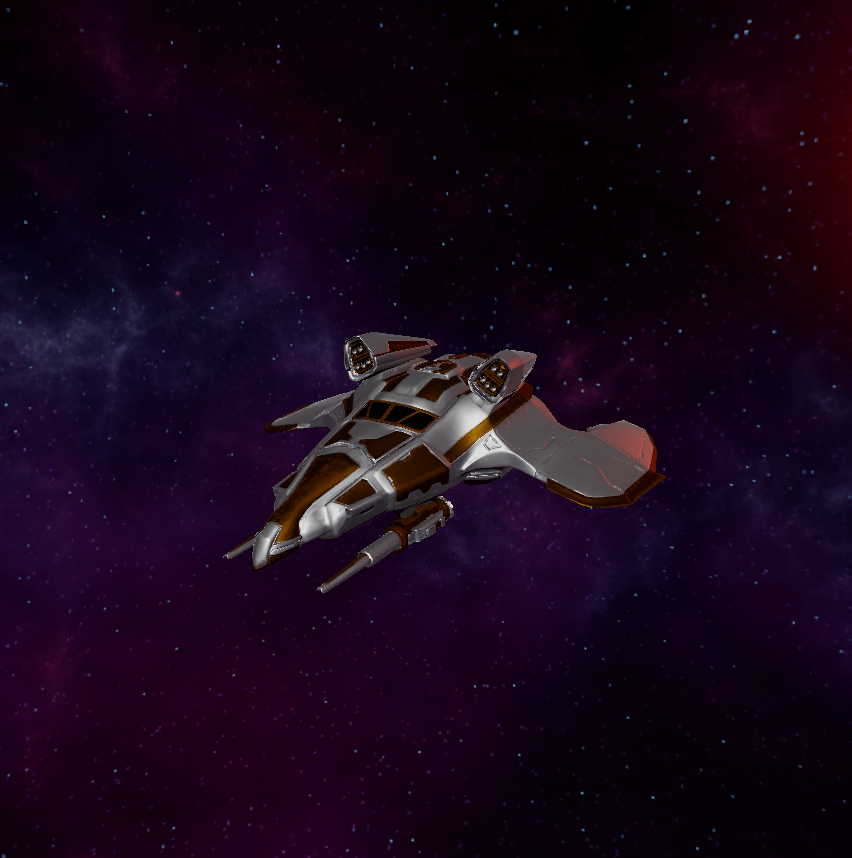
The finished object with all texture maps applied to the Material
Lighting and Albedo
As may have been obvious from the screenshots above, lighting has a direct effect on the Albedo of a Material. In all of the examples above, it is indirect lighting that bears the most influence on the apparent color of the Material.
Indirect Lighting
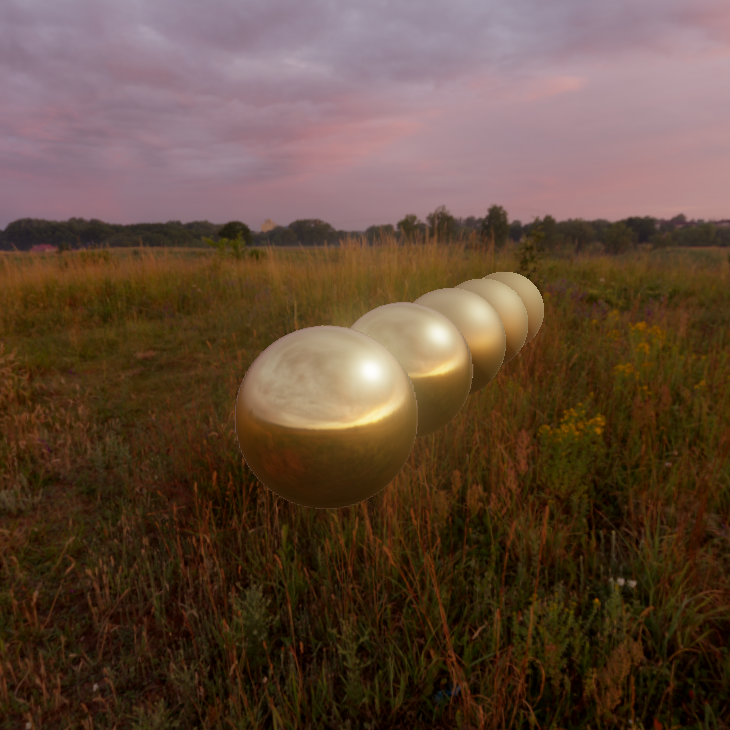
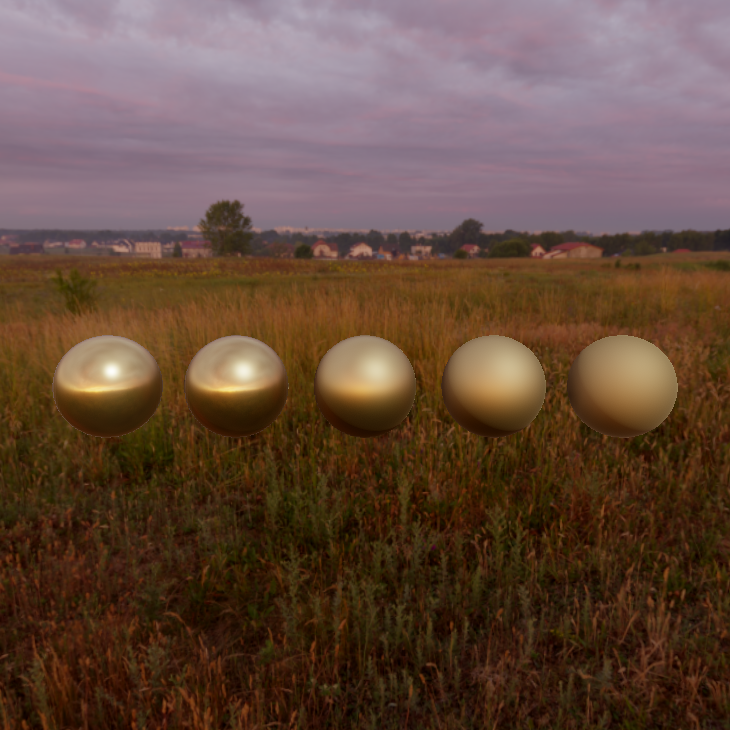
Indirect lighting, or image-based lighting, refers primarily to the skybox that encircles the scene. The following screenshots will show different angles of gold spheres that have a constant Metallic value of 1.0 and an increasing Roughness value in the range 0.0 - 0.6:
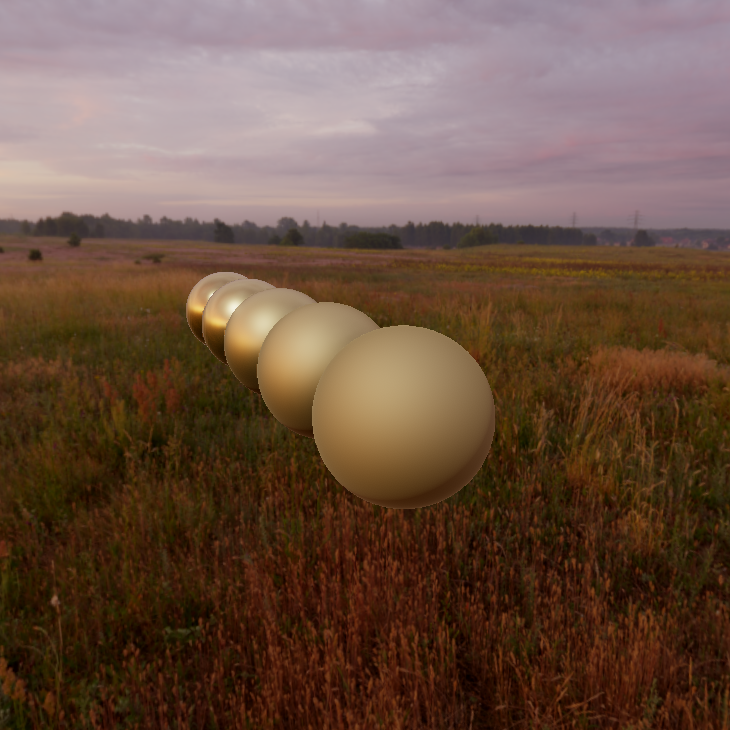
If you change the skybox, however, the overall color will change as a result of the indirect lighting the skybox provides. To demonstrate this, the following screenshots are of the exact same spheres but with a significantly brighter skybox:
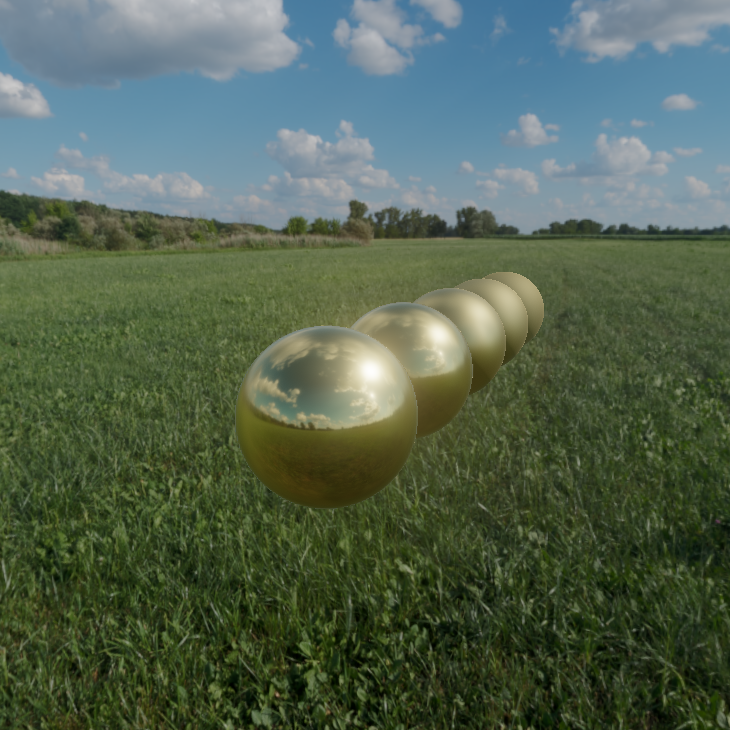
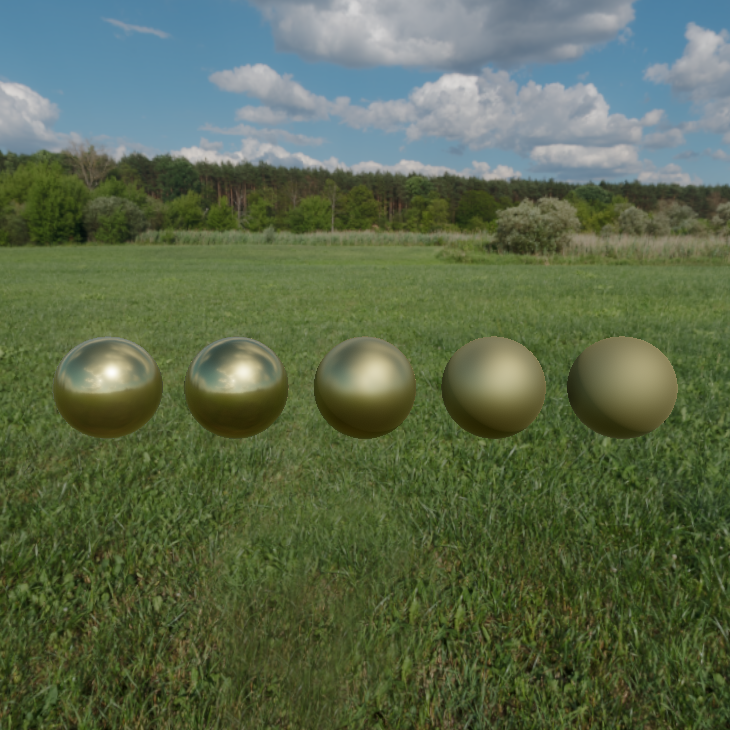
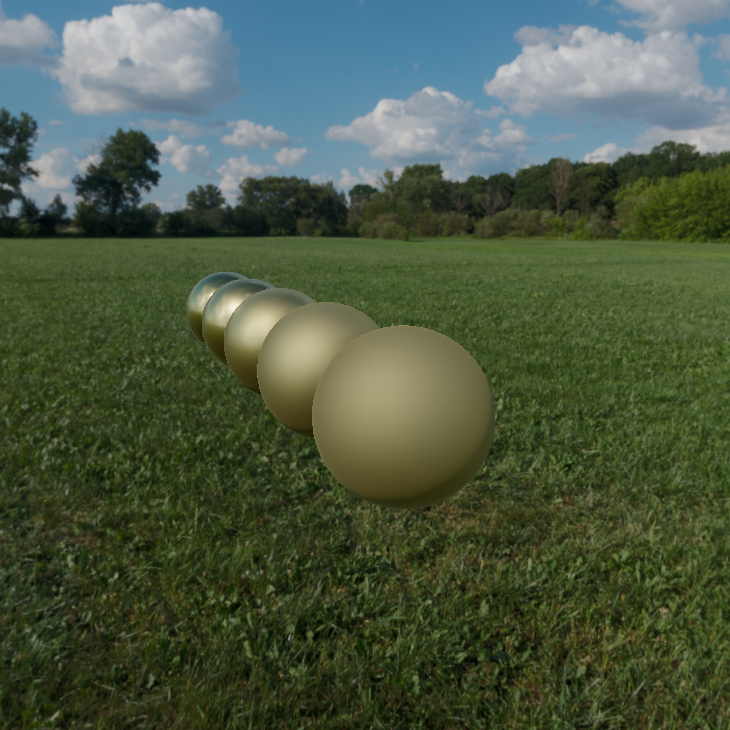
The difference may be subtle or pronounced depending on the degree of change between skyboxes. It should be apparent, however, how much of an influence indirect lighting, through the influence of the skybox, has on a PBR material.