This lesson focuses on teaching the very basics of the engine: creating objects, running the game, basic commands, searching, and manipulating objects by scaling, rotating, translating.
Learning Objectives
- Game object creation
- Game object names
- Editor commands
- Object manipulation with editor tools
Level Setup
- Command : New Project
- Create a new project using the {nav icon=clone, name=Empty 2D Project} template
Here is a new empty level:
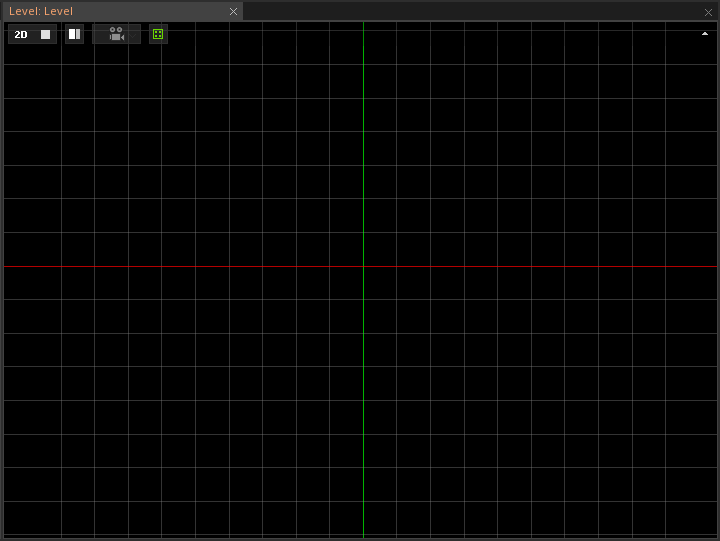
An "empty" 2D level
Notice that the level isn't actually empty. A quick look into the Objects Window shows us that the level has a few game objects already in it.
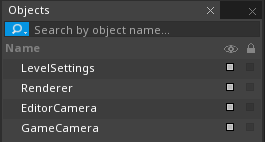
The Objects Window showing the objects present in the otherwise-empty level
We'll cover these in more detail in future tutorials.
Create a Game Object
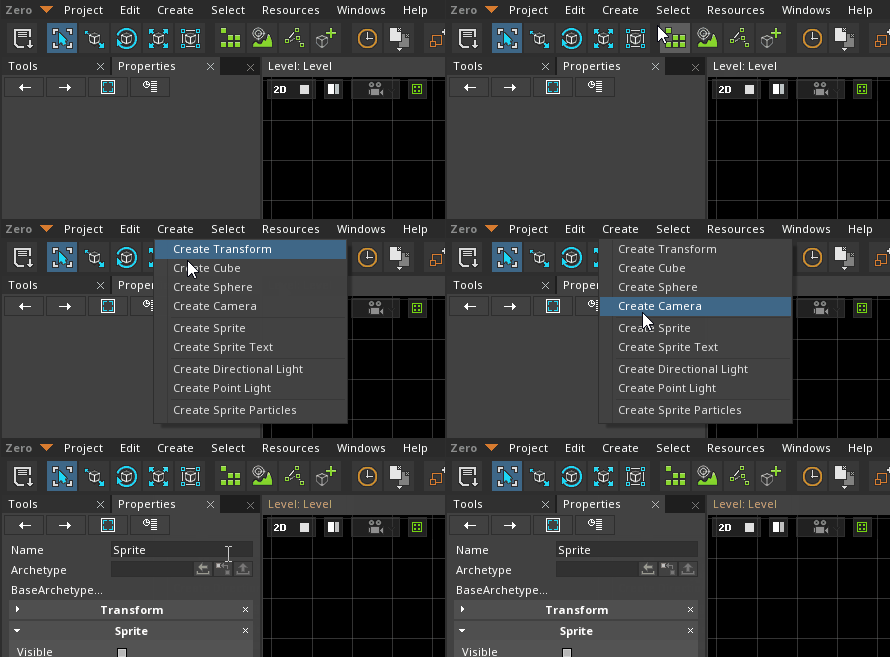
Creating a Sprite object via the Create Menu
The Sprite object object can now be found in the Objects Window:
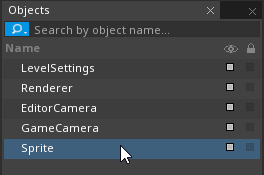
The Sprite object listed in the Objects Window
- Select : Sprite object
NOTE:
If the Properties Window is not visible, then enter the Command : Properties in the Search Window. (Remember you can open the Search Window from any where in the engine using Ctrl + Shift + Space.)
The properties of the Transform component attached to the object can be found in the Properties Window:
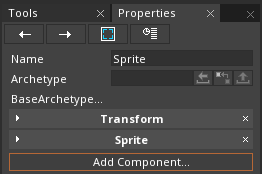
The properties of the Sprite object in the Properties Window
- In the
Properties Window - Click on the Transform component
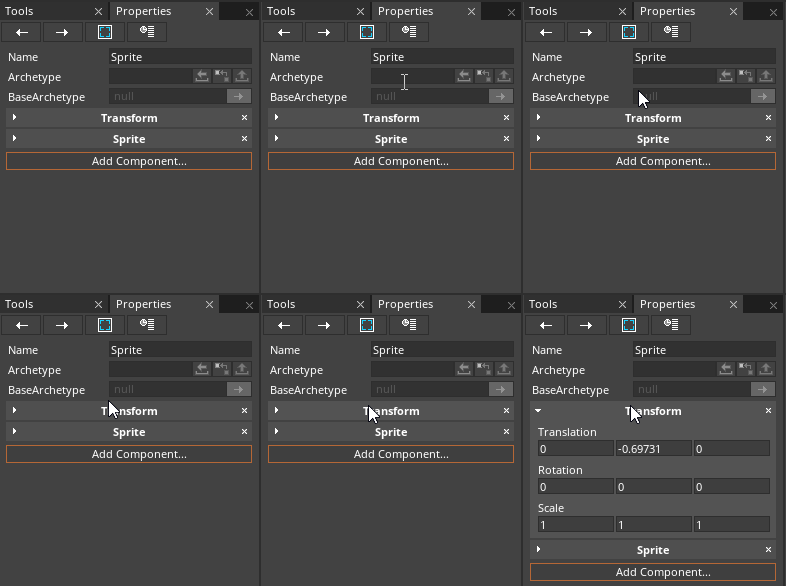
Expanding the Transform component in the Properties Window
(NOTE)Under: When accessing properties of a paticular component we use the term Under, as the properties are found under the component title in the Properties Window. For instance, Under the Transform component {icon long-arrow-right} //Set Scale to [2, 2, 1]//.
Renaming an Object
- Select : Sprite object
- In the
Properties Window - Rename Sprite object to
Square
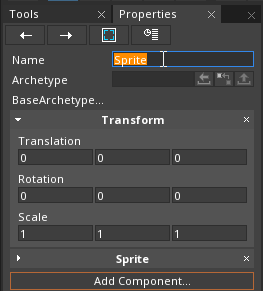
Renaming the Sprite object
Here is how the game should look:
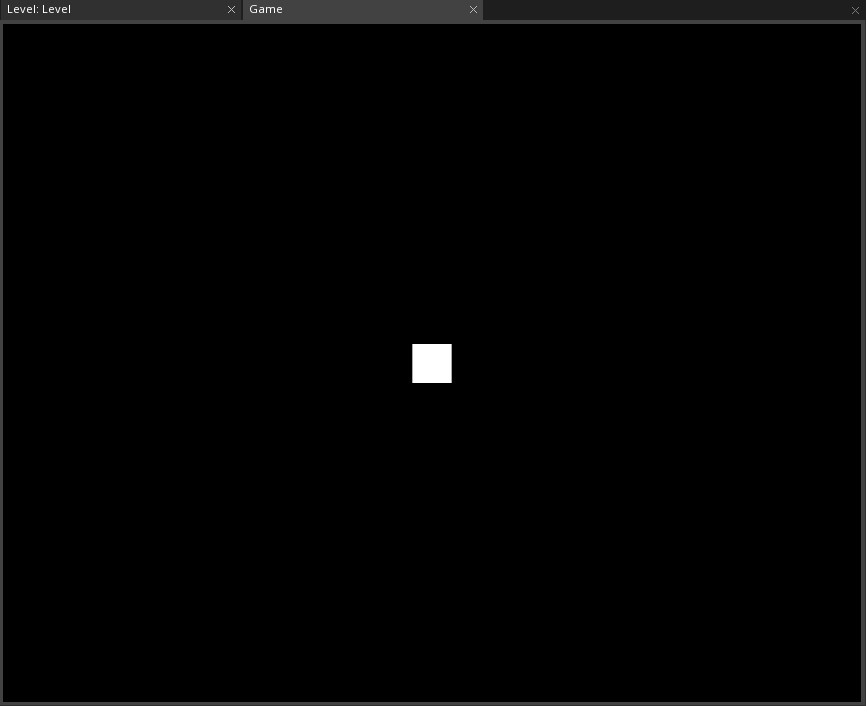
The Game Window
Tools
To help you create and manipulate objects, Zilch Engine provides tools that can be found at the top of the editor window within the Tool Bar.

Let's take a look at some of the more common tools:
Select Tool
The Select Tool allows you to select objects in the Level Window by clicking on them.
- In the
Tool Bar - Click the
 button
 - In the
Level Window- Click on the Sprite object object
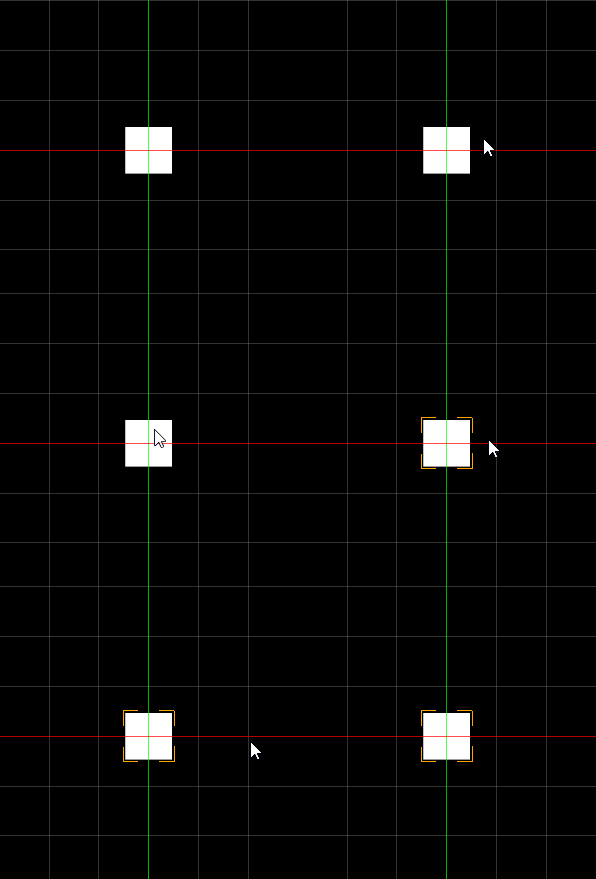
This is an equivalent operation of selecting the object in the Objects Window
Translate Tool
The Translate Tool is used to move objects around the level.
- In the
Tool Bar - Click the
 button
You should see colored arrows along the X (red), Y (green), and Z (blue) axes of the object.
Click and dragthe colored arrows to move the object along the corresponding axes.
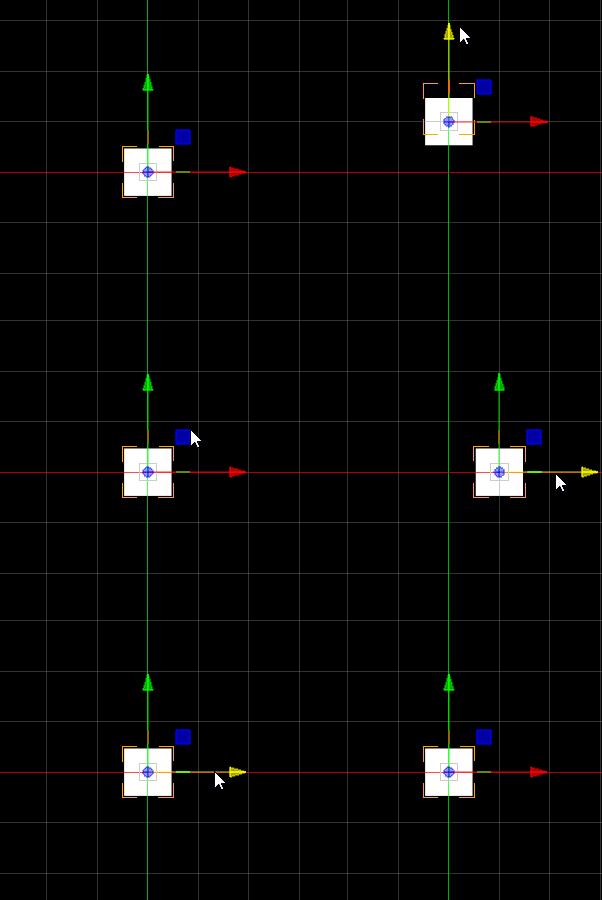
Notice that in the Properties Window, the Translation values are changing while you move the object.
Rotate Tool
The Rotate Tool is used to rotate objects.
- In the
Tool Bar - Click the
 button
 Click and dragone of the circles (red, blue, or green).
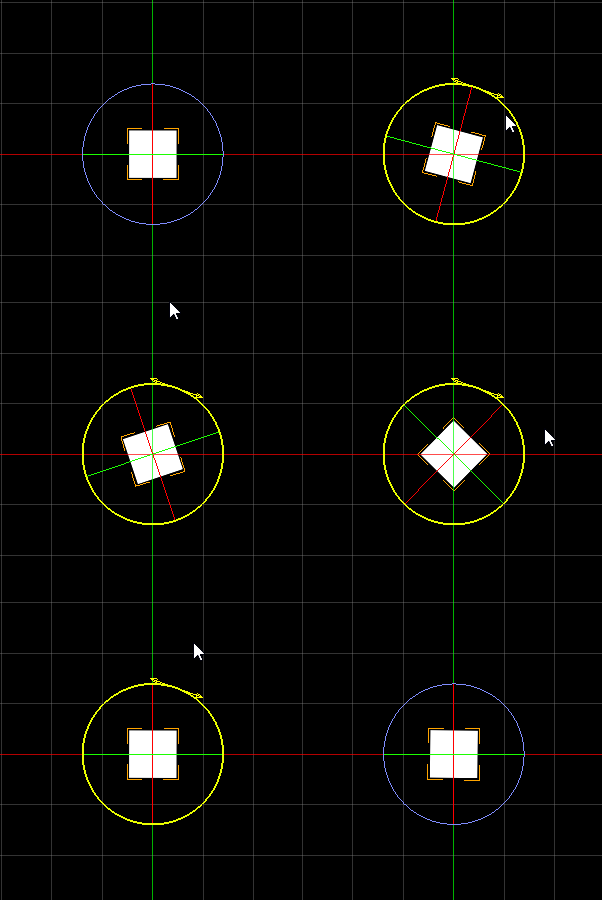
This rotates the object around its X (red), Y (green), or Z (blue) axes. In 2D, we usually just rotate around the Z-axis. Notice that in the Properties Window, the Rotation values are changing while you rotate the object.
Scale Tool
The Scale Tool is used to scale objects.
- In the
Tool Bar - Click the
 button
 Click and dragalong the colored axes
This scales the object along its X (red), Y (green), or Z (blue) axis.
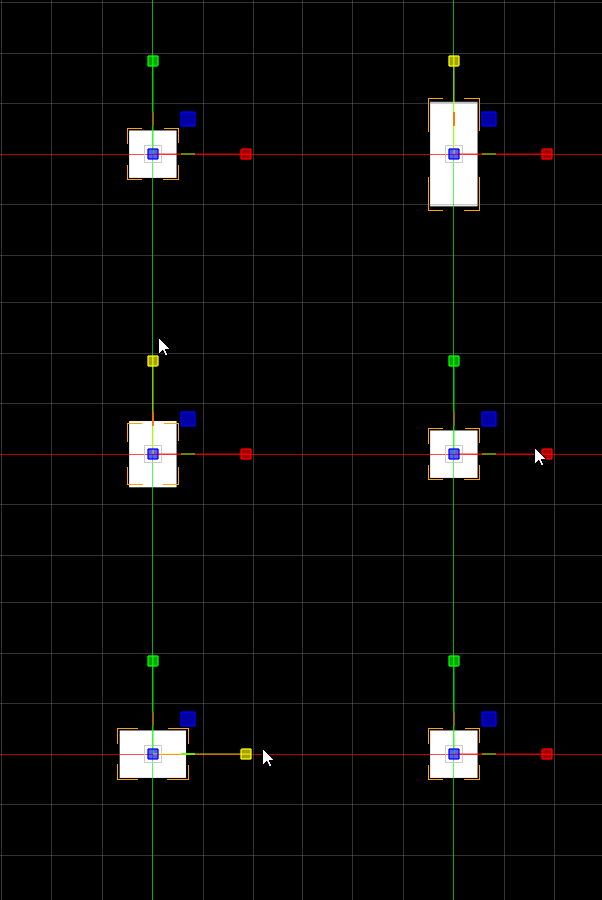
Notice that in the Properties Window, the Scale values are changing while you scale the object.
NOTE: Zilch Engine does not support negative scale for objects.