This page introduces the Zilch Engine editor and user interface. It covers editor windows such as the Objects Window, Properties Window, Library Window, Level Window, and Search Window.
Create a New Project
(NOTE)COMMANDS:
Commands represent all actions you can perform as a user in the Zilch Editor (such as CreateSpriteText, BackupProject, and ExportGame). Links are used throughout the lesson for refreshing your knowledge on how to do common essential tasks. View how to enter Commands in Zilch by following the link provided in the tutorial!
It is recommended that you create a new project. If this is the first time you have run the Zilch Engine you will already be in the Projects screen and can simply type in a name for your project. If you are not on the new Projects screen, you can access it using the Project menu. See the section The Zilch Launcher) for more information.
To create a new project follow these steps:
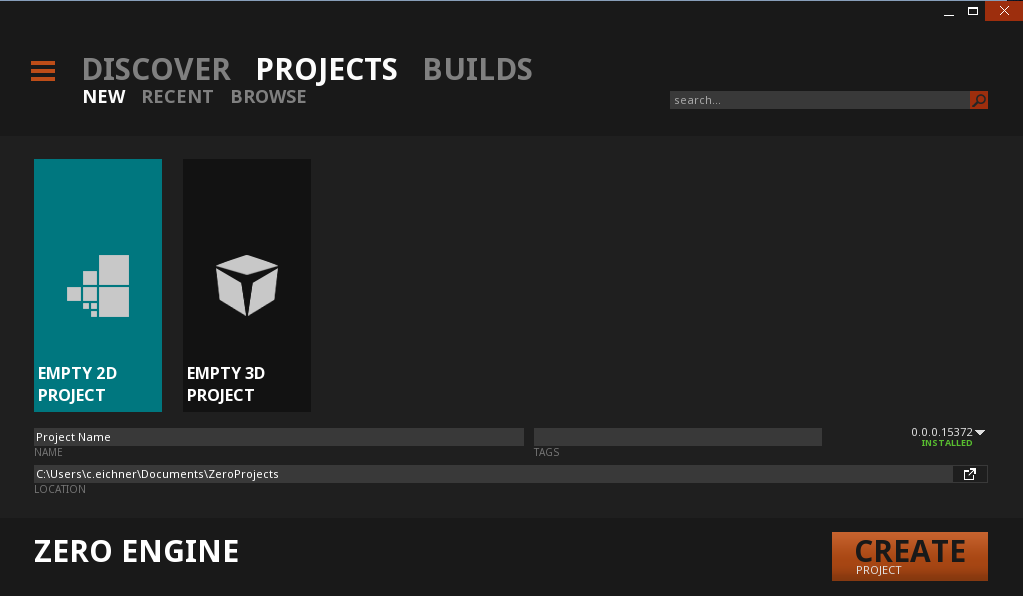
- In the launcher
- Select
EMPTY 2D PROJECTtemplate - Enter a NAME for the project
- Enter a Project Folder directory (if the default is not sufficient) by either typing out you're preferred folder path or
left clickingthe button to the right of LOCATION .
 Left clickon theCREATE PROJECTbutton.
- Select
Windows Overview
After creating a new project, the editor should look something like this:
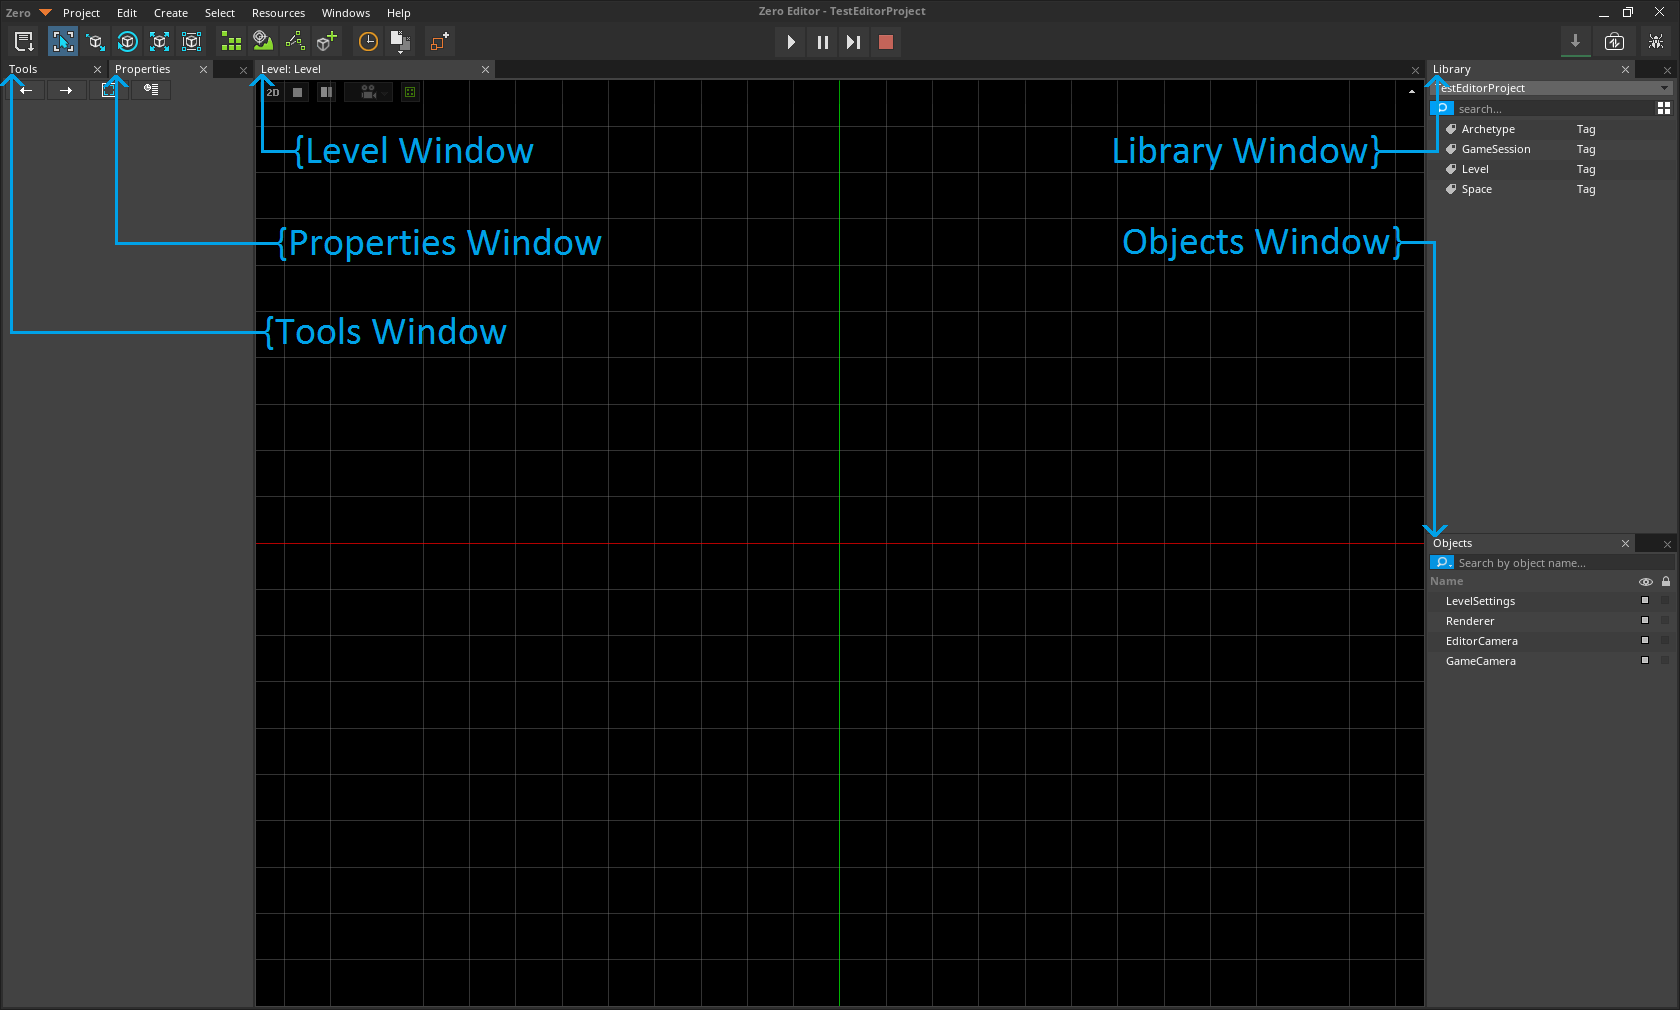 The first, default view as the Zilch Editor is opened
Level Window
The Level Window (located in the center of the editor as seen in the image above) is where you will manipulate objects to build levels. The visible grid is a customizable visual to help place objects within the level editor view, but isn't visible in actual gameplay.
 This is located in the top left corner of the
 Level Window
In a collapsible toolbar at the top of the Level Window are a few buttons for altering the view.
| Buttons | Purpose |
|-------------------------------------|---------------------------------------------|
| 
 | Toggles between 2D & 3D camera controls. |
|
 | Toggles the editor camera's rendering mode between Orthographic and Perspective Projection. |
|
 | With the camera options you can either reset the editor camera to its default settings, or align a selected camera with the editor's camera. |
|
 | Toggles the grid line visuals in the editor. |
Properties Window
When an object is selected, the properties of that object are accessible from the Properties Window.
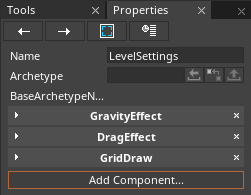 The
The Properties Window showing the Components of the LevelSettings object
The Properties Window is the primary means for editing or building objects and their Components.
 This is located directly under the Properties tab in the
 Properties Window
The Properties Navigational buttons allow for quick and efficient editing.
| 
 | These arrows allow you to navigate back and forth between recently selected items that have been shown in the
 Properties Window. |
|  | The Show Selection button, on first click, pans the camera to the object and on second click, zooms in the camera to frame the selected object in the
 Level Window. |
|  | The recent button pulls up a drop down list of the recently accessed items for selection. |
Tools Window
This window contains several useful tools for managing various objects within the level. Settings for the current tool being used are also available here. You can switch tools from the drop-down selection or by using hotkeys 1 through 9.
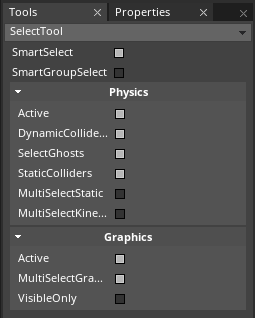
Tools Window
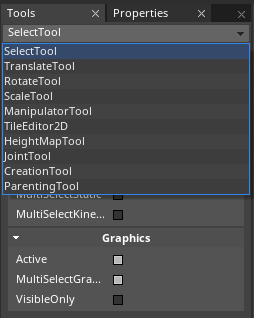 Tools drop-down selection
Library Window
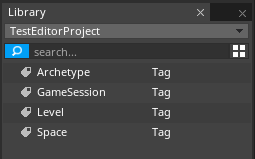
Library Window
Anything you add to the game using the Add command or through drag-and-drop importing is stored as a Resource. All resources added to your project can be found in the Library Window.
Objects Window
Every level contains objects. An object can represent the floor, a wall, enemies, the player, and many other things. There are a few different buttons in the Objects Window that you should know about:
- Eyeball: Toggles visibility of an object only while in the editor. Objects with the eye button disabled will be invisible in the editor, but still visible when the level is played.
- Selection Lock: The small lock button can be turned on and off to toggle the ability to select an object from within the editor. This is especially helpful if you do not want to accidentally move an object.
 View of the eye and lock button in the
 Objects Window
The objects in the Objects Window can be searched for by name using the search bar. This feature can be invaluable if you have a level populated with dozens, or even hundreds, of objects. Each level has three objects by default:
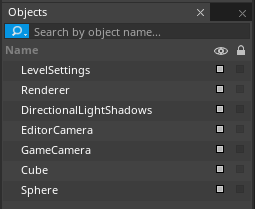 Visible objects in the level by default
Other Windows and Bars
###Search Window
This powerful tool allows you to search for various things within the editor. It also has several other uses such as selecting objects, opening archetypes, viewing properties, etc., that are accessible from here. For example, if you wanted to quickly access a script file, you can just open the search view and type in the name of the script to find it and begin editing. Another important use of the Zilch Search Window is for performing commands. See Commands for more information.
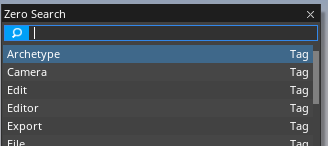 The
The Zilch Search Window for performing commands
There are three ways to pull up the Zilch Search Window:
- Click anywhere in the
Level Windowand pressSpace - From any window press
Ctrl + Shift + Space - Click the
Zilch drop-downin the upper left-hand corner
Console Window
Pressing ~ will open the Console Window. It should appear directly below the Level Window. The console can also be cleared out by pressing Ctrl + Delete while in focus.
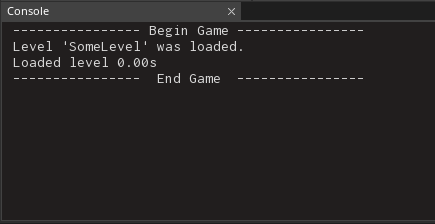
Console Window
(NOTE)"In Focus": To be "in" a window requires that the window has "focus". To gain focus you need to click on the window itself. This ensures that all your keyboard input works as intended.
Game Window
The Game Window is where your game actually runs inside the editor. You can test or play your game (or specific levels) here without having to create an executable.
The Game Window should appear with its tab next to the Level Window tab:
Game Window displaying empty level
- Close the
Game Windowby pressing theX buttonon the Game tab - You can also press
Escor use Command: StopGame
WARNING: It is a good practice to close the game window while editing levels. There are some assets in the Zilch Engine that can be changed by scripts running in the game session.
Tool Bar

The tool bar is located at the top left of the entire editor. Various buttons to perform common actions are located here.
|  | Saves the project and all the resources in your Library |
|
  | These buttons line up with hotkeys
 1 to 5 and they represent the some of the most commonly used tools for editing objects in the Level Window. |
|  | These are correspond to other less common Tools that are available. |
|
  | These open windows in the Editor, such as the
 Library Window and the Add Window. |
|  | These buttons allow you to run your game from the current level, pause, step through frame by frame, or stop executing the game, covering keys
 F5 to F8. |
|  | These buttons are for downloading content and reporting bugs. |
In order to find out more about the function of each button, you can hover over them to get a pop-up tool tip.

All Tool Bar buttons have equivalent commands in the Zilch Search Window.

The game session can be played, paused, stepped through, and stopped with the keys F5 through F8. F9, F10, and F11 are also engine specific hotkeys. F9 will open the edit in game window for the first space, allowing objects to be edited in the scene while the game is running. F10 will toggle whether the cursor is trapped, meaning it is made invisible and locked to the center of the screen. F11 toggles fullscreen mode for the currently focused window.
Menu Bar

The menu bar includes a catagorized set of commands in the form of drop-down menus.
Reopening Windows & Docking
The Zilch Search Window can be used to reopen closed windows and tabs. Once reopened, a window can dragged onto another location, a process known as "docking". Docking location options are indicated by the editor with light blue regions as another window is hovered over that location.
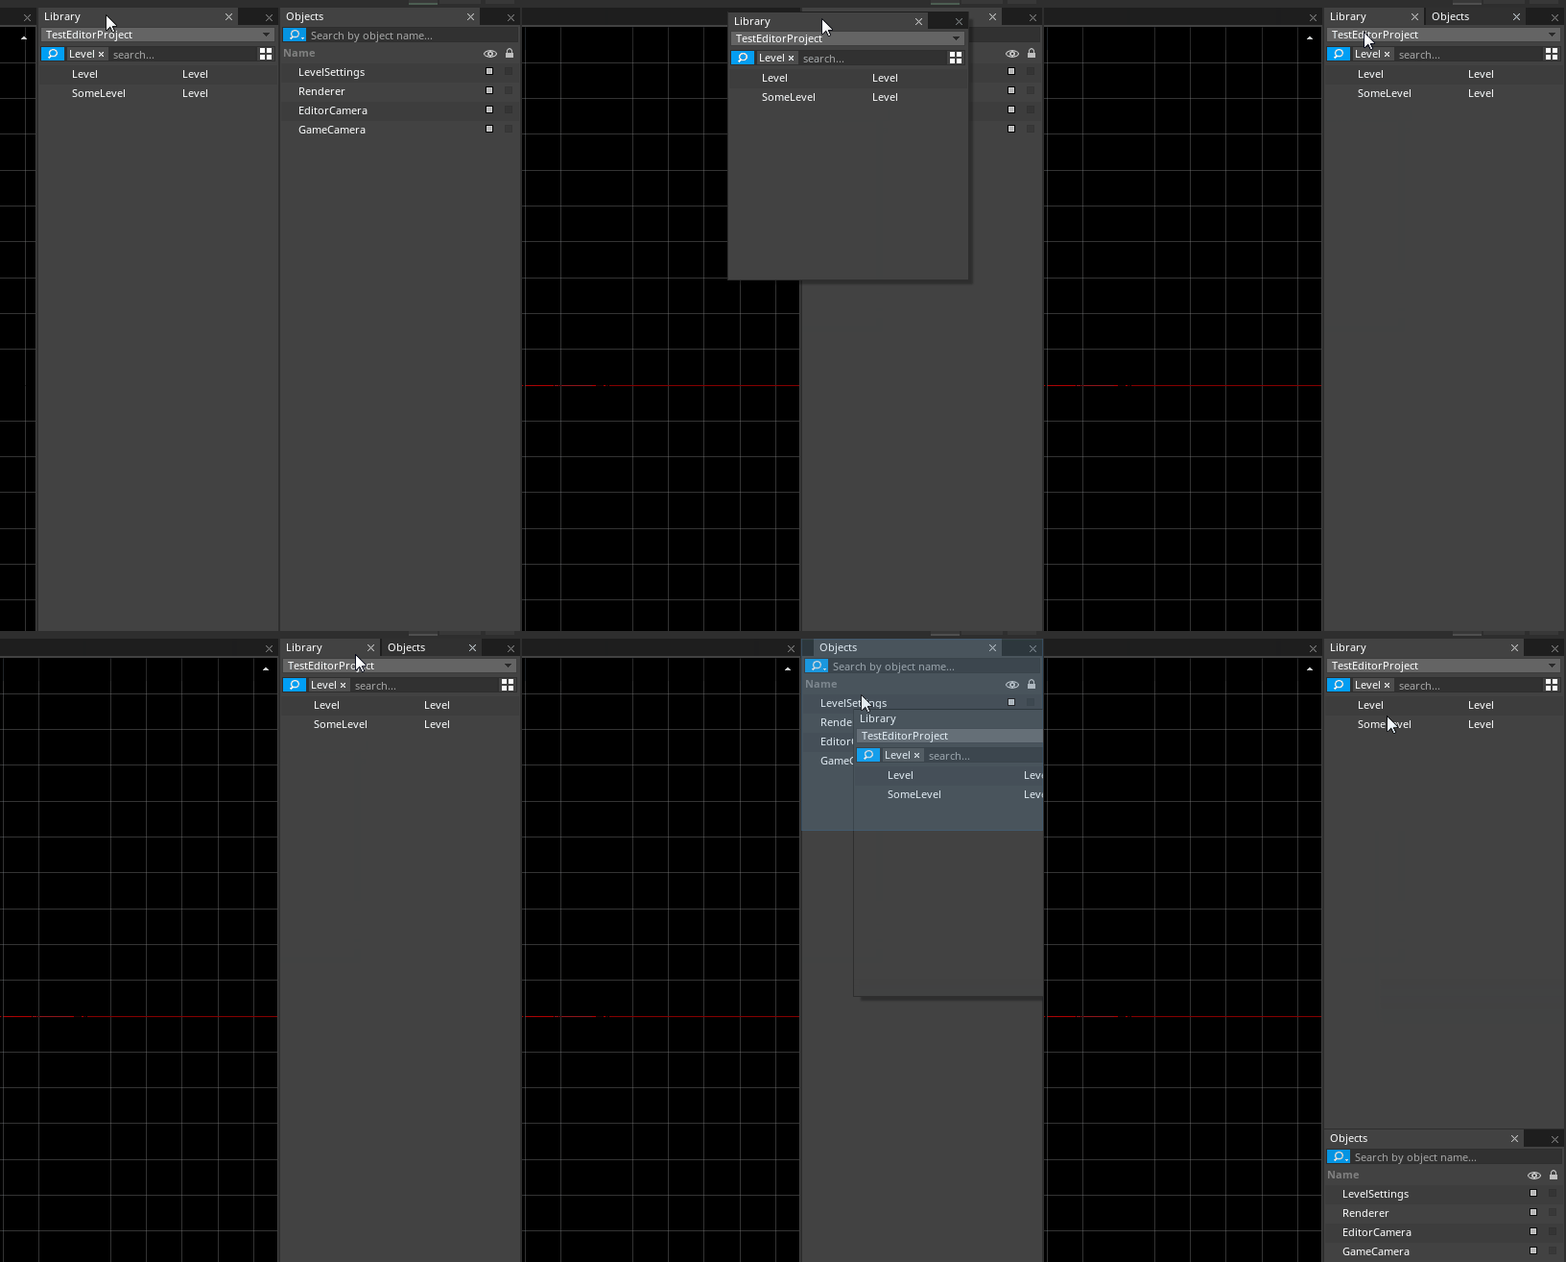 Docking the
 Library Window to the upper right-hand corner