This lesson covers using the mouse in the Zilch Engine.
Learning Objectives
- Learning how to respond to mouse events
- Understanding how to convert from screen space// to //world space
Level Setup
- Command : New Project
- Create a new project using the {nav icon=clone, name=Empty 2D Project} template
Mouse Events
The easiest way to get mouse input in the Zilch Engine is via mouse events. Mouse events can be used to detect when the mouse is moved, when the cursor enters or exits an object, when the buttons are pressed or released, and so on. We'll begin by making an object that responds to mouse events by inflating like a balloon.
- Command : CreateSphere
- In the
Properties Window - Rename Sphere object to
Balloon - Remove Component : RigidBody
- Remove Component : SphereCollider
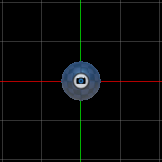
In order for the balloon to respond to mouse input, it needs the Reactive component, which makes an object receive mouse events.
- In the
Properties Window - Add Component : Reactive
Now we can add the code that will make the balloon inflate.
Update-Based Mouse Input
- Command : Add Resource
- Create a NadaScript resource using the Component template template and name it
ScaleWithMouseEvents - Update the
ScaleWithMouseEventsscript to the following:
class ScaleWithMouseEvents : NadaComponent
{
  [Dependency] var Transform : Transform;
  [Dependency] var Reactive : Reactive;

  [Property]
  var ScaleRate : Real = 1.5;
  [Property]
  var MaxScale : Real3 = Real3(8);

  function Initialize(init : CogInitializer)
  {
    // The MouseUpdate event is dispatched to a Reactive
    // object every frame that the mouse cursor is over it
    Zilch.Connect(this.Owner, Events.MouseUpdate, this.OnMouseUpdate);
  }

  function OnMouseUpdate(event : ViewportMouseEvent)
  {
    // The ViewportMouseEvent lets us check whether the left mouse button is
    // currently held. If it is, we call a function that makes this object grow
    if (event.IsButtonDown(MouseButtons.Left))
      this.Grow();
  }

  function Grow()
  {
    // By starting from whatever the current scale is at the moment and taking
    // a small step toward the target max scale, the object will asymptotically
    // approach that maximum
    var dt = this.Space.TimeSpace.Dt;
    var currentScale = this.Transform.LocalScale;
    var newScale = Math.Lerp(currentScale, this.MaxScale, this.ScaleRate * dt);
    this.Transform.LocalScale = newScale;
  }
}
This component will let the user set a maximum scale to grow to, and then it will cause the balloon to inflate as long as the left mouse button is held while the cursor is over it, up to that max scale.
- Select : Balloon object
- In the
Properties Window - Add Component :
ScaleWithMouseEvents - Command : PlayGame
Click and holdthe left mouse button over the sphere to cause it to grow
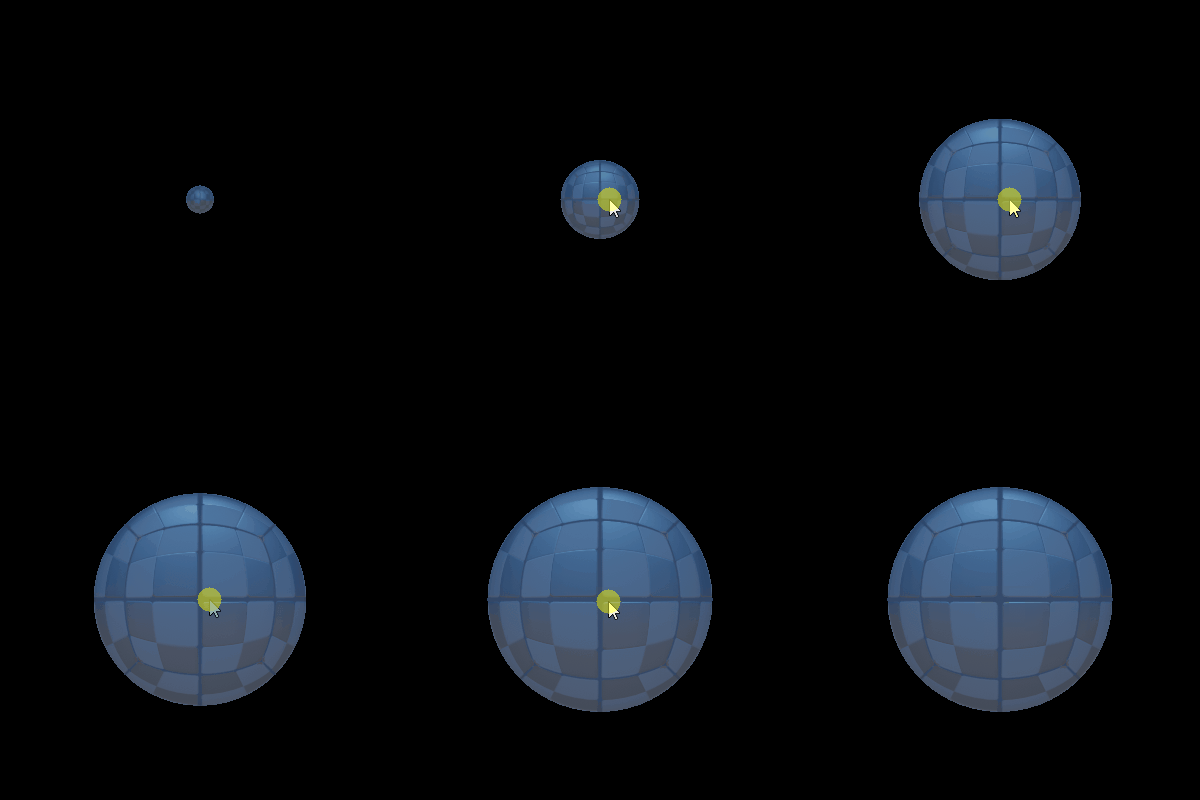
This method of implementing mouse controls by checking what the mouse is doing in an update function is known as update-based input.
Now let's add a bit more functionality to this component.
Reaction-Based Mouse Input
- Update the
ScaleWithMouseEventsscript to the following:
class ScaleWithMouseEvents : NadaComponent
{
  [Dependency] var Transform : Transform;
  [Dependency] var Reactive : Reactive;

  [Property]
  var ScaleRate : Real = 1.5;
  [Property]
  var MaxScale : Real3 = Real3(8);
  [Property]
  var ShrinkDuration : Real = 1;

  var InitialScale : Real3;
  var ShrinkSequence : ActionSet;

  function Initialize(init : CogInitializer)
  {
    this.InitialScale = this.Transform.LocalScale;
    this.ShrinkSequence = Action.Sequence(this.Owner.Actions);

    // The MouseUpdate event is dispatched to a Reactive
    // object every frame that the mouse cursor is over it
    Zilch.Connect(this.Owner, Events.MouseUpdate, this.OnMouseUpdate);
    Zilch.Connect(this.Owner, Events.RightMouseDown, this.OnRightMouseDown);
  }

  function OnRightMouseDown(event : ViewportMouseEvent)
  {
    if (!this.ShrinkSequence.Active)
      this.Shrink();
  }

  function OnMouseUpdate(event : ViewportMouseEvent)
  {
    // The ViewportMouseEvent lets us check whether the left mouse button is
    // currently held. If it is, we call a function that makes this object grow
    if (event.IsButtonDown(MouseButtons.Left) && !this.ShrinkSequence.Active)
      this.Grow();
  }

  function Grow()
  {
    // By starting from whatever the current scale is at the moment and taking
    // a small step toward the target max scale, the object will asymptotically
    // approach that maximum
    var dt = this.Space.TimeSpace.Dt;
    var currentScale = this.Transform.LocalScale;
    var newScale = Math.Lerp(currentScale, this.MaxScale, this.ScaleRate * dt);
    this.Transform.LocalScale = newScale;
  }

  function Shrink()
  {
    // We can reduce the scale of this object back to its initial value with a
    // single click by using an Action
    this.ShrinkSequence = Action.Sequence(this.Owner.Actions);

      Action.Property(this.ShrinkSequence, @this.Transform.LocalScale,
        this.InitialScale, this.ShrinkDuration, Ease.BounceOut);
  }
}
Now the right mouse button can be used to deflate the balloon.
- Command : PlayGame
Click and holdthe left mouse button over the sphere to cause it to grow, andright clickthe sphere to cause it to shrink
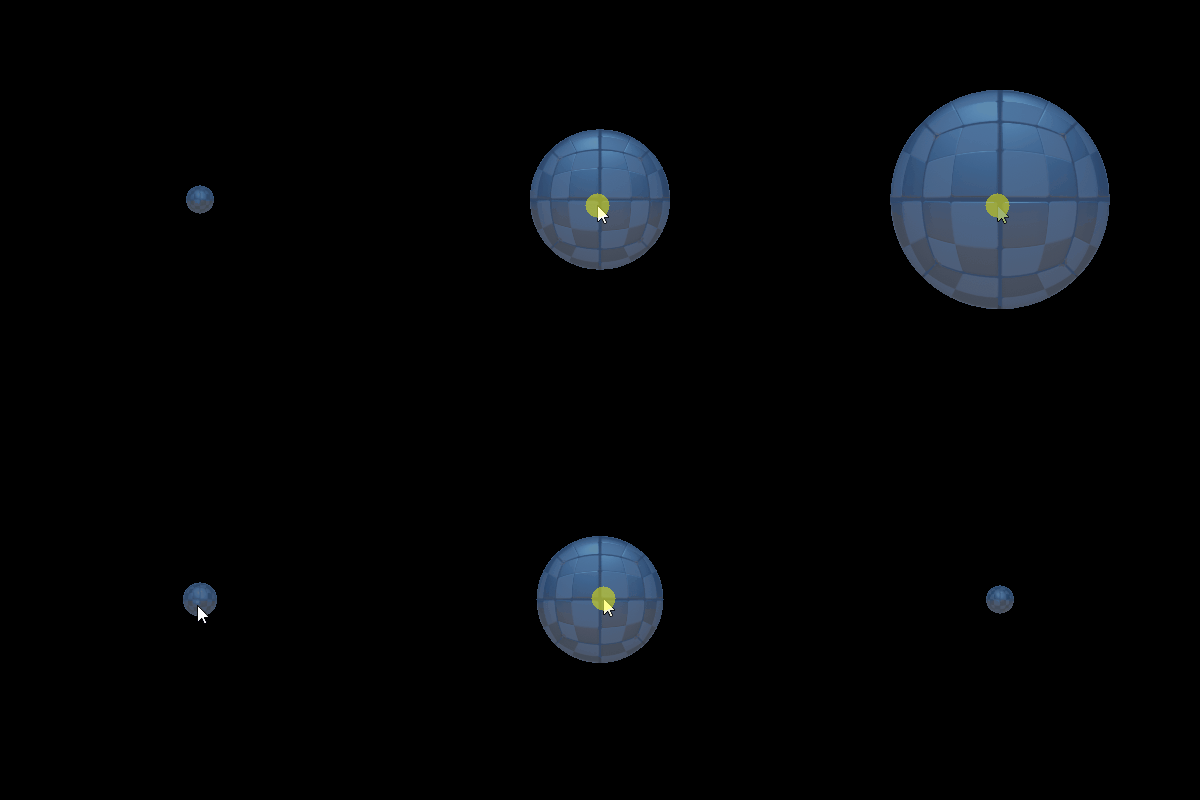
Now this component also connects to the RightMouseDown event, which is dispatched to a Reactive object when the right mouse button is pressed while the cursor is over it. In its OnRightMouseDown callback function, it checks to make sure the balloon isn't already shrinking, and if it isn't, it calls a function that makes it shrink.
This method of implementing mouse controls by connecting to relevant mouse events and only running code when those events are dispatched is called reaction-based input.
Screen Space and World Space
As we've seen already, mouse events are dispatched with the ViewportMouseEvent class. Among other information, this includes the position of the mouse event, which we can see by printing it out.
- Command : Add Resource
- Create a NadaScript resource using the Component template template and name it
PrintPositionOnMouseDown - Update the
PrintPositionOnMouseDownscript to the following:
class PrintPositionOnMouseDown : NadaComponent
{
  function Initialize(init : CogInitializer)
  {
    Zilch.Connect(this.Space, Events.MouseDown, this.OnMouseDown);
  }

  function OnMouseDown(event : ViewportMouseEvent)
  {
    var mousePosition = event.Position;
    Console.WriteLine(mousePosition);
  }
}
- Select : LevelSettings object
- In the
Properties Window - Add Component :
PrintPositionOnMouseDown - Command : Console
- Command : PlayGame
- Click around the screen a few times
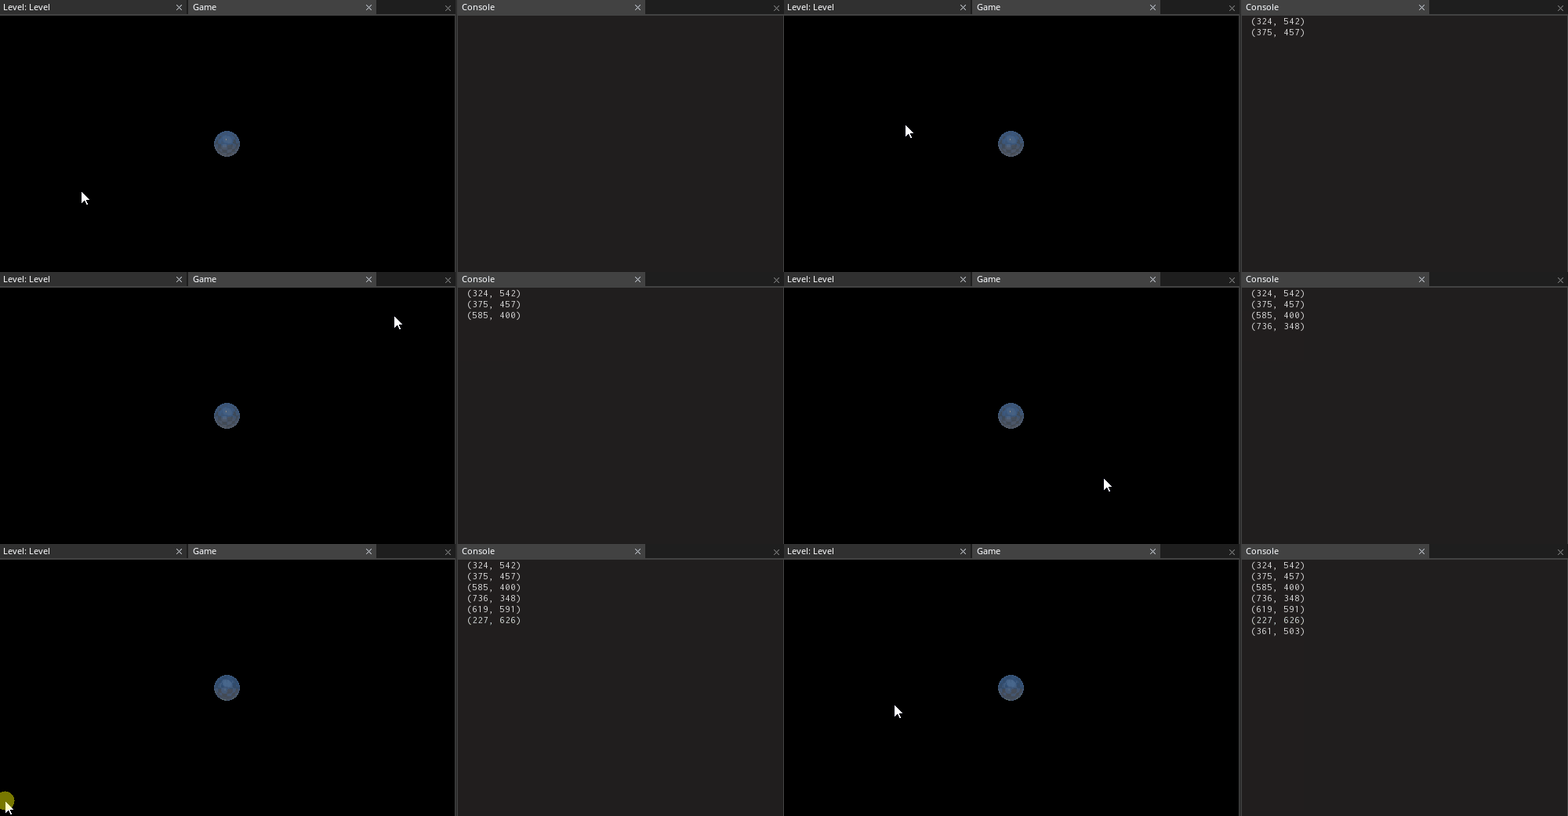
When you click the mouse, positions are printed to the console. Notice that these numbers are pretty big, they're all whole numbers, and no matter where you click, they're never negative. Furthermore, they're all 2D vectors. These are what are called screen-space coordinates: they refer to the pixel on your screen where the click occurred. In this form, they're a bit hard to use in a game. What we need is a way to convert them from screen space into world space, where the objects in our game exist. Fortunately, that's easy.
The ViewportMouseEvent contains a set of functions that can be used to convert the event's screen space position into world space: ToWorldPlane, ToWorldViewPlane, and ToWorldZPlane. Each of them has its purpose, but it's common in 2D games to make extensive use of that last one, ToWorldZPlane. This function projects a screen-space position onto a Z-aligned world plane at a given Z value. If you give it a value of, say, 0, then it will return the world-space coordinates of the mouse event at a Z-depth of zero. In a typical 2D game, this is generally the most basic way to get the world position of the mouse.
- Replace the
OnMouseDownfunction in thePrintPositionOnMouseDownclass with the following:
function OnMouseDown(event : ViewportMouseEvent)
{
  var mousePosition = event.ToWorldZPlane(0);
  Console.WriteLine(mousePosition);
}
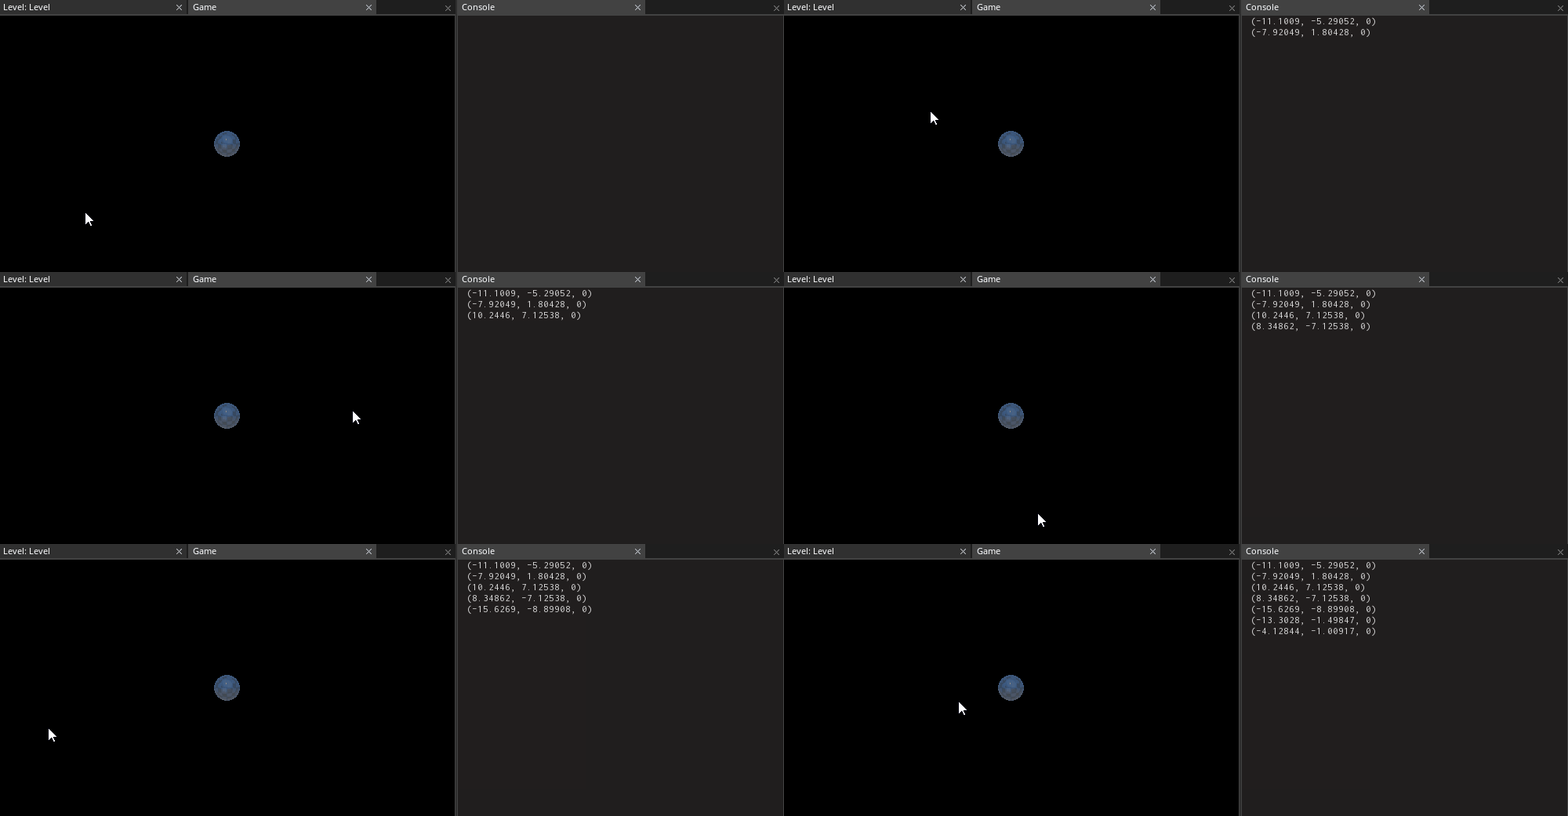
The positions that are now being printed to the console are now in world units, rather than screen pixel coordinates. This is generally much more useful for programming game logic.
Now that we know how to find the world-space position of a mouse event, we can move things to the mouse's position, like, say, our balloon. First, though �
- Select : LevelSettings object
- In the
Properties Window - Remove Component :
PrintPositionOnMouseDown
It's good practice to remove or comment out console print statements when you're done with them.
- Command : Add Resource
- Create a NadaScript resource using the Component template template and name it
MoveOnMiddleMouseDown - Update the
MoveOnMiddleMouseDownscript to the following:
class MoveOnMiddleMouseDown : NadaComponent
{
  [Dependency] var Transform : Transform;

  [Property]
  var MoveDuration : Real = 0.25;

  function Initialize(init : CogInitializer)
  {
    Zilch.Connect(this.Space, Events.MiddleMouseDown, this.OnMiddleMouseDown);
  }

  function OnMiddleMouseDown(event : ViewportMouseEvent)
  {
    var destination = event.ToWorldZPlane(0);
    Action.Property(this.Owner.Actions, @this.Transform.WorldTranslation,
      destination, this.MoveDuration, Ease.QuadInOut);
  }
}
This component will make whatever we attach it to animate its position to the world-space coordinates of the mouse whenever the middle mouse button is pressed.
- Select : Balloon object
- In the
Properties Window - Add Component :
MoveOnMiddleMouseDown - Command : PlayGame
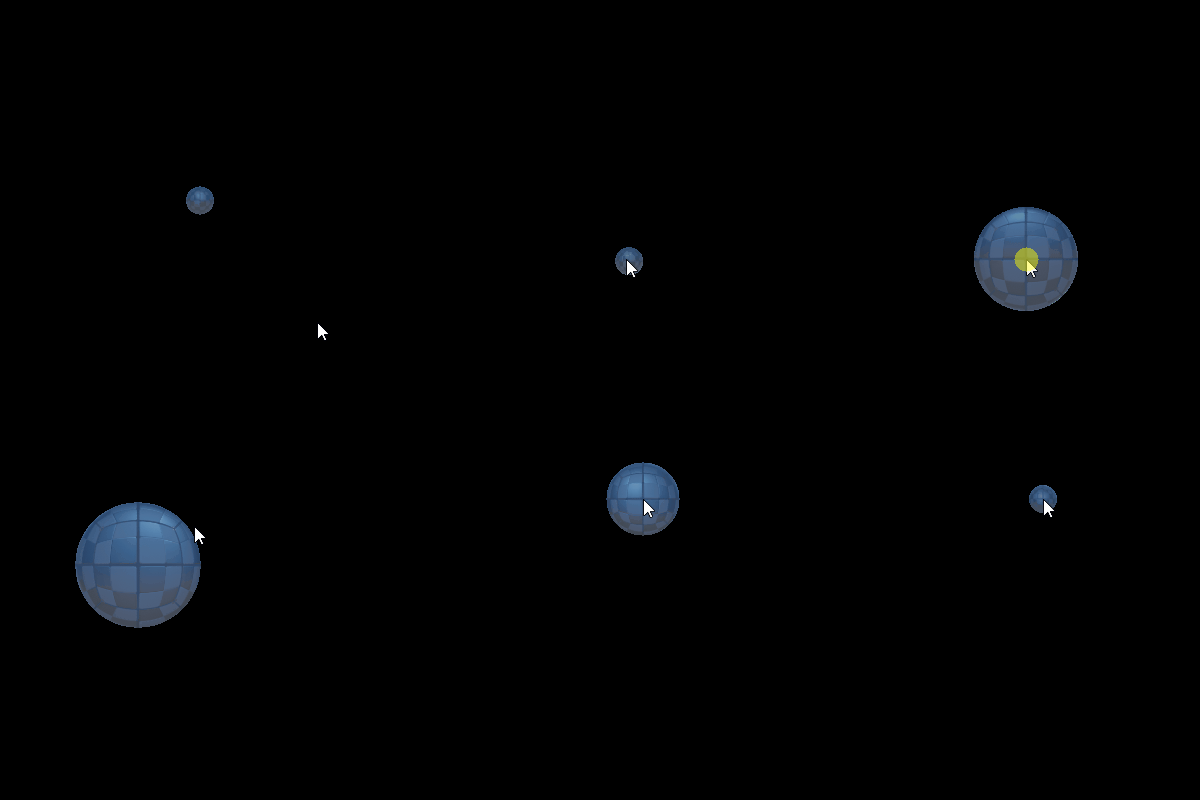
- Use the middle mouse button to move the balloon, and the left and right mouse buttons to inflate and deflate it
Related Materials
Manual
Reference
Commands
Classes
Events
Development Task
- {T1185}