This tutorial covers how to create custom components and the basics of scripting in Nada.
Learning Objectives
- Creating custom components
- Nada scripting basics
Level Setup
- Command : New Project
- Create a new project using the {nav icon=clone, name=Empty 2D Project} template
- Command : CreateSprite
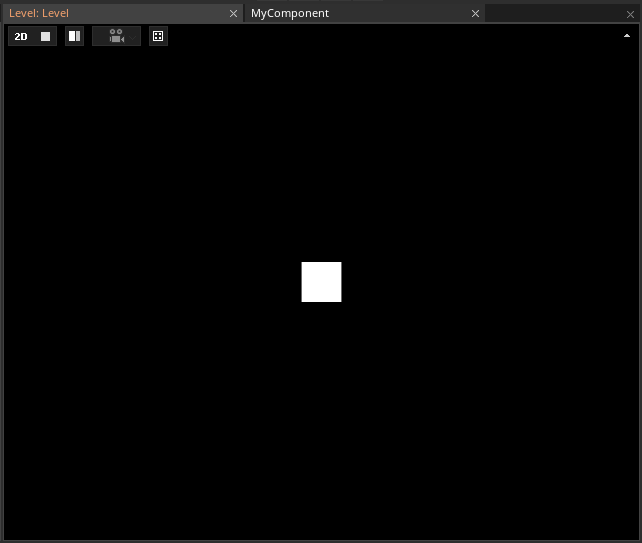
Creating Custom Components
Until now, we have explored components built into Zilch Engine. These components are essential building blocks for your games, but you'll also need to write your own components to achieve the custom behavior your game needs.
- Command : Add Resource
- Create a NadaScript resource using the Component template template and name it
MyComponent
Once a component is created, we can add it to objects.
- Select : Sprite object
- In the
Properties Window - Add Component :
MyComponent
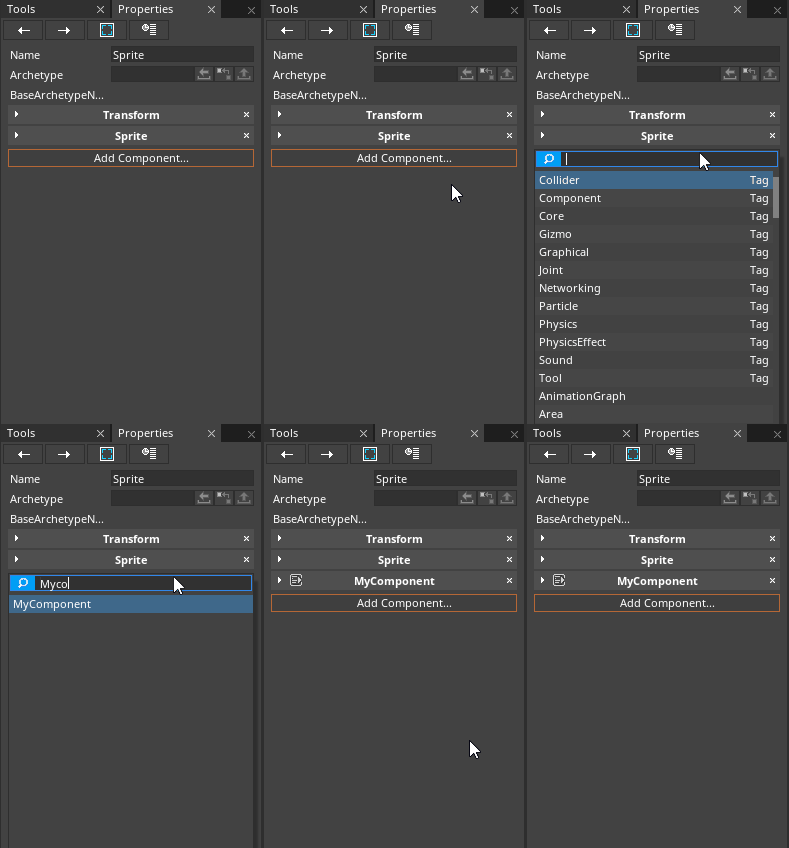
Adding the MyComponent component in the Properties Window
WARNING: It is common, especially among beginners, to forget to add a component to an object. Make sure to verify that you have accomplished this step if an object isn't behaving as expected.
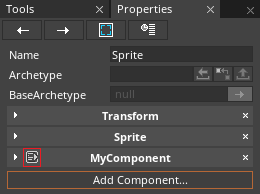
NOTE: You can click the icon next to a custom component's name in the Properties Window to access that component's NadaScript resource.
Basic Scripting with Nada
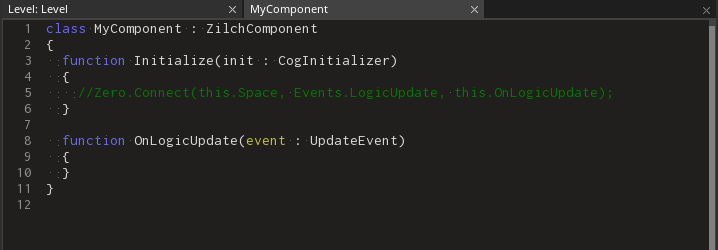
Upon the creation of a NadaScript, Zilch Engine will open that resource in a new tab: a text editor where you can include all the necessary logic for your component. Let's take a look at what the Component template template gives us:
NOTE: If you are new to scripting, this series of tutorials marked with #beginner_ii will cover the basics of scripting in Nada within the Zilch Engine. That said, a lot of the concepts we'll cover are common to many other programming languages, and you may benefit from reading up on other programming resources targeted at beginners.
Classes
A class is an abstract entity that is responsible for a specific set of tasks. Notably, a class has two primary purposes: storing data and manipulating data. Let's look closely at the very first line of our script:

The MyComponent script, line 1
The first keyword class indicates that we are providing the definition of a class. Notice that this keyword is highlighted in blue. Zilch Engine will highlight specific keywords that it recognizes as having significance in the Nada language, which can be very useful for understanding how the engine is interpreting the script.
Next, we have MyComponent, which is the name we gave this script, confirming that it is the identifier we wish to assign to this class. It is worth mentioning that all classes must have a unique name, and you cannot use names already used by Zilch Engine.
Next, we have : Nada Component. The colon : token is an important one within Nada, and can be interpreted to mean "of type". In this case, we have a class named MyComponent that is of type NadaComponent. NadaComponent is a very commonly used class type, and examples of it will be featured extensively here and in later tutorials.
Lastly, on lines 2 and 11 we have the curly brace symbols { and }. These symbols denote that our class definition is confined to the space between them, which is called the class's scope, and all details pertaining to a class have to be described within it.
NOTE: For stylistic and organizational purposes, it is common to indent (put spaces or tabs in front of) lines within a scope. This is done to improve the readability and allow the reader to more easily see what's contained within the scope.
Initialize
Next is the Initialize function. While functions will be covered in more detail in a later tutorial, what you need to know now is that Initialize is a special function on components that is invoked (executed) immediately after the object is created. When Initialize is invoked, all code within its scope will be executed in sequence.

- In the
MyComponentscript - Add the following to the
Initializefunction in theMyComponentclass:
this.Owner.Sprite.VertexColor = Real4(1,0,0,1);
Your code should look like this:
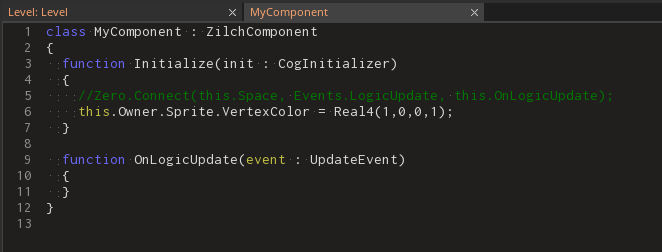
The MyComponent class, updated
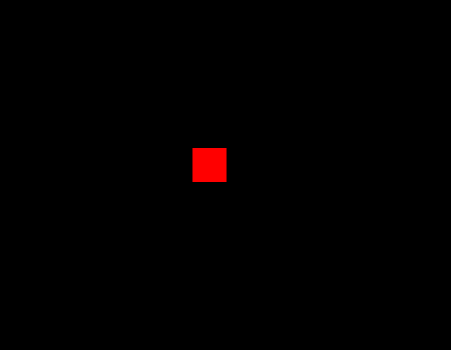
The Sprite object has turned red
These instructions are telling the owner of this component (the Sprite object object) to set its Sprite component's VertexColor property to red. This topic will be covered in more detail in the Variables tutorial.
Code Comments
You may have noticed an interesting line within the scope of the Initialize function:

MyComponent, line 5
This line is actually a piece of functionality that has been "commented out". In Nada, you can write comments in code by using the // token. This causes that token and everything on the line after it to be considered a comment that has no effect on the program's behavior.
While comments are very useful to write descriptions and explanations of the functionality of your code, another useful utility is to apply them to temporarily toggle functionality off by commenting lines of code out.
NOTE: You can use Ctrl + K to quickly comment blocks of code in or out.
Here we have an event connection that has been commented out. The details of events and connections are covered in a later tutorial; just know for now that line 5 is what makes the OnLogicUpdate function get called every frame.
- In the
MyComponentscript - Uncomment the LogicUpdate event connection by removing the
//from it:

NOTE: Another way of defining comments is to use the /* and */ tokens. This will cause everything between the two tokens to be considered a comment, which can be used to create multi-line comments.
LogicUpdate
Once the event connection is established (typically done in Initialize), the component is ready to receive LogicUpdate events from the Engine. This allows the component to execute instructions every frame for as long as the connection exists.
LogicUpdate can be a good place to listen for input and respond accordingly, or to manage persistent behaviors, such as a character's artificial intelligence.
- In the
MyComponentscript - Add the following to the
OnLogicUpdatefunction in theMyComponentclass:
this.Owner.Transform.Translation += Real3(0.1, 0.0, 0.0);
This is what your code should look like:
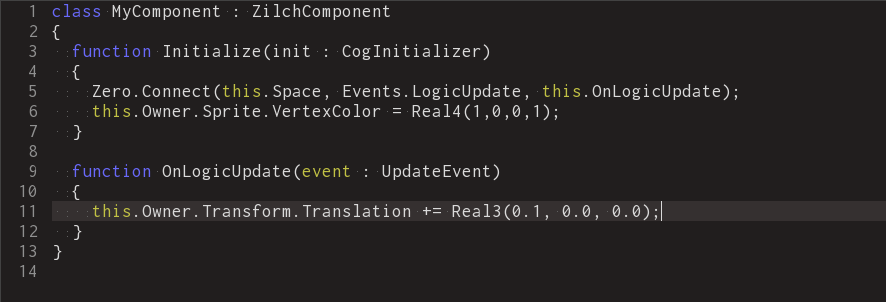
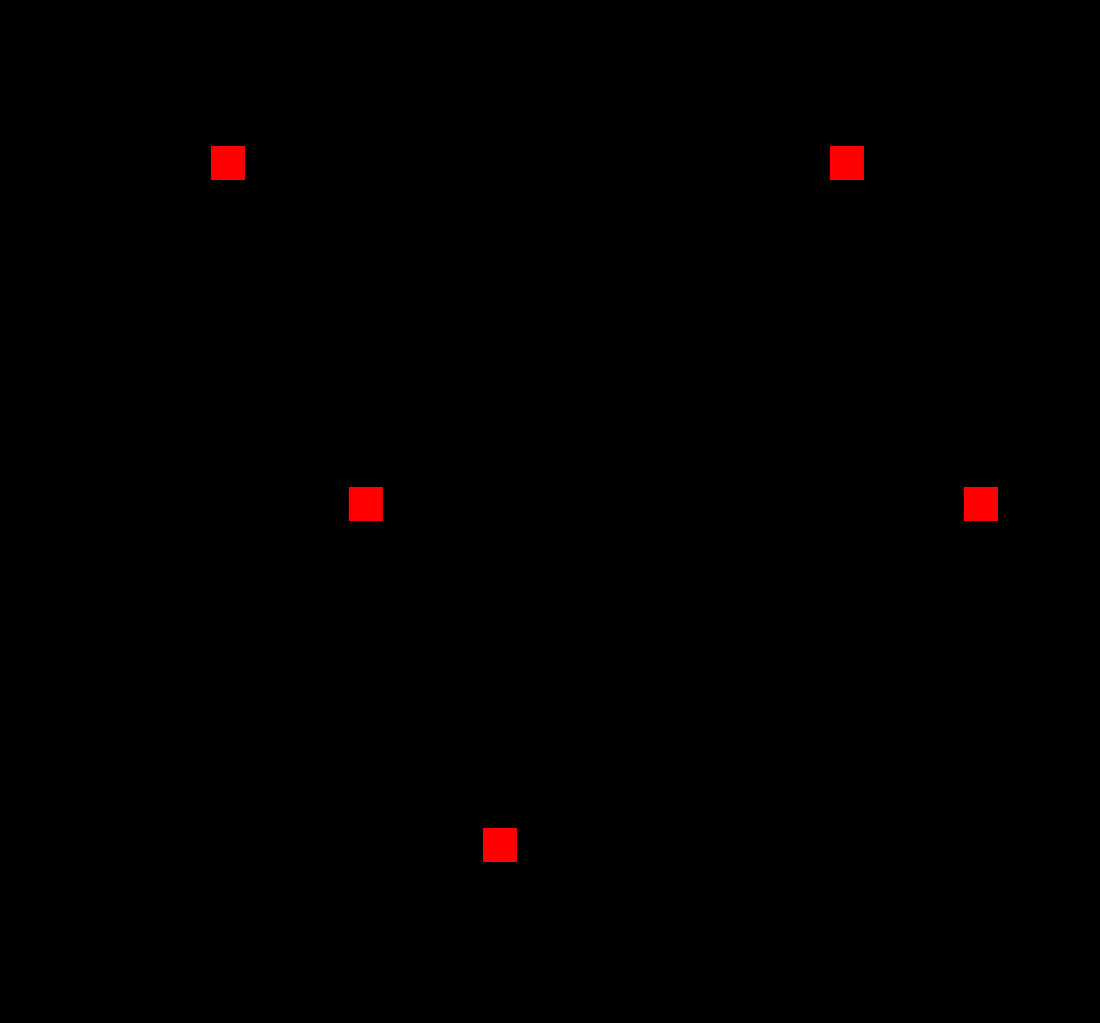
The Sprite object now moves to the right
The instruction we just added causes the object to move to the right just slightly, but since our code is running every frame, it causes our Sprite object object to move all the way to the right.