This lesson focuses on covering the basics of audio in Zilch Engine.
Learning Objectives
- Importing audio files
- Creating and playing sound cues
Level Setup
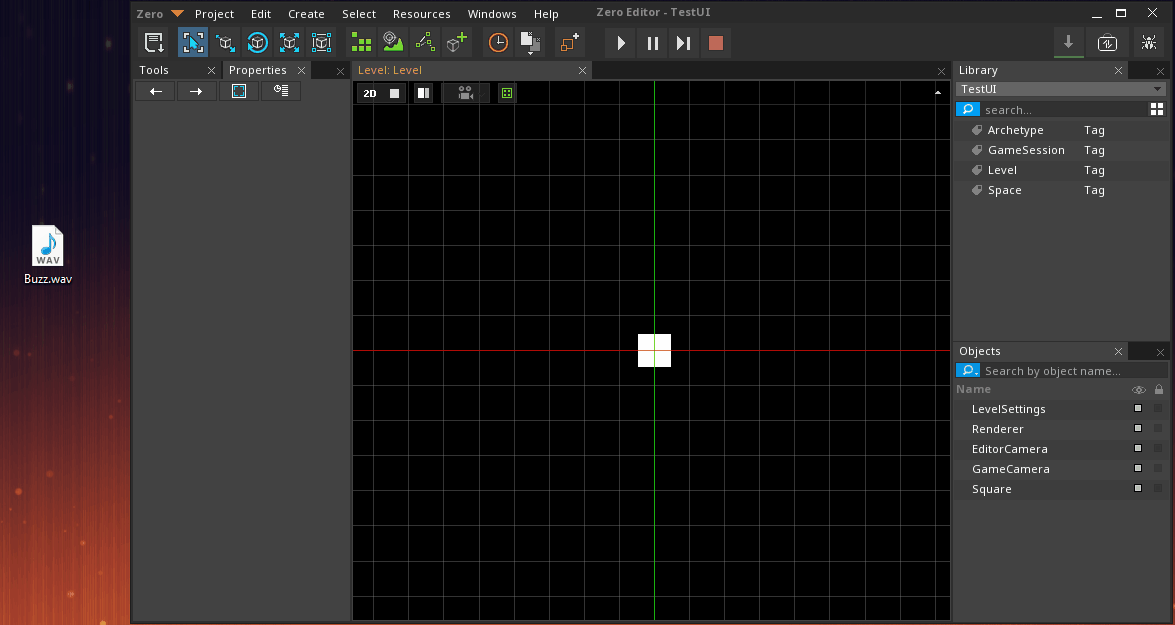
Create a new project using the {nav icon=clone, name=Empty 2D Project} template
In the
Properties WindowRename Sprite object to
SquareAdd Component : [RigidBody]D:/Dev/CPP/ZilchEngine/ZilchEngineWebsite/docs/code_reference/class_reference/rigidbody.md)
Importing Audio
In Zilch Engine, you can play sound files by importing them as resources. There are two important resources to play audio; Sound and SoundCue. By default, Zilch Engine includes both a DefaultSound resource and a DefaultSoundCue resource resources, which is what we hear when running the game. Let's experiment by adding a new sound file.
- Download the following file:
- Import it into the project by dragging and dropping the file into the
Level Window - In the
Import Window - Set GenerateCue to
PerSound - Set GroupName to
Buzz - Press the
Import Allbutton
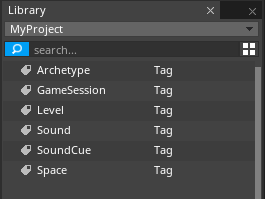
Now we have added both a Sound resource and SoundCue resource resource to our project. We can verify this by looking at the Library Window under the respective tags.
NOTE: Zilch Engine only supports WAV and OGG audio formats, if the file you are looking to import is of a different extension, you'll need it to convert it first.
Sound Cue
SoundCues are resources that allow you to modify properties of a sound without altering the sound files themselves and are necessary to play any kind of audio in Zilch Engine. Let's take a look at a few of the SoundCue resource settings.
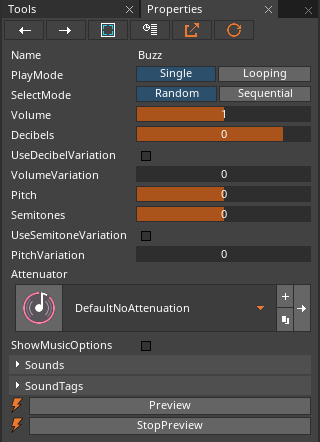
| Common Sound Cue Properties | |
|---|---|
| PlayMode enum | Whether the sound should a Single time or loop on completion |
| Volume & Decibels | How quiet or loud the sound should be played |
| Pitch & Semitones | How high or low pitched the sound should be played |
| VolumeVariation | Added random volume variation within the given range when sound is played |
| PitchVariation | Added random pitch variation within the given range when sound is played |
| Attenuator enum | The resource that defines how the sound behaves based on distance from the origin |
- In the
Library Window - Under the SoundCue tag
Double-ClickBuzz- In the
Properties Window - Set PlayMode to
Looping - Select : Square object
- In the
Properties Window - Under SimpleSound
- Set SoundCue enum to
Buzz - Command : PlayGame
You should now be hearing the Buzz sound effect looping.
Attenuation
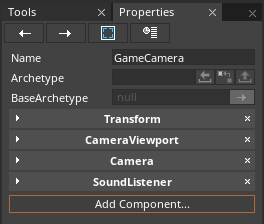
Previously, we have played sounds that remain just as loud irrespective of the emitter's position (non-positional sounds). Zilch Engine also allows us to setup sounds to be played positionally; growing louder or quieter based on the Sound Listener's position, which is added by default to the Game Camera object.
Let's take a look on how to play positional sounds.
- Command : Add Resource
- Create a SoundAttenuator resource named
CustomAttenuation - In the
Library Window - Under SoundAttenuator
Double-ClickCustomAttenuation resource- In the
Properties Window - Set StartDistance to
10 - Set StopDistance to
50 - Set MinAttenuatedVolume to
0 - Select : Square object
- In the
Properties Window - Under SoundEmitter
- Set Attenuator to
CustomAttenuation - Under SimpleSound
- Set Positional checkBox to
true - Command : PlayGame
If done correctly, you should notice the sound getting quieter as the Square object object falls and gets farther from the Game Camera which has a SoundListener.
Related Materials
Manual
- {icon university}[sound
- {icon university}[soundcue
- {icon university}[simplesound
- {icon university}[soundattenuator
- {icon university}[soundemitter
- {icon university}[soundlistener