This lesson covers the basic ways to rotate an object in 2D at runtime.
Learning Objectives
- Rotation basics
- EulerAngles
- The ToRadians function
- Simple 2D vector math
Level Setup
- Create a New 2D Project
- Select : GameCamera object
- In the
Properties Window - Under Camera
- Set Size to
5 - Command : Add Resource
- Create a NadaScript resource using the Component template template and name it
Rotate2D - Command : CreateSprite
- In the
Properties Window - Rename Sprite object to
Parent - Under Transform
- Set Translation to
[0, 0, 0] - Add Component :
Rotate2D - Under Transform
- Hover the cursor over the name of the Transform.Rotation property.
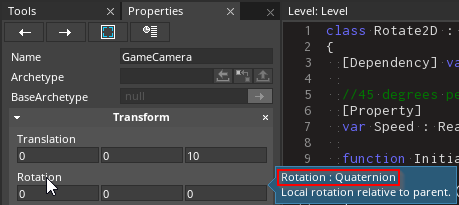
Hovering over Transform.Rotation
As you can see, rotational data is saved as a Quaternion. As a high-level developer, you do not need to know how Quaternions work, but you will need to know how to use them. In the Properties Window, Quaternions are represented by three angles that are the rotation of the object around the corresponding three axes; these are called Euler (pronounced �oil-er�) angles. In this lesson, we will be working with a 2D game, so we only need to worry about the Z-axis rotation.
Rotation can be changed either through the Properties Window or via accessing the Transform component in script.
Simple Rotating on Update
- In
Rotate2D - Replace the script's content with the following code block
class Rotate2D : NadaComponent
{
  [Dependency] var Transform : Transform;

  //45 degrees per second
  [Property]
  var Speed : Real = 45.0;

  function Initialize(init : CogInitializer)
  {
    Zilch.Connect(this.Space, Events.LogicUpdate, this.OnLogicUpdate);
  }

  function OnLogicUpdate(event : UpdateEvent)
  {
  }
}
This first type of rotation to look at is //continuous rotation//, which is common in 2D games. It's often very simple, since, depending on the perspective of the game (top down or side view), an object may only ever need to rotate around a single axis.
The first thing we need in order to rotate an object is a speed, which we have defined as a member variable of Rotate2D. The next item needed for this example is our update loop. Just as with translating an object, we want the rotation to appear smoothly interpolated over time, so we will need to rotate just a little bit each frame.
- In
Rotate2D - Update the
OnLogicUpdatefunction to the following
function OnLogicUpdate(event : UpdateEvent)
{
  //convert rotation speed to radians
  var speedRadians = Math.ToRadians(this.Speed);
  //define which axis to apply the rotation on
  var eulerAngles = Real3(0,0,speedRadians);
  //scale the rate of rotation to the framerate
  var frameEulerAngles = eulerAngles * event.Dt;
  //convert the rotation to quaternion so we can pass it to the Transform's rotation functions
  var frameRotation = Math.ToQuaternion(frameEulerAngles);
  //rotate the object
  this.Transform.RotateWorld(frameRotation);
}
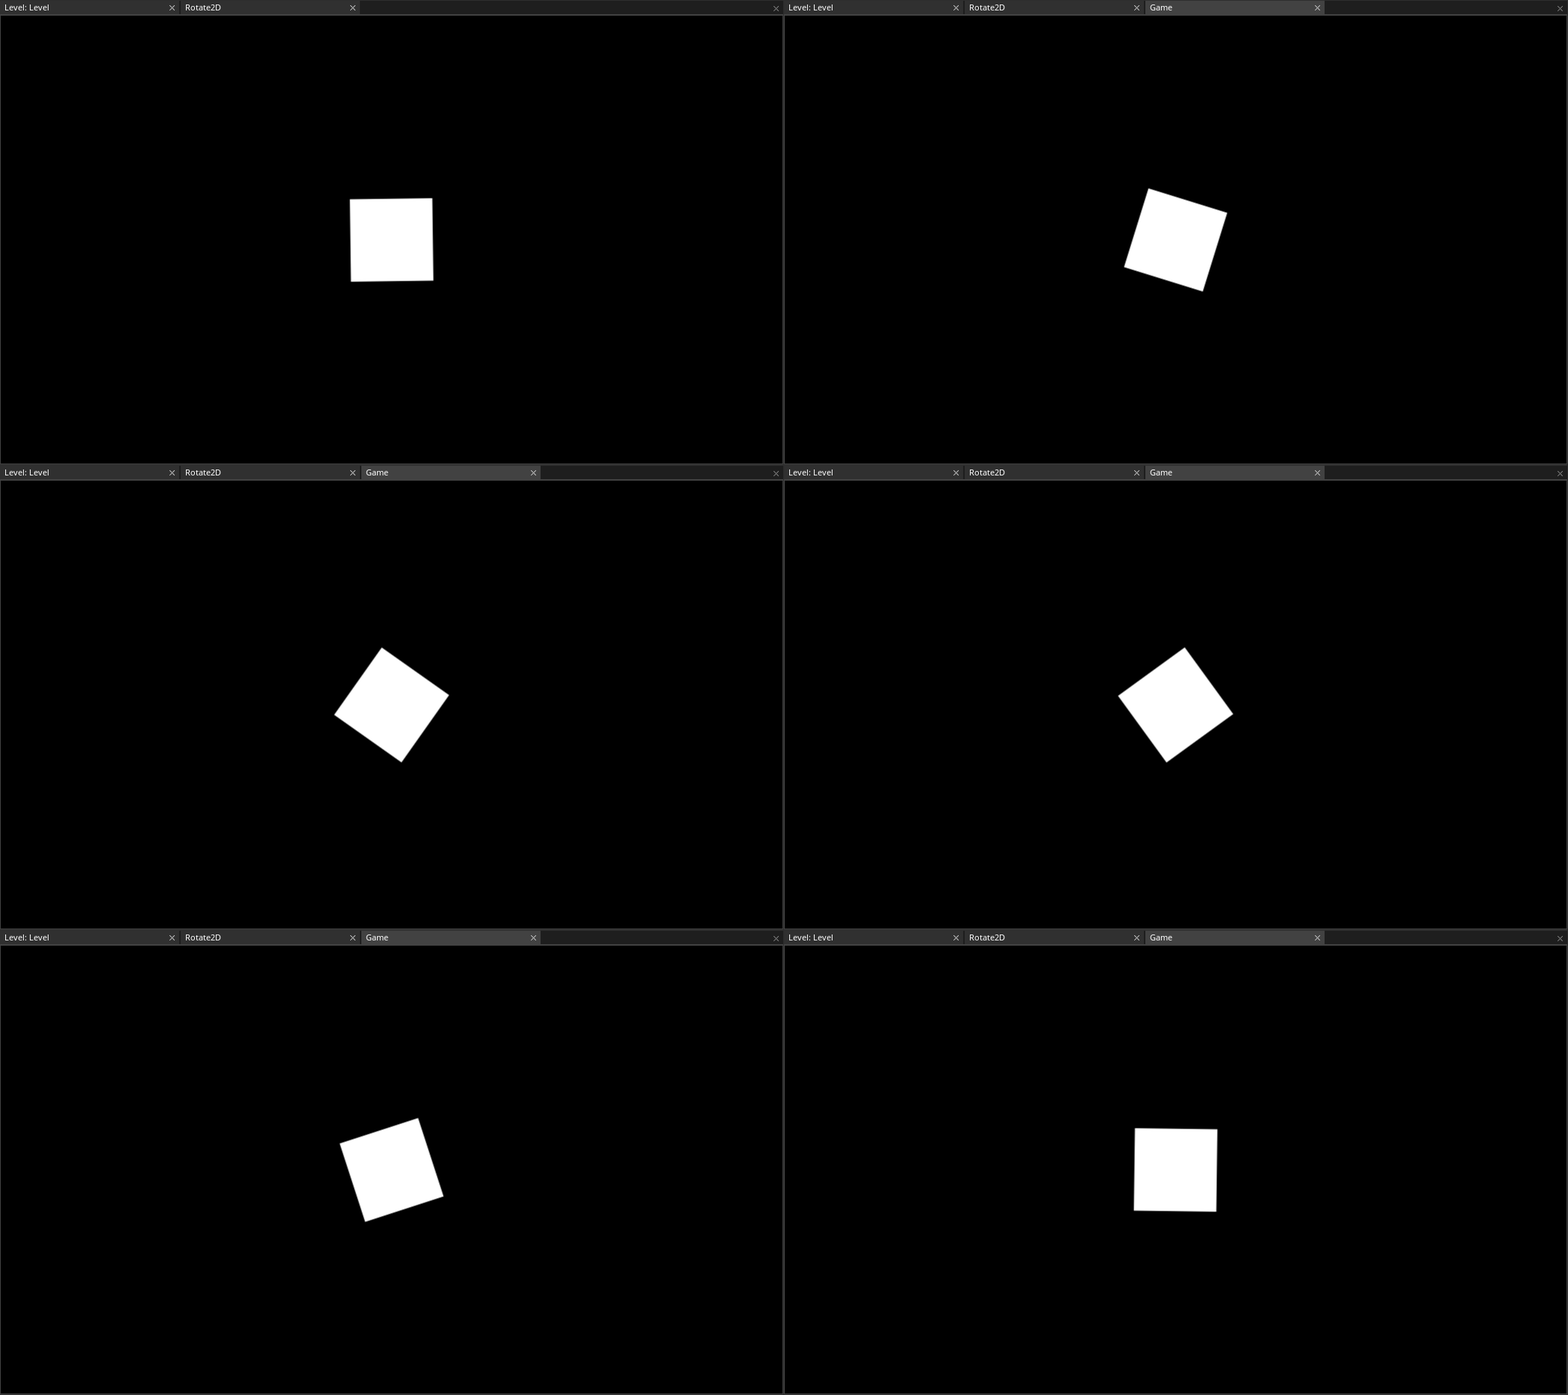
Local vs World Rotation
You may have noticed the name of the function RotateAnglesWorld, and wondered why there is also a RotateAnglesLocal function. Let's take a closer look at these functions.
Parent RotateWorld
Select : Sprite object
In the
Properties WindowRename Sprite object to
ChildUnder Transform
Set Translation to
[0, 1, 0]Under Sprite
Set VertexColor to
[R:255, G:0, B:0, A:1.0]Attach Child object to Parent object
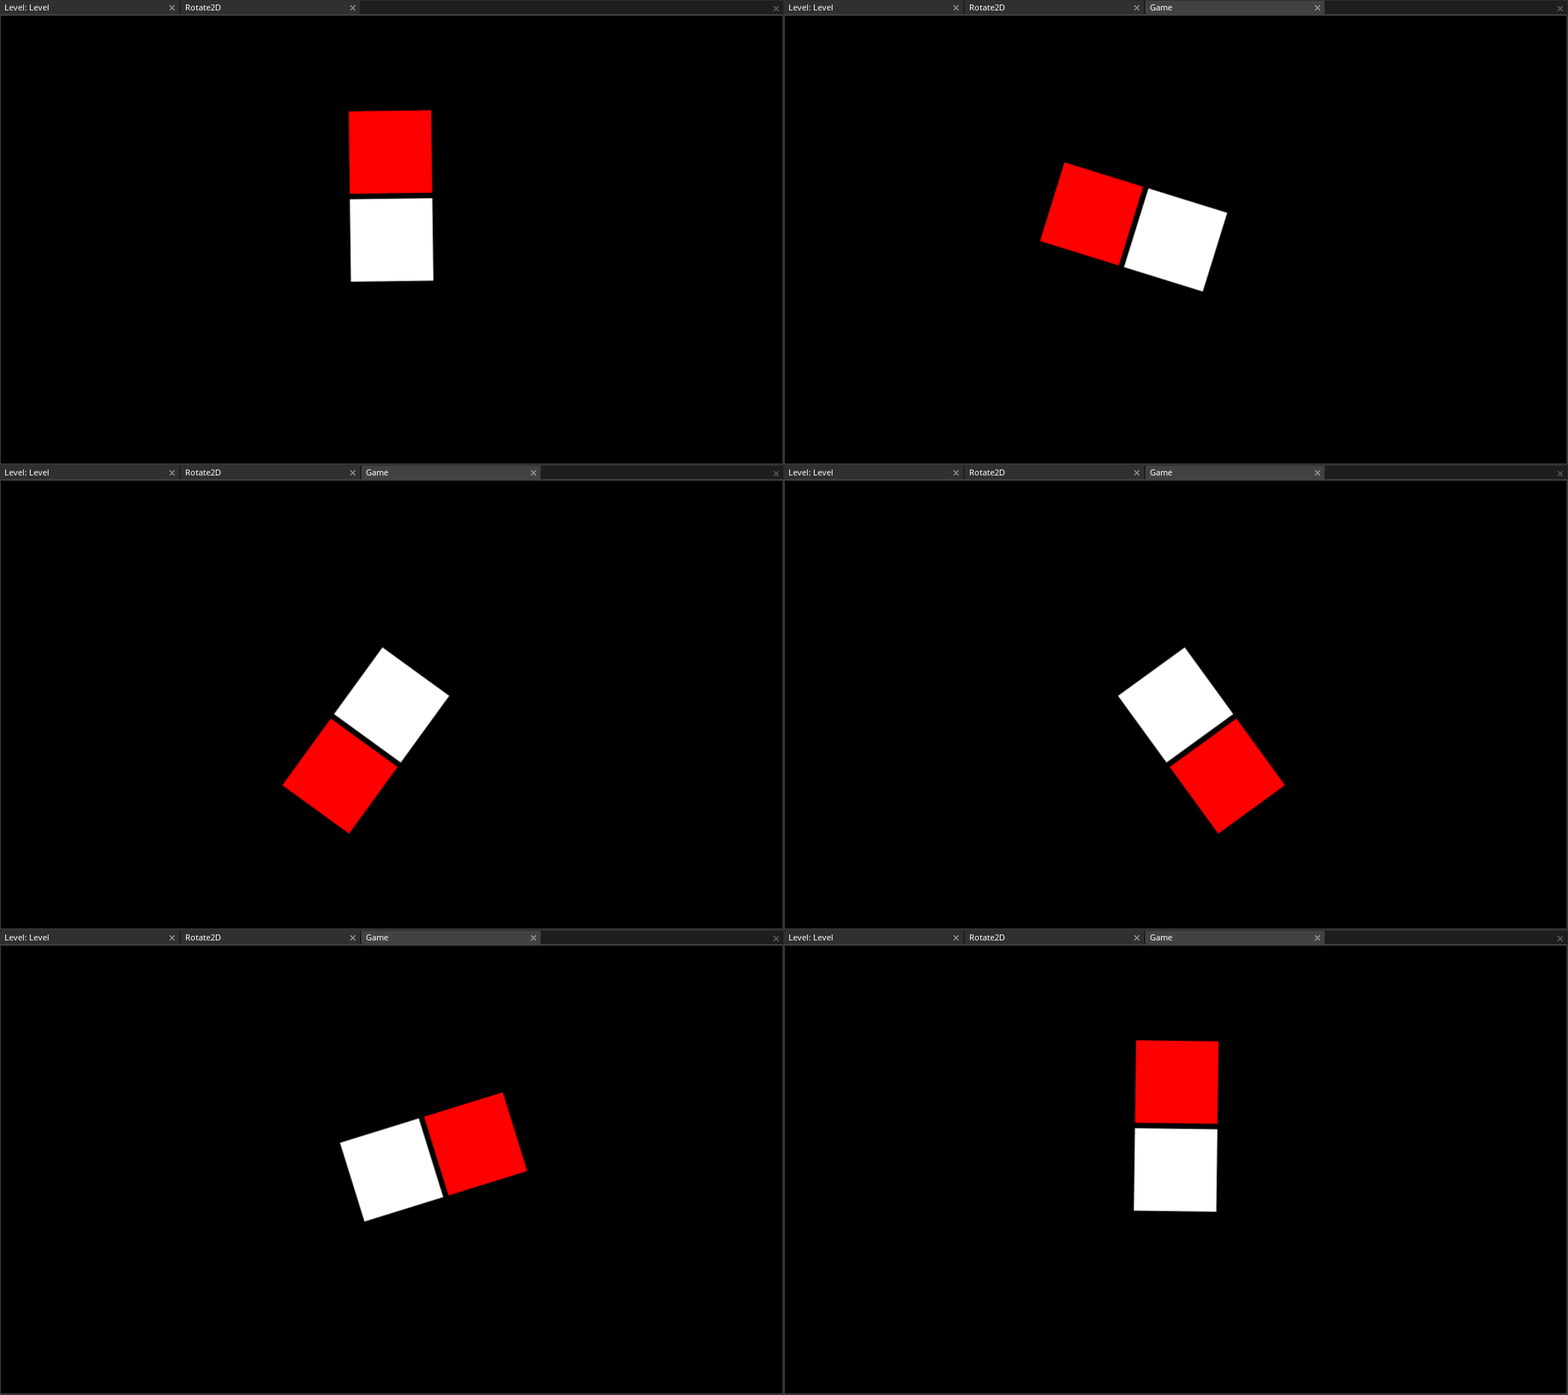
Now we can see that a child object rotates with its parent. You may have seen similar behavior when using the rotation tool with hierarchies in the past. It is important to note that the Child object maintains it's translation relative to the parent object as the parent object rotates.
Child RotateWorld
- Select : Child object
- In the
Properties Window - Add Component :
Rotate2D - Select : Parent object
- In the
Properties Window - Remove Component :
Rotate2D - Command : PlayGame
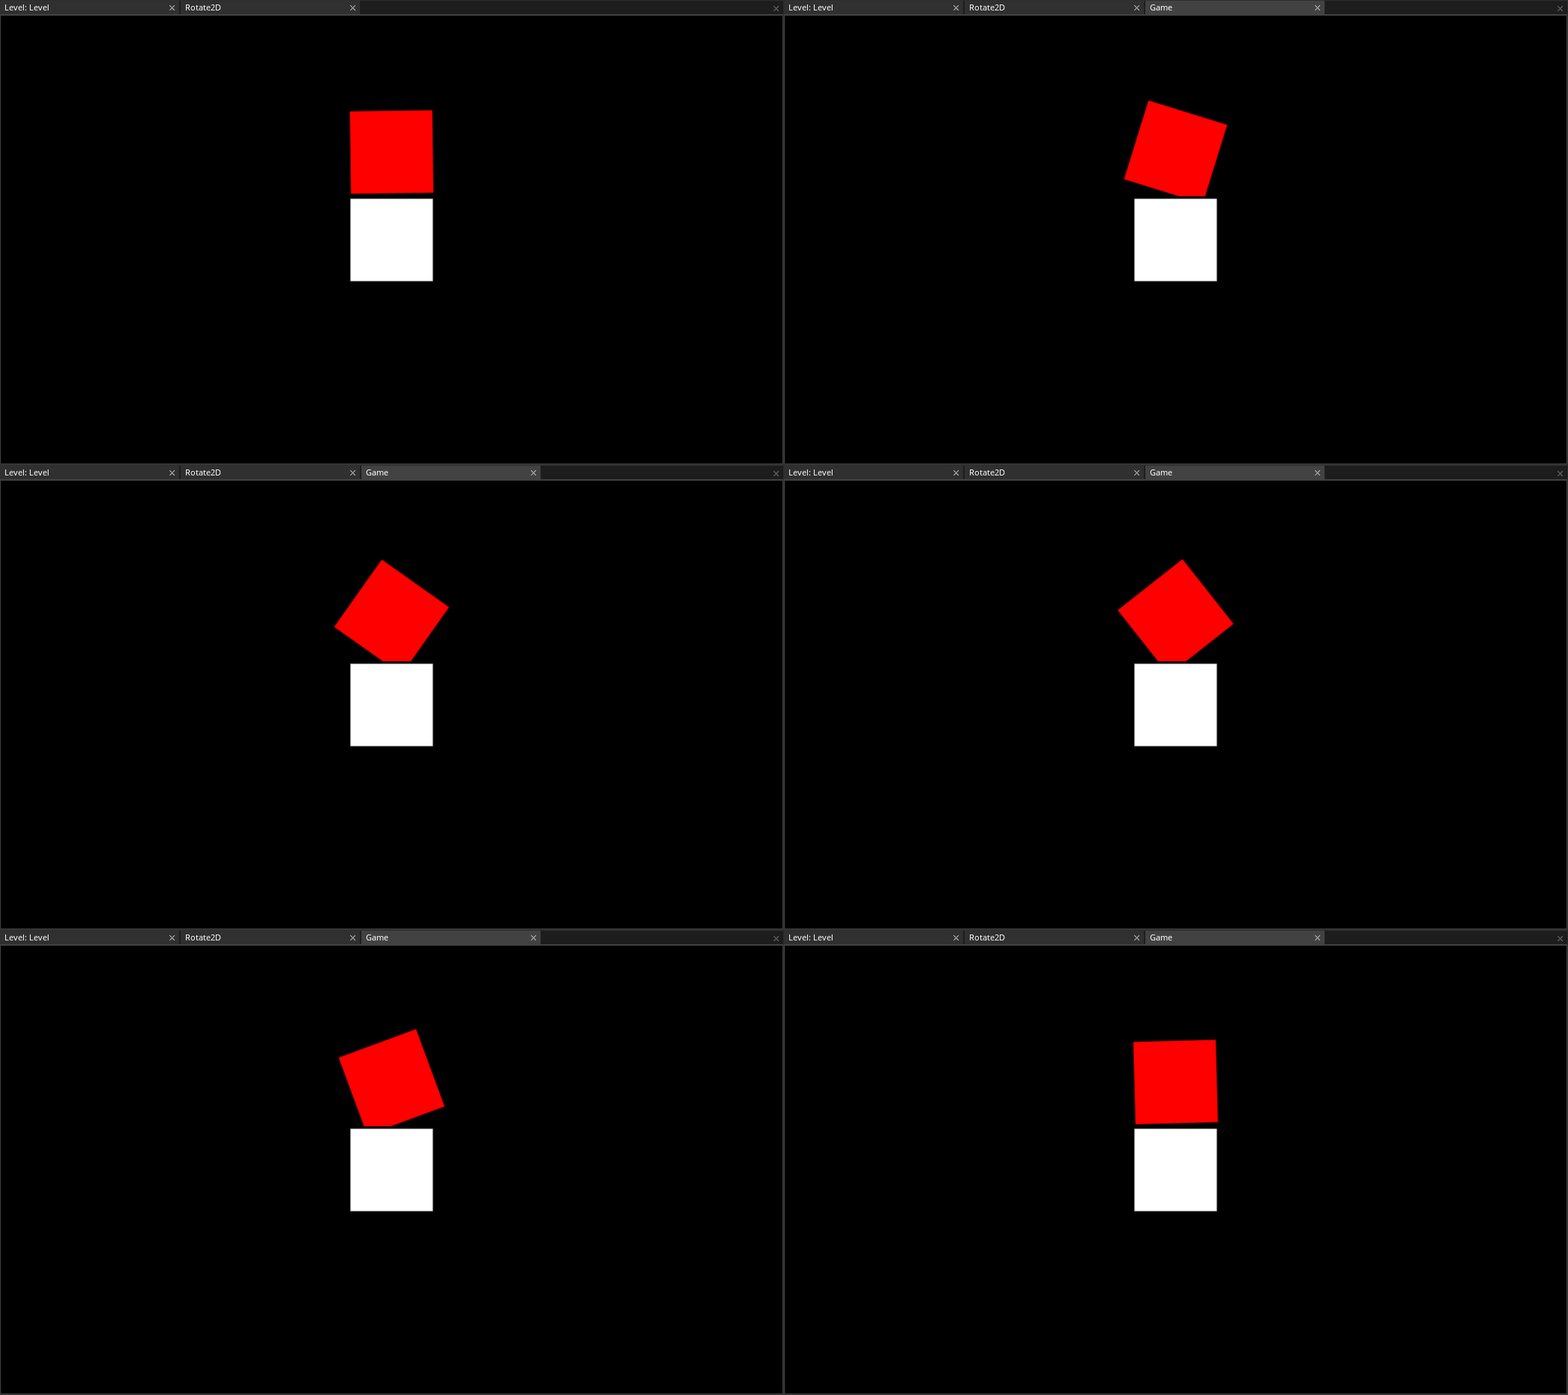
Here we can see that rotating the Child object has no affect on the Parent object.
(NOTE)Transform.RotateWorld vs Transform.RotateLocal: You may have noticed the RotateLocal function on Transform. Local and World refer to to the axes that the rotation will be applied to. RotateWorld rotates an object around its world axes, while RotateLocal rotates it around the axes of its parent object (if any). This is done by applying the rotation of the parent object to the child after the child applies its own rotation.
Rotating with Actions
Rotating on update is useful when trying to rotate in a specific direction, continuously, or more than 360 degrees. However, we often want an object to make quick small rotations to a specific target rotation. This is where rotating with Actions is very convenient.
- In
Rotate2D - Update the
Rotate2Dclass to look like the following code block
class Rotate2D : NadaComponent
{
  [Dependency] var Transform : Transform;

  [Property]
  var TargetRotation : Real3 = Real3(0,0,45);

  [Property]
  var Duration : Real = 1.0;

  function Initialize(init : CogInitializer)
  {
    var targRot = Math.ToQuaternion(Math.ToRadians(this.TargetRotation));
    var rotAction = Action.Property(this.Owner.Actions,
                                    @this.Transform.Rotation,
                                    targRot,
                                    this.Duration,
                                    Ease.Linear);
  }
}
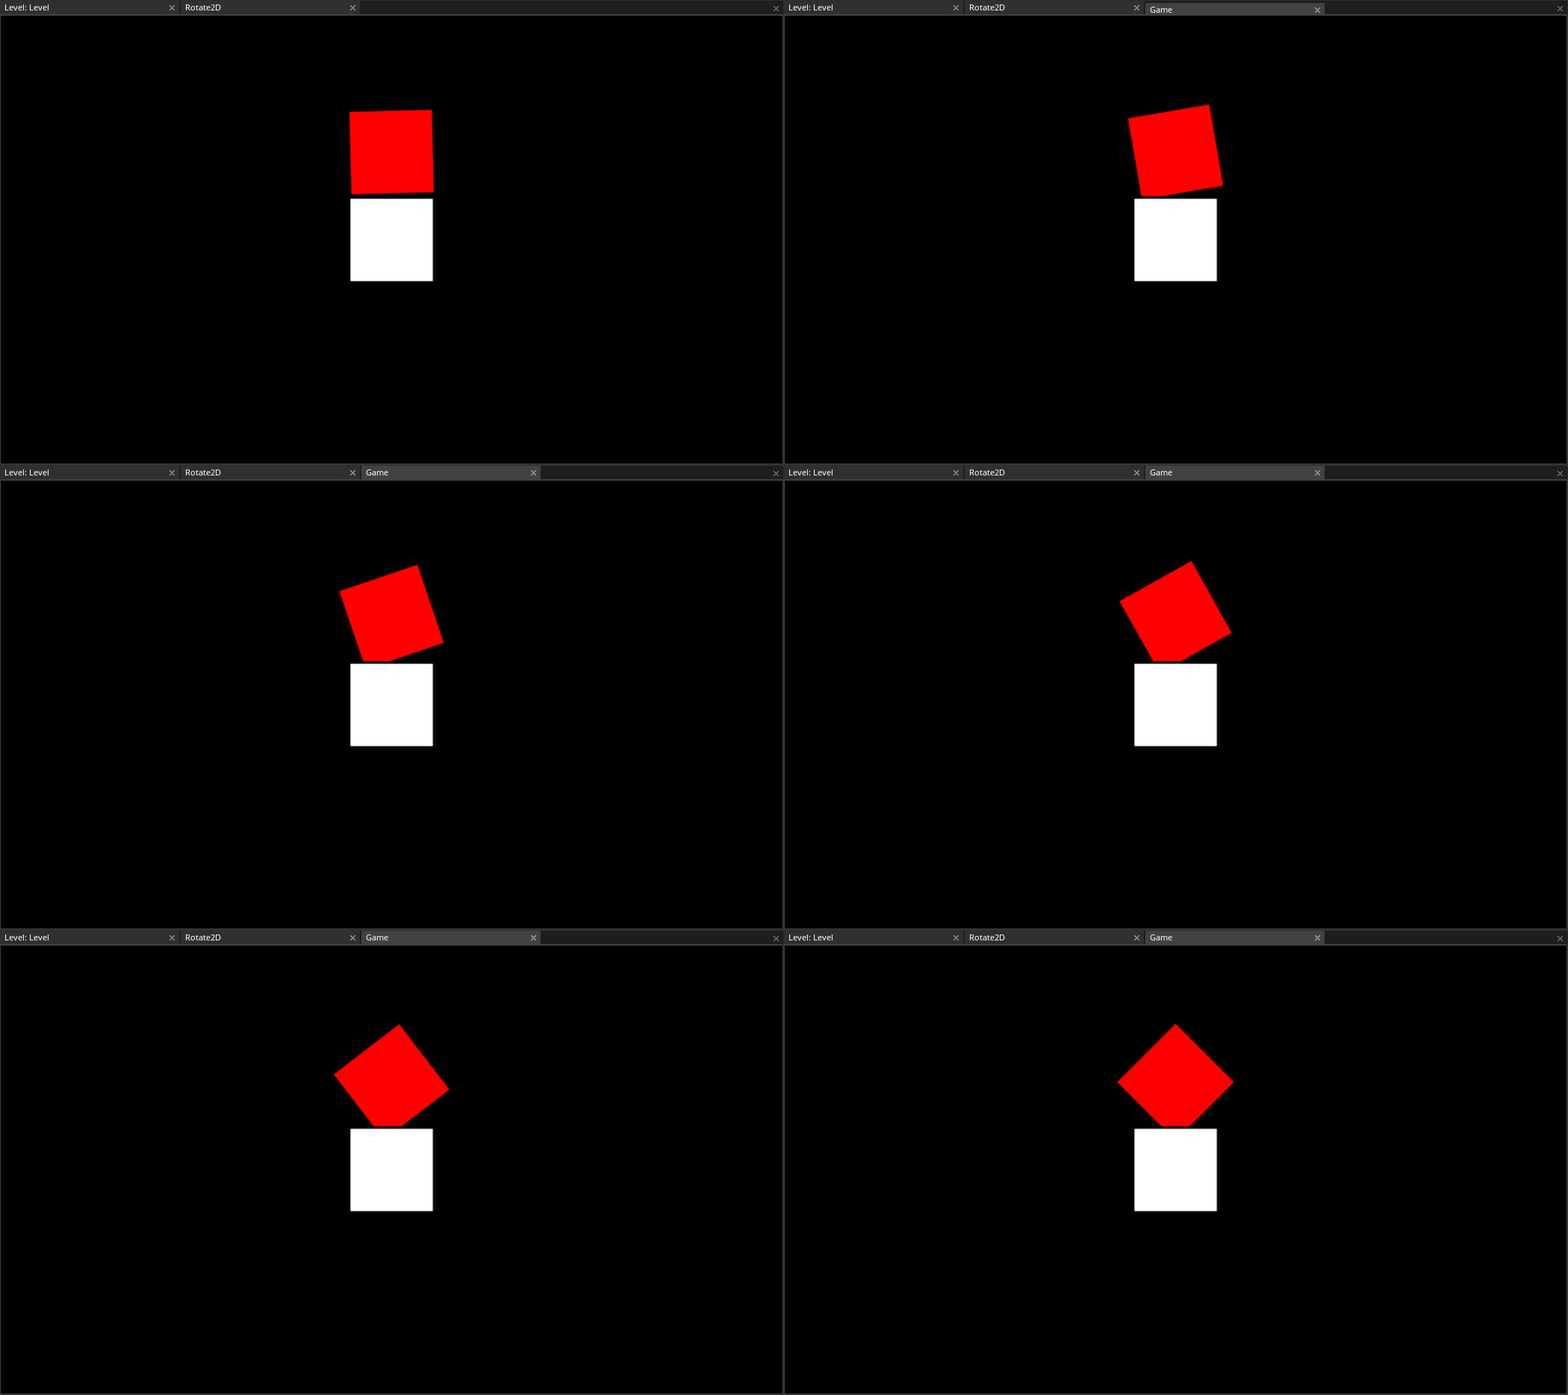
Rotating the child object to 45 degrees on the Z-axis using an Action
Select : Child object
In the
Properties WindowUnder
Rotate2DSet
TargetRotationto[0,0,405]

Rotating the child object to 405 degrees on the Z-axis using an Action
Notice how both rotations appear the same. Now one may expect the object to make a full 405 degree rotation. However, in the constructor of Quaternion the angle is normalized to the range of [0, 360] degrees. Since 405 degrees is equivalent to 45 degrees, that is the rotation of the Quaternion that is passed to the action constructor.
Related Materials
Manual
- Create a New 2D Project
- Add Resource
- {icon university}[[zilch_engine_documentation/zilch_editor_documentation/zilchmanual/editor/addremovecomponent/|Add/Remove Component]]
Tutorials
Reference
Classes
Commands
Tasks
- T1174