This lesson covers creating a custom mouse cursor in the Zilch Engine.
Learning Objectives
- Applying knowledge of mouse input to make a cursor follow the mouse
- Applying knowledge of spaces to put the custom cursor in its own viewport layer
Level Setup
- Command : New Project
- Create a new project using the {nav icon=clone, name=Empty 2D Project} template
- Command : CreateSphere
- In the
Properties Window - Remove Component : RigidBody
- Remove Component : SphereCollider
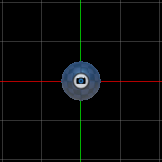
Creating a Custom Mouse Cursor
Making a custom mouse cursor in the Zilch Engine is as simple as making a sprite (or a model, or a particle system, etc.) follow the mouse around, and also setting the normal cursor to be invisible. Let's take a custom image and use it as our new cursor.
- Download the following image file:

- Import it into the project by dragging and dropping it into the
Level Window - In the
Group Import Options Window - Under
ImageOptions - Set ImportImages enum to
Sprites - Press the
Import Allbutton
The apparent "point" of this particular SpriteSource is not at its center or one of its corners, so we should adjust its Origin properties a bit, so that its transform is in just the right spot.
- In the
Library Window - Under the SpriteSource tag
Double clickPyramidCursor- In the
Sprite Source Editor Window - Set Origin enum to
Custom - Set OriginX to
7 - Set OriginY to
6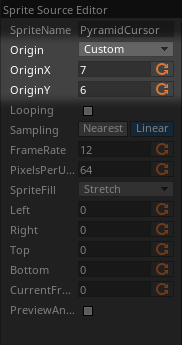
- Press the
Save to Sprite Sourcebutton
Now that we have a SpriteSource to use, it's time to make the cursor.
- Command : CreateSprite
- In the
Properties Window - Rename Sprite object to
Cursor - Under Sprite
- Set SpriteSource enum to
PyramidCursor
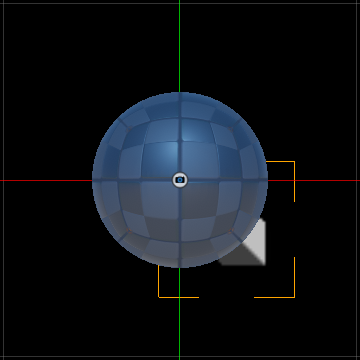
There's a problem here: the main game level's objects are drawn overtop of the cursor. We'll cover how to solve that soon, but let's keep going for now. What we need next is a component that will make this sprite follow the mouse around wherever it moves.
Moving the Cursor
- Command : Add Resource
- Create a NadaScript resource using the Component template template and name it
MouseFollower - Update the
MouseFollowerscript to the following:
class MouseFollower : NadaComponent
{
  [Dependency] var Transform : Transform;

  function Initialize(init : CogInitializer)
  {
    Zilch.Mouse.Cursor = Cursor.Invisible;

    Zilch.Connect(this.Space, Events.MouseMove, this.OnMouseMove);
  }

  function OnMouseMove(event : ViewportMouseEvent)
  {
    this.Transform.WorldTranslation = event.ToWorldZPlane(0);
  }
}
This component will make whatever we attach it to set its position to the world-space coordinates of the mouse whenever the mouse moves. It also sets the mouse cursor to be invisible when it is initialized.
- Select : Cursor object
- In the
Properties Window - Add Component :
MouseFollower - Command : PlayGame
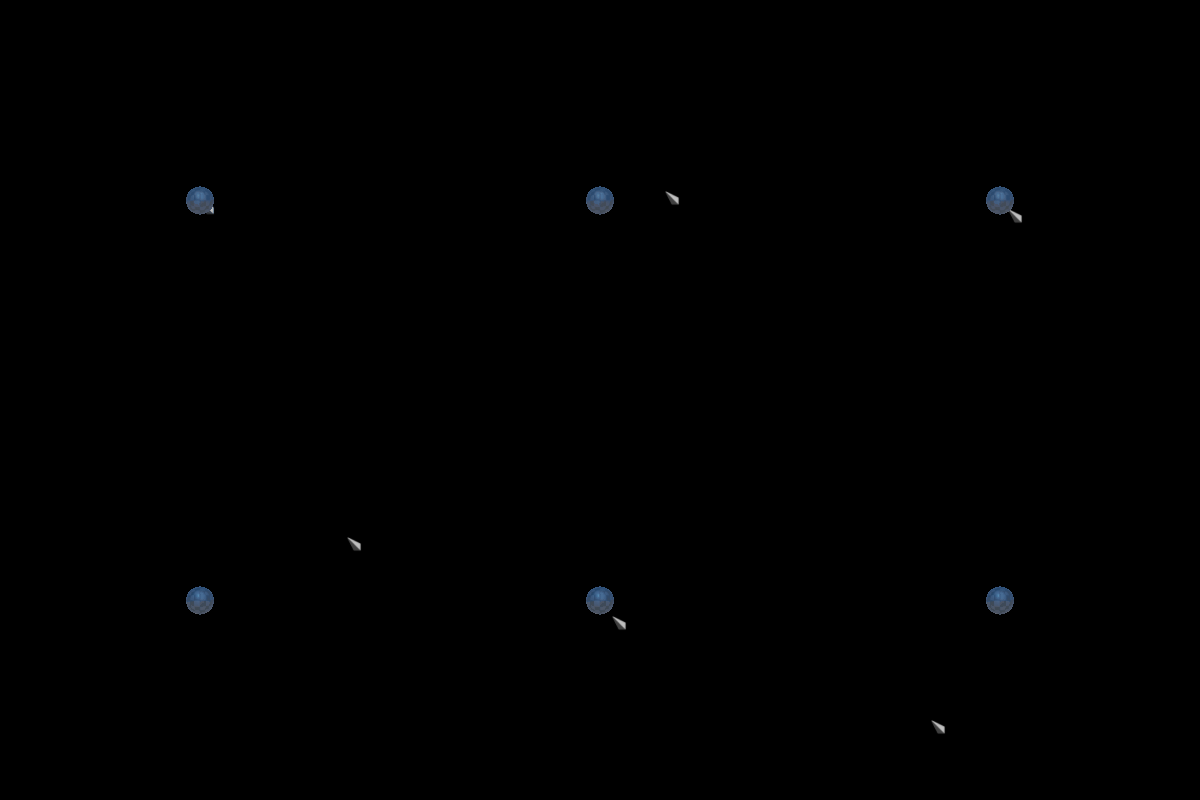
Moving the mouse now brings the cursor sprite with it.
(NOTE) When the Cursor Comes Back: You may notice that if you move the mouse so that the cursor leaves the Game Window, the default mouse cursor will reappear when you move it back inside. This is a side effect of intended behavior on the part of the Zilch Editor; you'll only see it when a project is running in the editor, so it won't happen with exported executables.
Now let's fix the fact that the cursor is not drawn on top. The problem is that the cursor is an object in the same space as the other objects in the level, which means it won't necessarily always appear on top of everything, as a proper mouse cursor should. We could move it along the Z axis to put it in front of the sphere, and that would work in this particular case, but it's not a good approach in general. What we really should do is put the cursor in its own space. Let's begin by creating a level for that space, which will contain the cursor (and not much else).
Cursor Space
- Command : Add Resource
- Create a Level resource using the {nav icon=clone, name=2D Level} template and name it
CursorLevel
Just as we learned in the tutorial on spaces, we need to tweak a few settings a bit in this level to ensure that it will layer on top of the main space properly.
- Select : Renderer object
- In the
Properties Window - Under
ForwardRenderer - Set ClearColor to
[R:0, G:0, B:0, A:0.00]
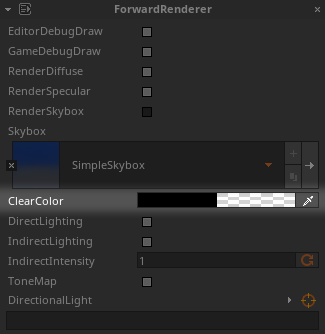
The renderer's ClearColor needs to be transparent, or it will be impossible to see the main game level through the overlaid cursor space.
- Select : GameCamera object
- In the
Properties Window - Under CameraViewport
- Set RenderOrder to
1 - Set ForwardViewportEvents checkBox to
true
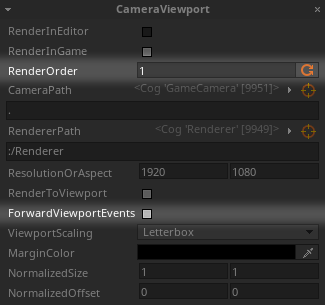
The CameraViewport's RenderOrder in the cursor space needs to be greater than that of the main space so that it will correctly be layered on top. Also, since a mouse-driven game depends on mouse events, we need to make sure we check the ForwardViewportEvents checkBox box. Otherwise, the cursor space would block all of our attempts at mouse interaction from reaching the main space beneath it.
Next, we need a component that, when initialized, will create the cursor space, load the cursor level, and create the custom cursor.
- Command : Add Resource
- Create a NadaScript resource using the Component template template and name it
CustomCursor - Update the
CustomCursorscript to the following:
class CustomCursor : NadaComponent
{
  [Property]
  var CursorLevel : Level = Level.CursorLevel;
  [Property]
  var CursorArchetype : Archetype = Archetype.CustomCursor;

  var CursorSpace : Space;
  var Cursor : Cog;

  function Initialize(init : CogInitializer)
  {
    this.CursorSpace = this.GameSession.CreateNamedSpace("CursorSpace", Archetype.DefaultSpace);
    this.CursorSpace.LoadLevel(this.CursorLevel);
    this.Cursor = this.CursorSpace.Create(this.CursorArchetype);

    Zilch.Connect(this.Owner, Events.CogDestroy, this.OnCogDestroy);
  }

  function OnCogDestroy(event : ObjectEvent)
  {
    if (this.CursorSpace != null)
      this.CursorSpace.Destroy();
  }
}
When this component is initialized, it creates the cursor space and loads the cursor level into it, then creates the custom cursor in that level. (It also has a handy reference to the cursor, which you can access in case you want to manipulate it at runtime in another script.) When the cog it is attached to is destroyed, it destroys the cursor space. We'll attach it to the LevelSettings object object in the main space, so that the cursor will be created as soon as the game begins.
(NOTE) Why Destroy? In this tutorial's game, we're attaching the CustomCursor to the LevelSettings object object in the main space, which is created when the level is loaded and destroyed when it ends. Thus, the cursor space will exist for as long as the main space does. So why should we bother to destroy it explicitly when the LevelSettings object is destroyed? The answer is that if were to make a game with some levels that use the mouse with a custom cursor and some that don't, we would be switching back and forth as we load levels. This is a convenient way to make the component that creates the space clean up after itself in a manner that ensures that the custom cursor is present only when it's needed, and that we don't unwittingly create duplicates of it.
- In the
Library Window - Under the Level tag
- Open the
LevelLevel resource - Select : LevelSettings object
- In the
Properties Window - Add Component :
CustomCursor
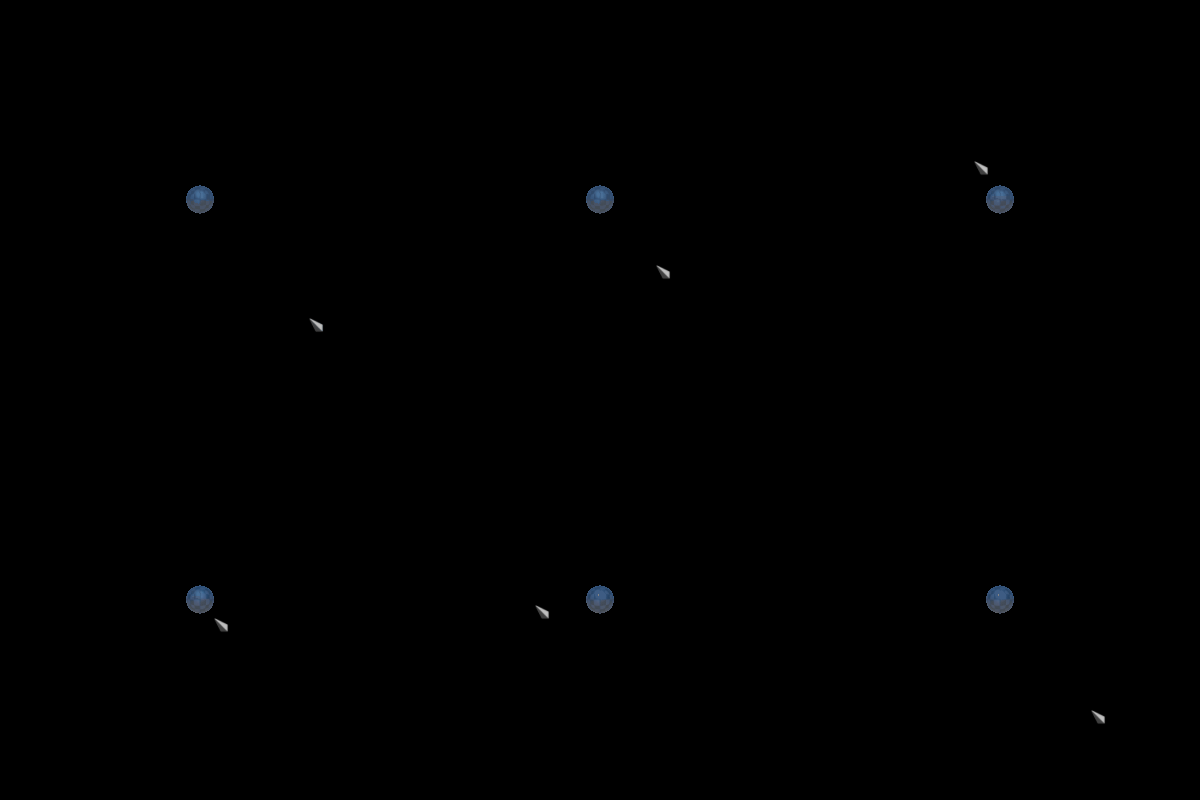
We're finally done! Let's see it all together.
Related Materials
Tutorials
Manual
Reference
Commands
Classes
Events
Enums
Development Task
- {T2065}