This tutorial covers the basics of what spaces are, how to create them, and how to use them with levels.
Learning Objectives
- Creating new spaces
- Basic HUD
- ClearColor
Level Setup
- Command : New Project
- Create a new project using the {nav icon=clone, name=Empty 2D Project} template
- Command : CreateSpriteText
- In the
Property Window - Under SpriteText
- Set Text to
Game Level SpriteText - Select : GameCamera object
- In the
Properties Window - Under Camera
- Set Size to
5 - Command : Add Resource
- Create a NadaScript resource using the Component template template and name it
HUDManager
What is a Space?
There have probably been a few times while learning Zilch that you typed this.Space but didn't really know what exactly a Space was. A Space is a special type of object which represents the space occupied by objects in a Level resource. Another way to think about it is as an object that represents the dimensions of whichever level is loaded into it, or as 3D area with infinite bounds that contains a level.
Space Basics
- Each game can have multiple spaces
- Objects in different spaces cannot interact graphically or physically
- Each Space (usually) has its own renderer(s) that draws the loaded level to the viewport
- Each Component and each Cog contains a member variable that is a reference to the Space it exists in
Creating a Space
A very common reason for creating a second space is to implement a HUD that overlays the game. This approach takes advantage of the fact that objects in one space will not directly interact with objects in another. Let's make the level for our first HUD.
- Command : Add Resource
- Create a Level resource using the {nav icon=clone, name=2D Level} template and name it
HUDLevel - Command : CreateSpriteText
- In the
Property Window - Under SpriteText
- Set Text to
HUD Level SpriteText - Select : GameCamera object
- In the
Properties Window - Under Camera
- Set Size to
5 - Open the Level resource named
Level - Select : LevelSettings object
- In the
Properties Window - Add Component :
HUDManager - In
HUDManager - Update the
HUDManagerscript to the following:
class HUDManager : NadaComponent
{
  [Property]
  var HUDLevel : Level;

  [Property]
  var HUDSpaceArchetype : Archetype = Archetype.Space;

  var HUDSpace : Space;

  function Initialize(init : CogInitializer)
  {
    this.HUDSpace = this.GameSession.CreateSpace(this.HUDSpaceArchetype);
    this.HUDSpace.LoadLevel(this.HUDLevel);
  }
}
In the
Properties WindowUnder
HUDManagerSet HUDLevel window to HUDLevel resource
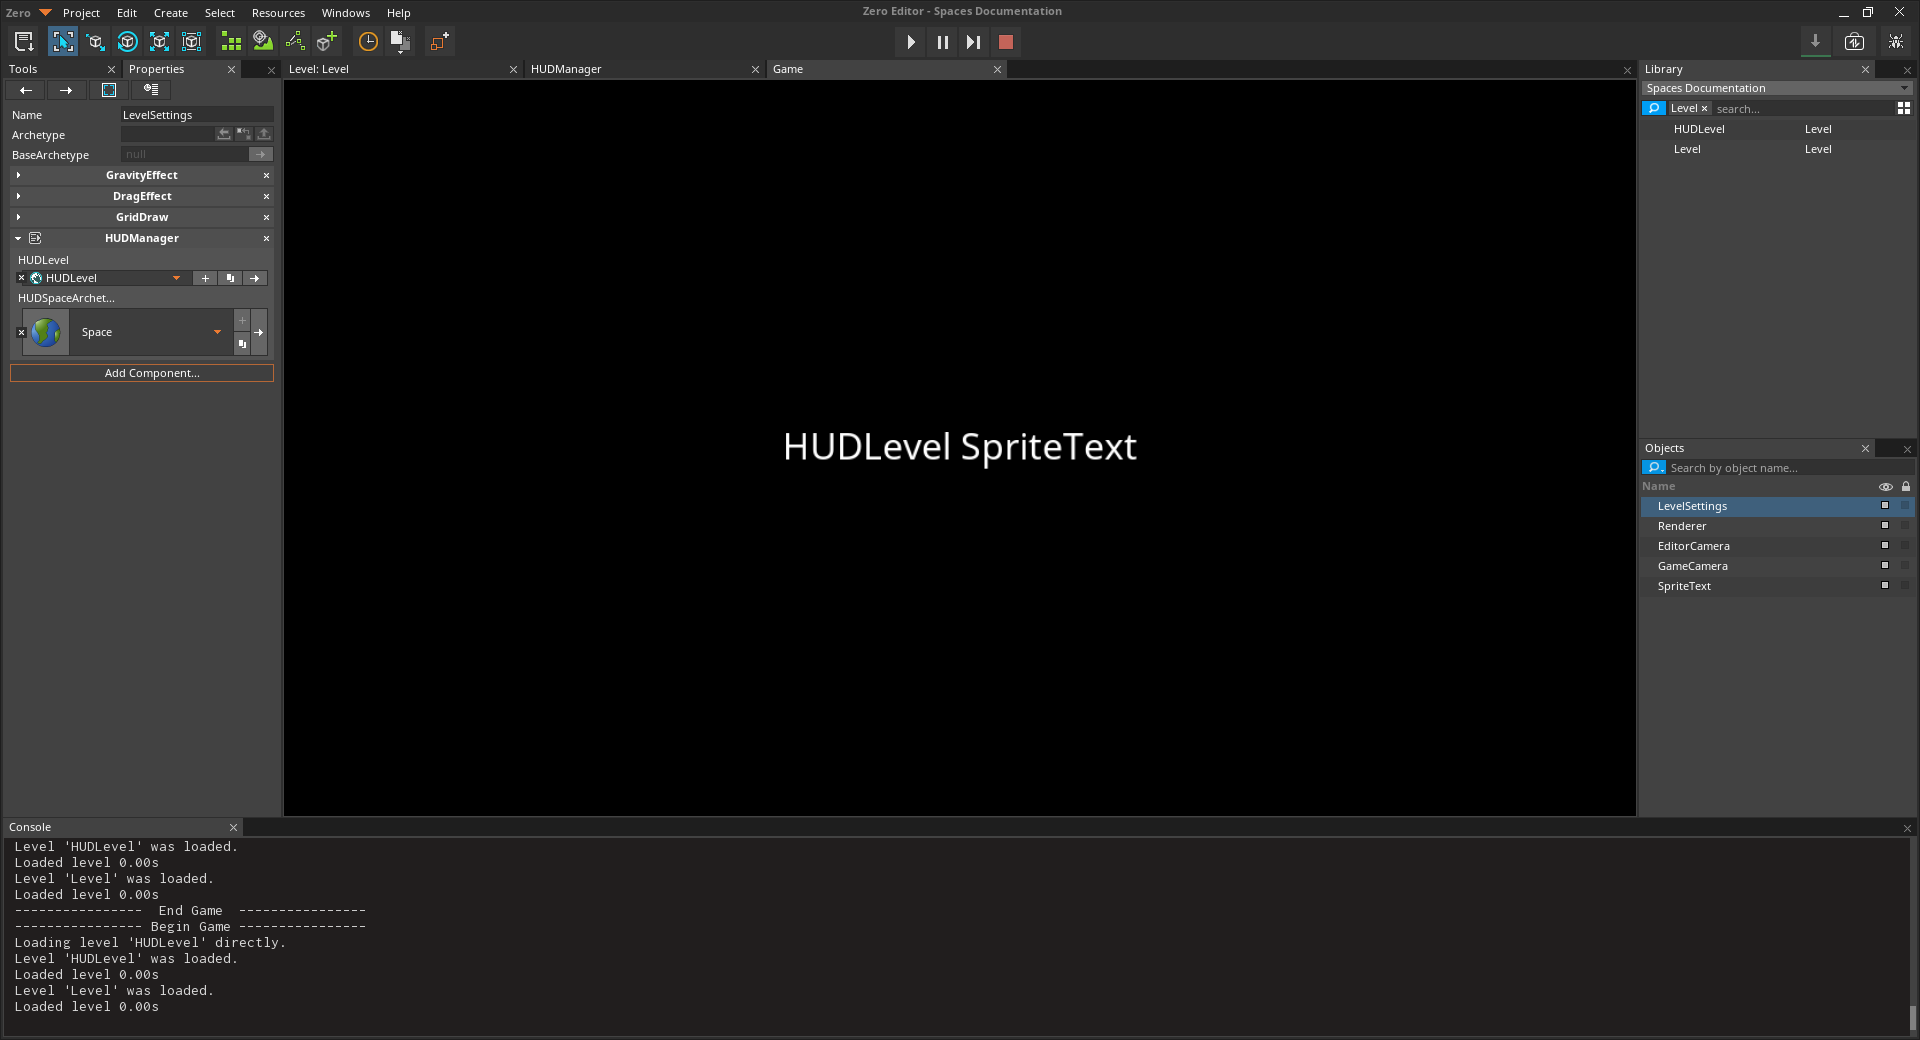
Notice how the text from the HUDLevel Level resource is visible, but not the text from the game Level resource. This is because by default spaces are rendered as opaque.
Overlaying the HUD
- Open the Level resource named
HUDLevel - Select : Renderer object
- In the
Properties Window - Under
ForwardRenderer - Set ClearColor to
[R:0, G:0, B:0, A:0.00] - Select : GameCamera object
- In the
Properties Window - Under CameraViewport
- Set RenderOrder to
1 - Select : SpriteText object
- In the
Properties Window - Under Transform
- Set Translation to
[0,1,0] - Open the Level resource named
Level - Command : PlayGame
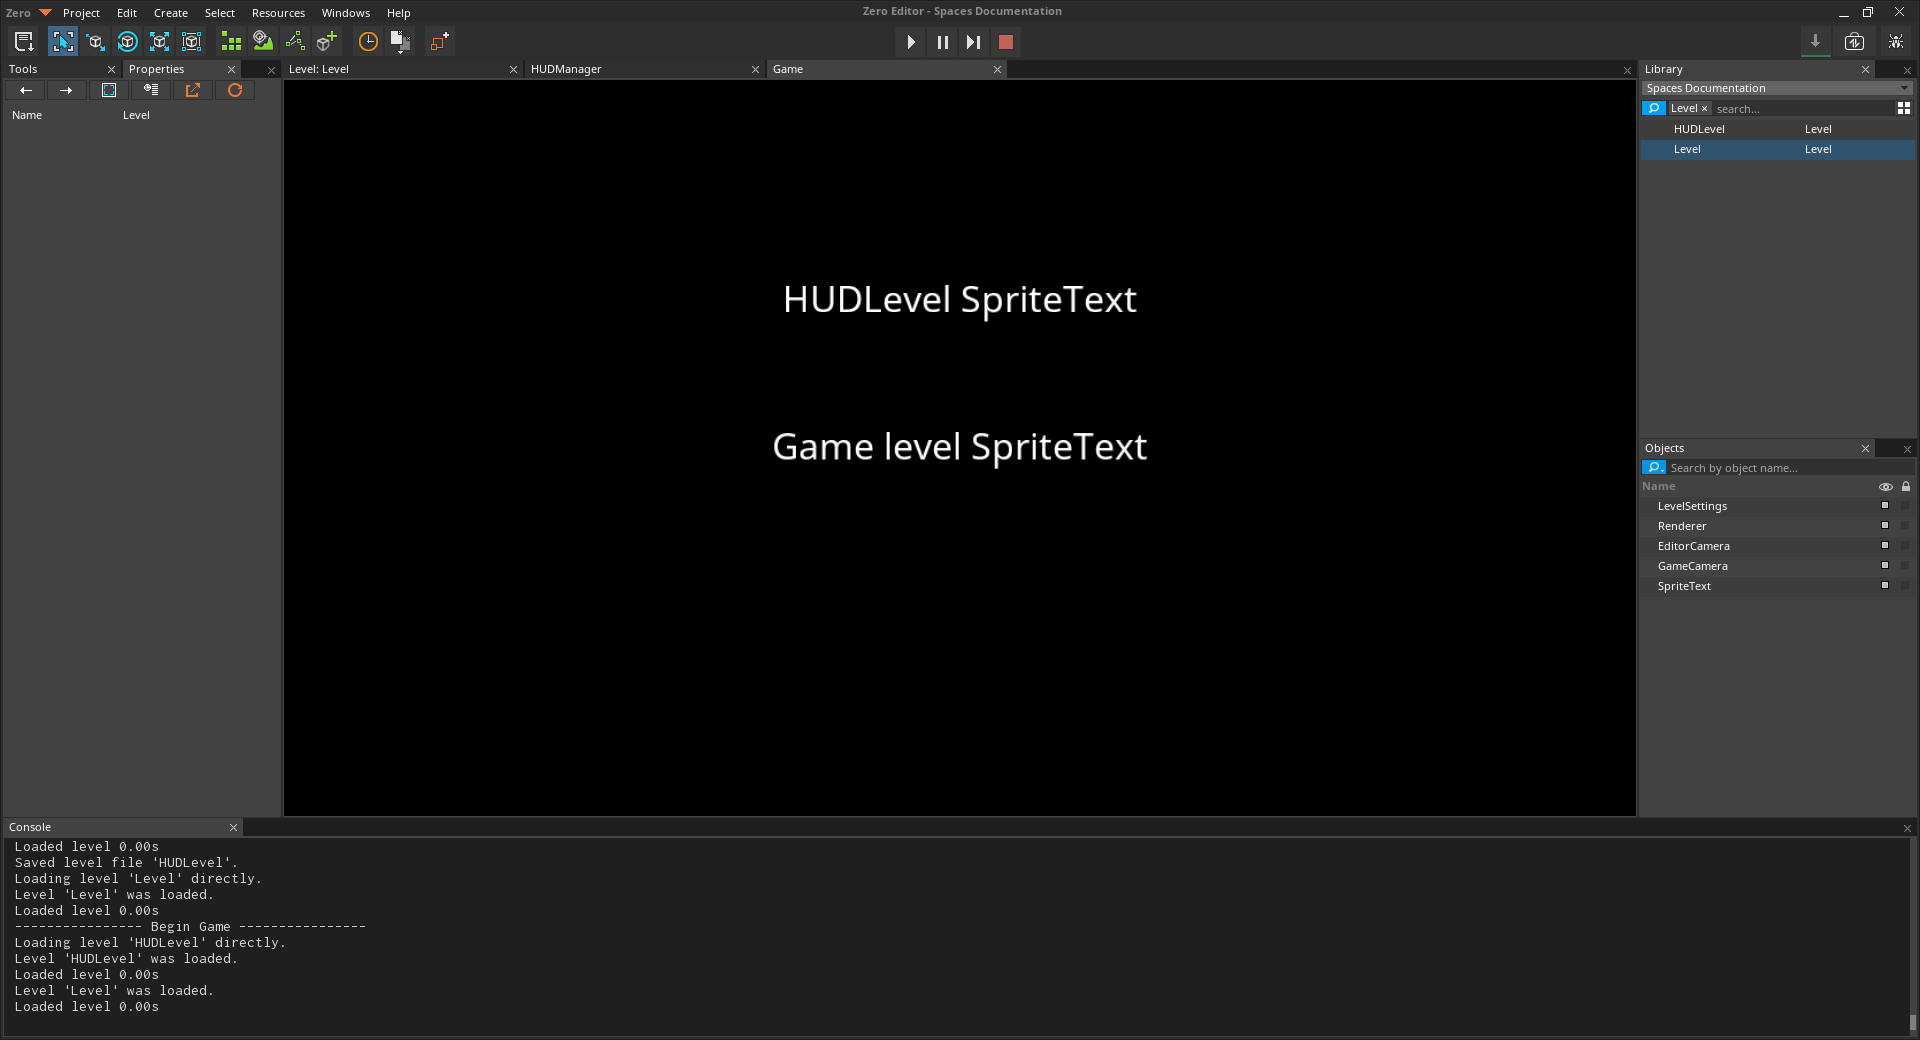
Notice that both text objects are now visible. This is because we reduced the alpha value of the HUD level clear color to 0. The clear color is what is rendered behind everything in a level. We've also set the RenderOrder of the HUD GameCamera object's CameraViewport to 1, while the main space's RenderOrder remains at its default value of 0. This is important for layering purposes: no two overlaid CameraViewports should have the same RenderOrder .
Now that we know how to make a space transparent, it is fairly simple to extrapolate constructing a HUD within a dedicated level and rendering it on top of a game.
Communicating Between Spaces
Having multiple spaces can increase a project's complexity. It is important to know how to allow components which exists in seperate spaces to communicate with each other. Information is often sent between spaces via events. Let's make a basic meter in our HUD.
- Command : Add Resource
- Create a NadaScript resource using the Component template template and name it
Meter - Update the
Meterscript to the following:
class Meter : NadaComponent
{
  [Dependency] var Transform : Transform;
  [Dependency] var Area : Area;

  [Property]
  var MaxValue : Real = 10;

  var CurrentValue : Real;

  var MeterScaleAction : Action;

  var OriginalSize : Real2;

  var ScaleRate : Real = 1.0;

  function Initialize(init : CogInitializer)
  {
    this.CurrentValue = this.MaxValue;
    this.OriginalSize = this.Area.Size;
    Zilch.Connect(this.Space, Events.MeterUpdate, this.OnMeterUpdate);
  }

  function OnMeterUpdate(event : MeterUpdate)
  {
    var val = this.CurrentValue + event.Value;
    this.CurrentValue = Math.Clamp(val, 0.0, this.MaxValue);
    this.ScaleMeter();
  }

  function ScaleMeter()
  {
    if(this.MeterScaleAction != null)
      this.MeterScaleAction.Cancel();

    //calculate and constrain the new meter size
    var perc = this.CurrentValue / this.MaxValue;
    var targetSize = perc * this.OriginalSize;
    targetSize.Y = this.OriginalSize.Y;

    //calculate the duration of the scale action
    var sizeDifference = Math.Abs(this.Area.Size.X - targetSize.X);
    var duration = sizeDifference / this.ScaleRate;

    this.MeterScaleAction = Action.Property(this.Owner.Actions, @this.Area.Size, targetSize, duration, Ease.Linear);
  }
}

class MeterUpdate : NadaEvent
{
  sends MeterUpdate : MeterUpdate;
  var Value : Real;
}
This Meter component will be be communicated// with via events sent from the //GameSpace// to the //HUDSpace by the following Input component.
- Command : Add Resource
- Create a NadaScript resource using the Component template template and name it
Input - Update the
Inputscript to the following:
class Input : NadaComponent
{
  [Dependency] var HUDManager : HUDManager;

  [Property]
  var IncreaseKey : Keys = Keys.Up;

  [Property]
  var DecreaseKey : Keys = Keys.Down;

  [Property]
  var InputValue : Real = 1.0;

  function Initialize(init : CogInitializer)
  {
    Zilch.Connect(Zilch.Keyboard, Events.KeyDown, this.OnKeyDown);
  }

  function OnKeyDown(event : KeyboardEvent)
  {
    if(event.Key == this.IncreaseKey)
    {
      Console.WriteLine("Increase");
      this.UpdateMeter(this.InputValue);
    }
    else if(event.Key == this.DecreaseKey)
    {
      Console.WriteLine("Decrease");
      this.UpdateMeter(-this.InputValue);
    }
  }

  function UpdateMeter(val : Real)
  {
    var meterUpdateEvent = MeterUpdate();
    meterUpdateEvent.Value = val;
    this.HUDManager.HUDSpace.DispatchEvent(Events.MeterUpdate, meterUpdateEvent);
  }
}
This simple input component will allow us to use the meter to simulate the game behavior of losing and gaining health without having to actually implement a game for this tutorial.
Open the Level resource named
LevelSelect : LevelSettings object
In the
Properties WindowAdd Component :
InputOpen the Level resource named
HUDLevelIn the
Properties WindowUnder Transform
Set Translation to
[-2.5, 0.0, 0.0]Under Area
Set Origin enum to BottomLeft
Set Size to
[5, 0.5]Add Component :
MeterOpen the Level resource named
LevelPress key the
UpandDownkeys to send events between spaces.
Each time Up or Down is pressed, the MeterUpdate event is dispatched on the HUDSpace. The Meter component is listening to its space (this HUDSpace) for that event. So when it receives the event, the ScaleMeter function is invoked.
(NOTE)Notice how the meter renders over the SpriteText object in the GameLevel. As mentioned earlier, spaces can not interact graphically or physically (forces, collision, clipping, etc.), and this is a prime example of that behavior.
Related Materials
Manual
- Command
- Add Resource
- Select
- {icon university}[[zilch_engine_documentation/zilch_editor_documentation/zilchmanual/editor/addremovecomponent/|Add/Remove Component]]
Tutorial
Reference
Classes
Enums
Commands
Tasks
- T1175