(NOTE)Recommended Reading This page includes topics one might not have addressed yet. To learn about or review these topics, the following list provides the links to their respective Manual or Tutorial pages: Adding Textures and Sprites
Frequently, when a SpriteSource has been imported into Zilch, it still needs some minor modifications; this is where the Sprite Source Editor comes into play. This can be used not only to make changes to the SpriteSource, but also to cut a SpriteSource into multiple Sprites or animate a Multi-Frame Sprite.
Using the Sprite Source Editor
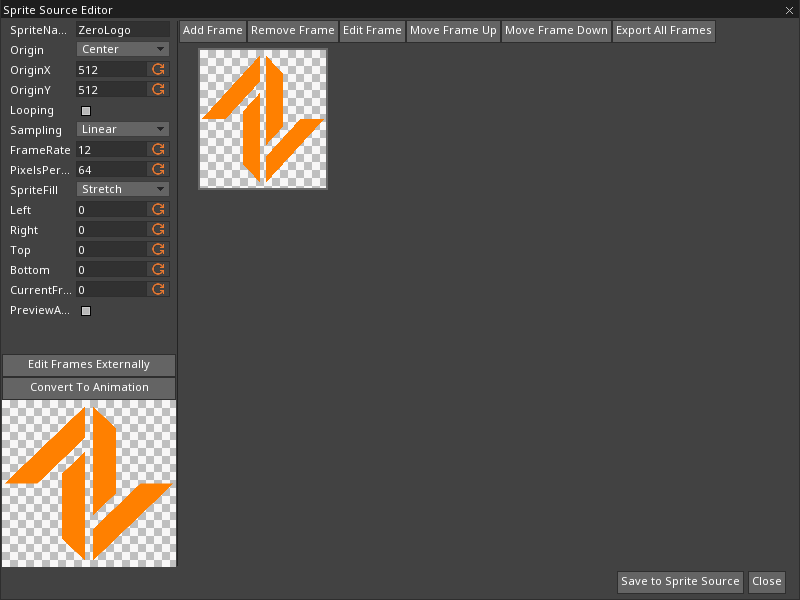
Once the SpriteSource has been imported, the Sprite Source Editor can be opened by going into the Library tab and double clicking on the SpriteSource that needs to be edited. It can also be opened by clicking on the small grey arrow next to the name=SpriteSource, icon=picture-o Property, as seen below on the Sprite Component.
 Edit SpriteSource Arrow
 Sprite Source Editor window
Sprite Source Editor UI Overview
SpriteName : The name of the SpriteSource.
Origin: The point of the given frame that is (0,0,0) in object space.
- Custom: choose your own origin
- Center: the middle of the frame
- UpperLeft: the top left of the image
- BottomLeft: the bottom left of the frame
- BottomCenter: the bottom center of the frame
OriginX : The origin's x value when Origin drop-down menu is Custom, where
0is the far left OriginY : The origin's y value when Origin drop-down menu is Custom, where0is the very top Looping checkBox: Toggle whether the sprite animation should loop (if it is an animation) Sprite Sampling: The method of sampling used. - Nearest: looks more discrete, or 'pixelated'
- Linear: pixels are blurred together FrameRate : Number of frames to display in one second. PixelsPerUnit : Number of pixels in the texture that will fit in one unit length in the GameSession's world space.
- SpriteFill: The method of filling the sprite into a given Area
- Stretch: The sprites texture is stretched to fit the area component of a cog.
- NineSlice: The sprite texture is stretched, but only within the nine-sliced middle region.
- Tiled: The sprite texture is tiled evenly across the area component of a cog. Left : pixel offset from the left marking the unstretchable left region, if SpriteFill drop-down menu is NineSlice. Right : pixel offset from the right marking the unstretchable right region, if SpriteFill drop-down menu is NineSlice. Top : pixel offset from the top marking the unstretchable top region, if SpriteFill drop-down menu is NineSlice. Bottom : pixel offset from the bottom marking the unstretchable bottom region, if SpriteFill drop-down menu is NineSlice. CurrentFrame : Set the previewed animation frame. PreviewAnimation checkBox: Toggle viewing the animation.
Smoothing / Sampling
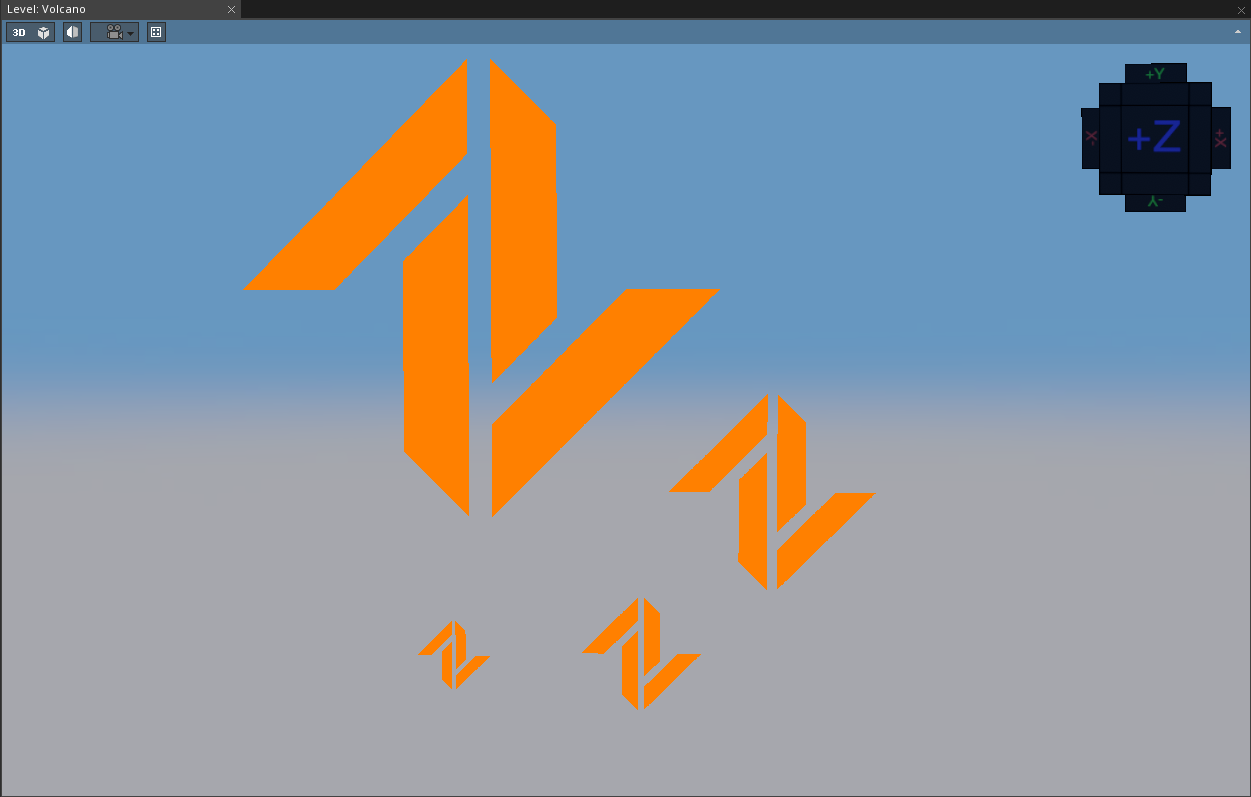
When displaying a 2D image in a 3D environment, the step where a texel is accessed from the image is known as Smoothing drop-down menu, or sampling. More specifically, a point in 3D space is mapped into texture space to get the right color to place on the screen/texture buffer. When the output color is the color of the texel we found, this is known as the Nearest method because only the nearest texel color is used. While initially it might make sence to always access textures in this way, there are bound to be poor quality results. The poor quality comes from mismatches between the sprite's texels and the screen's texels. T
 Near and Far sprites displaying artifacts of Nearest blending
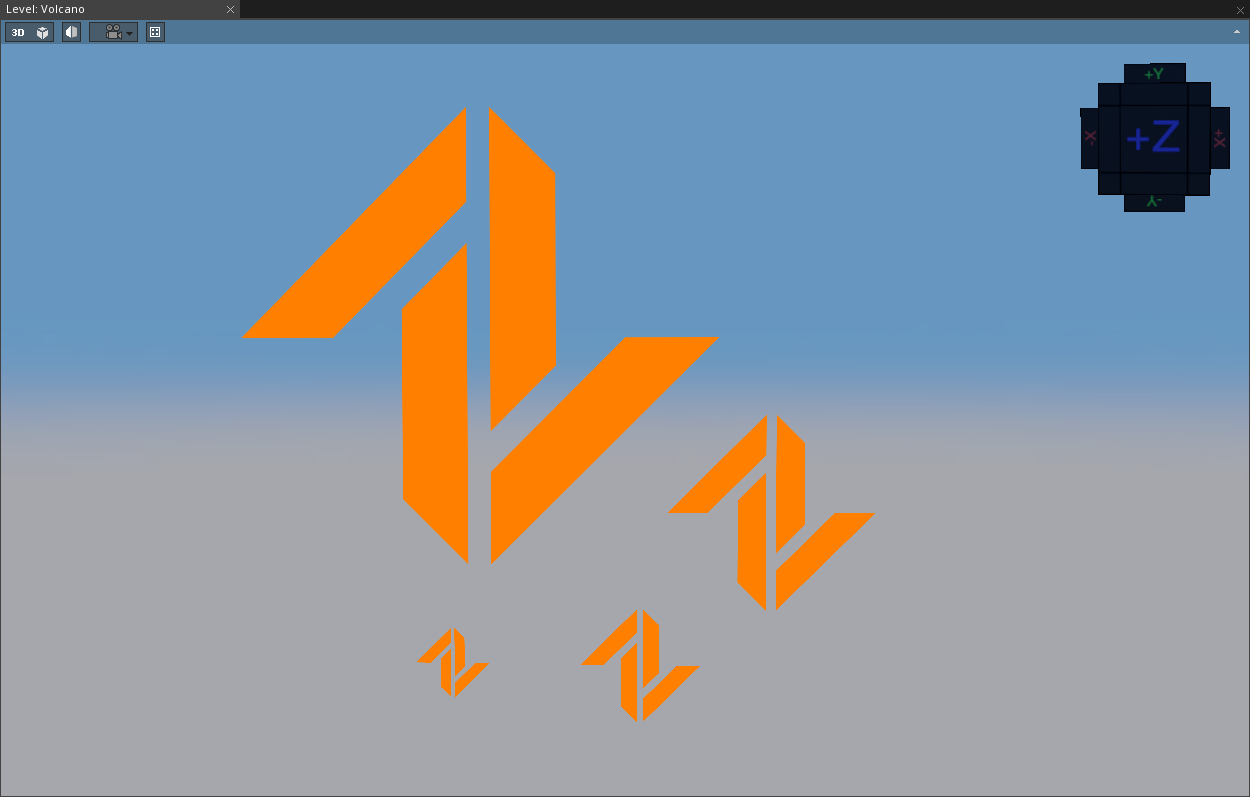
From just this one generic example, it becomes clear that there needs to be a better way of sampling textures. Instead of taking just one texel, we will take a weight of texels in the proximity of the single mapped texel. Linear sampling is a method that uses weights to retain details, but at the cost of a blurrier image.
 Near and Far sprites using Linear blending
When choosing a blending method, remember that Linear blending will retain detail at far distances and small angles, but the image will look blurry.
Setting the Origin
The Origin drop-down menu property will place whichever point on the Sprite that is chosen at the coordinates chosen in the transform Component. It is also possible to use OriginX and OriginY to set the origin in a specific spot, as opposed to one of the four preset options. All of the Sprites below, for example, have had their Origins changed while the position of their Game Objects are represented by the white Sprites.
(NOTE)The Origin Property The origin of any SpriteSource can be changed by adjusting the OriginX and OriginY properties, but only if the Origin drop-down menu property is set to Custom. If it is set to any of the preset options (Center, UpperLeft, BottomLeft or BottomCenter) then the Zilch Engine will calculate the OriginX and OriginY to set the origin in the selected location.