This lesson covers the basics of Zilch Engine's Tile Editor tool. The next lesson covers some of its more advanced features.
Learning Objectives
- Tile sheet importing
- The Tile Editor's features
Level Setup
- Command : New Project
- Create a new project using the {nav icon=clone, name=Empty 2D Project} template
The Tile Editor tool allows a designer to quickly make a 2D level by painting a tilemap with tiles that consist of graphics, colliders, custom logic, and more.
Importing Tile Sprites
The Tile Editor tool is typically (though not exclusively) used with sprites prepared with the Sprite Importer.
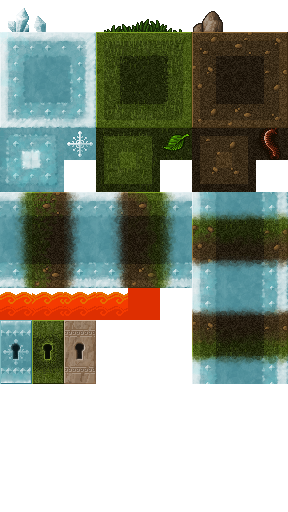
- Download the following tile sheet:
Drag and dropthe file into theLevel Window- In the
Group Import Options Window - Set ImportImages enum to
Sprites - Press the
Import Allbutton
Like in the tutorial on sprite animations, we will use the Sprite Importer to take this large tile sheet and extract smaller SpriteSource resource resources from it.
- In the
Library Window - Under the SpriteSource tag
- Double-click
PlatformerTiles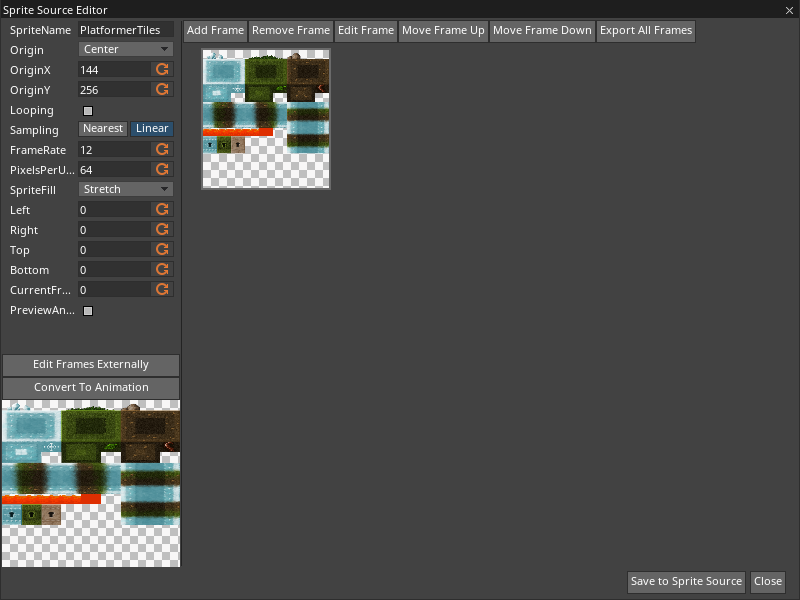
- In the
Sprite Source Editor Window - Press the
Convert To Animationbutton
The tile sheet consists of 32-pixel square tiles.

Each tile is 32 pixels wide and high
To divide the tiles properly, we should set the FrameWidth and FrameHeight each to 32. This will split the sheet into equally sized tiles, each of which is 32 pixels wide and high.
- In the
Sprite Importer Window - Set Name to
Tiles - Set FrameWidth to
32 - Set FrameHeight to
32 - Set PixelsPerUnit to
32
Our goal here is to select every square region of the sheet that we want to use as a tile for the Tile Editor. By default, the ImportFrames enum property is set to AllFrames, so if we just clicked the Add Frames as Sprites button, it would add every 32-pixel tile in the sheet as a separate SpriteSource, and we'd be done. However, the sheet has some "holes" in it and a lot of empty space at the bottom, which would result in many tiles that are totally blank. These virtually useless SpriteSources would clutter up our library and act as a general nuisance. Instead, we can use the mouse to manually select all and only the tiles we want.
- In the
Sprite Importer Window - Set ImportFrames enum to
SelectedFrames - Left-click every tile that you want to add
- If you accidentally select a tile you don't want, right-click it to deselect it
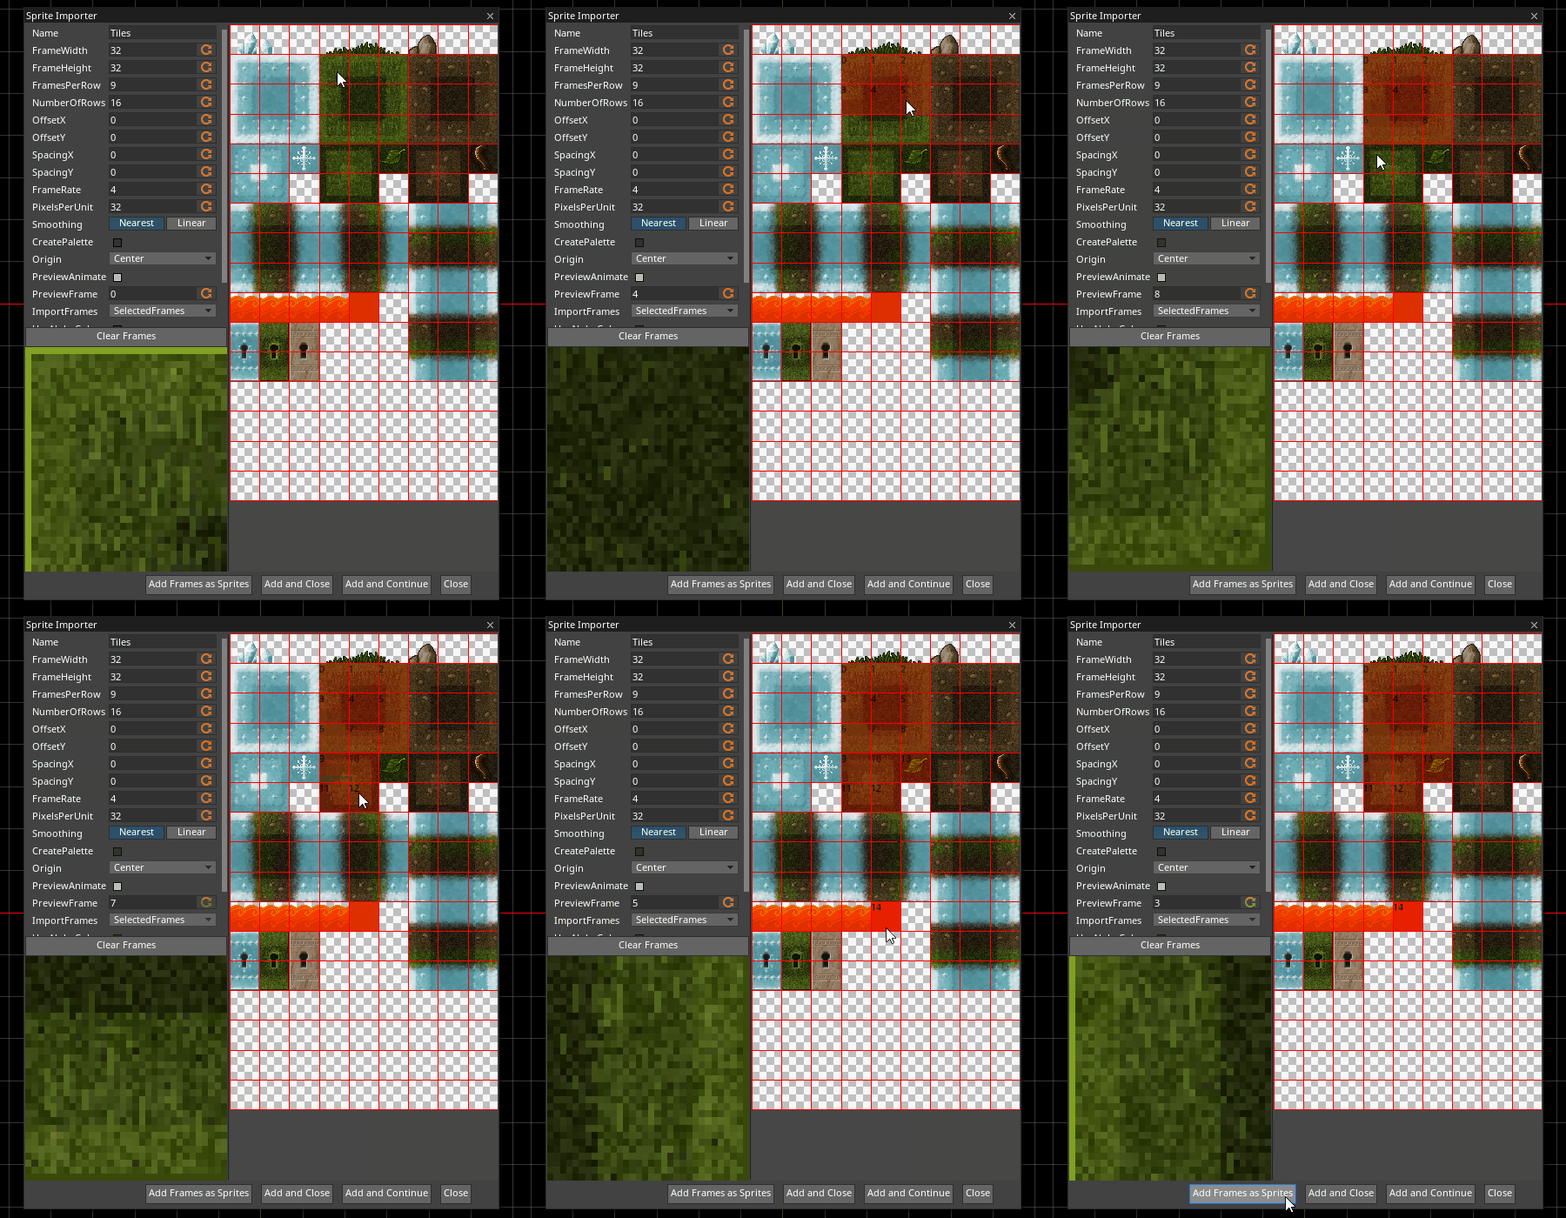
The left mouse button selects tiles, and the right mouse button deselects them
When you've got all the tiles you want, it's time to import them. Since we want each of these tiles to be a separate individual SpriteSource in the project, the Add Frames as Sprites button is the way to go.
- In the
Sprite Importer Window - Press the
Add Frames as Spritesbutton
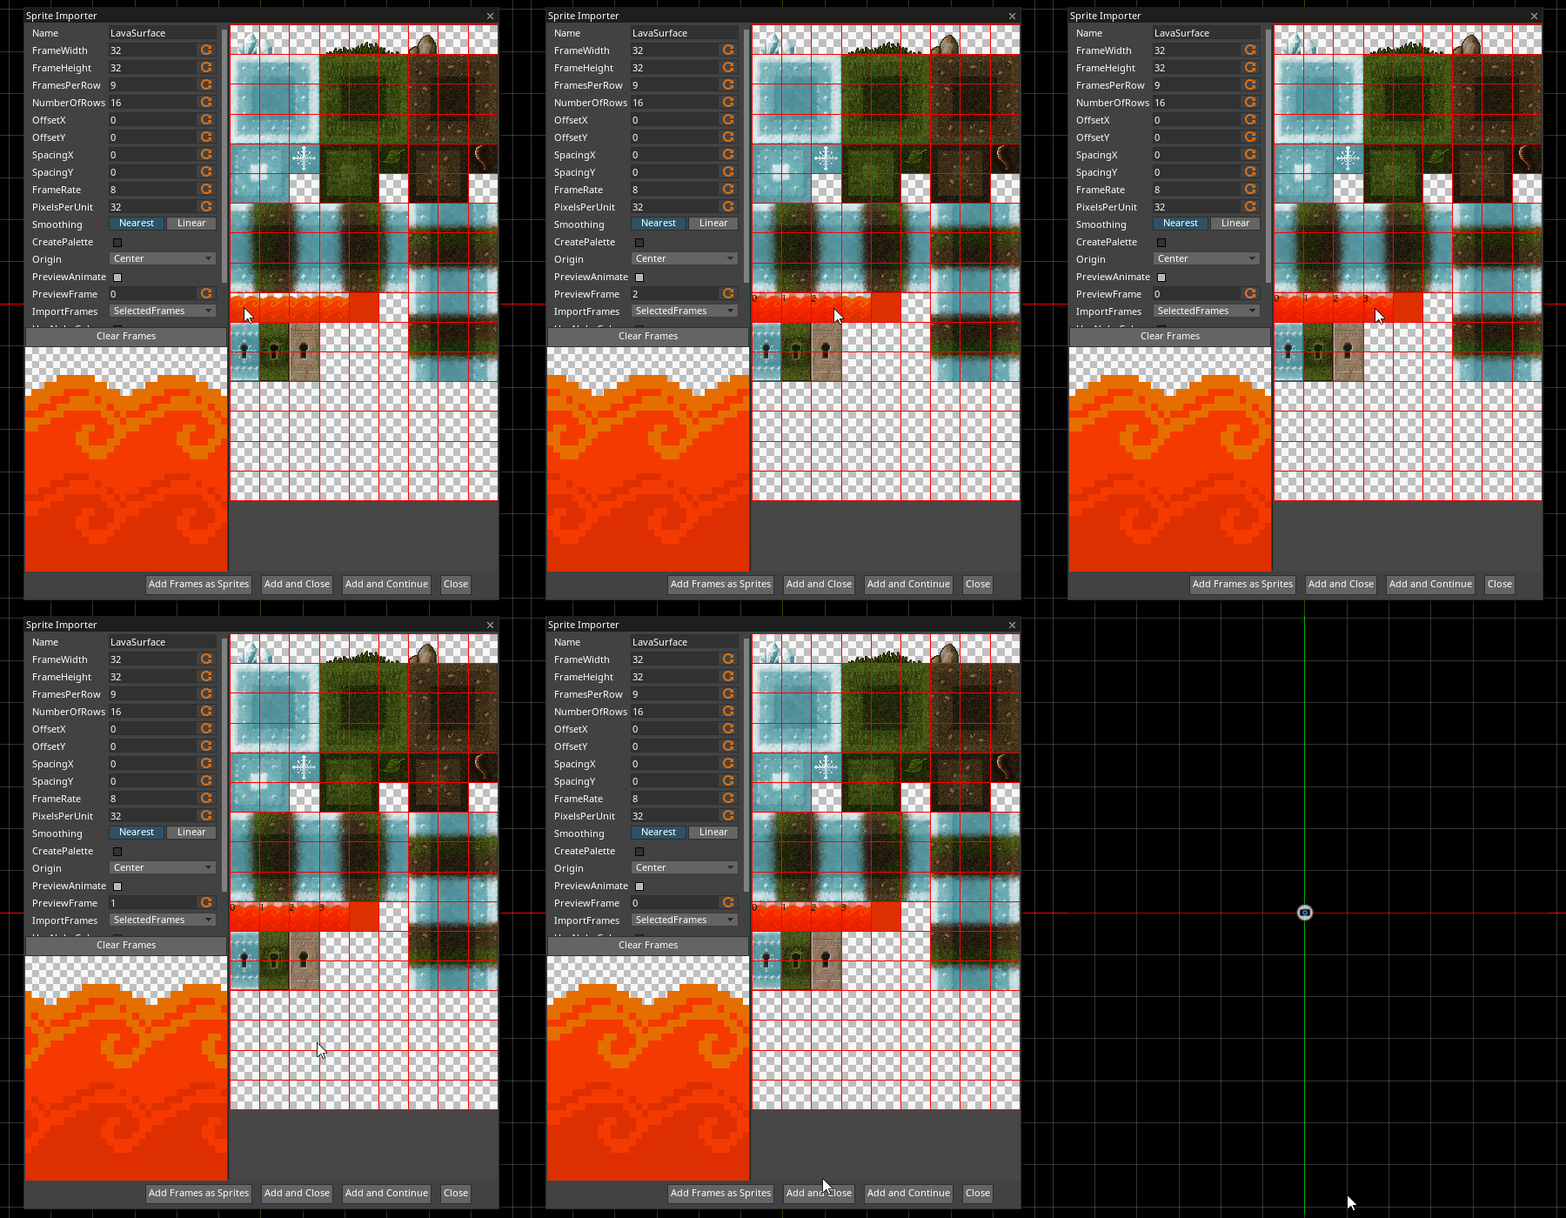
The four lava surface tiles are designed as an animation strip, so we can import them together as a single animated SpriteSource.
- In the
Sprite Importer Window - Press the
Clear Framesbutton - Feel free to set FrameRate to any desired value
- Select the four lava surface tiles in order from left to right
- Press the
Add and Closebutton
(NOTE) FrameRate: The FrameRate property defines the number of animation frames per second for an animated sprite source. (In other words, 1 divided by FrameRate equals the delay in seconds for each frame.) The lava animation with a FrameRate of 12 looks like this:  ; the same animation with a FrameRate of 4 looks like this:
  .
.
Now that we have all the sprites we want, we're ready to start using the Tile Editor.
The TileEditor2D Tool
The TileEditor2D tool is used to create and modify a tile map object, which consists of sprites, collision information, and archetype definitions. This can be used to create 2D levels in a game.
- In the
Tool Bar
- Press the
 {nav icon=square-o, name=TileEditor2D} button
(NOTE) Tool Control Info: For quick reminders about the controls of the TileEditor2D tool, just hover over the  icon in the upper-left corner of the
 Tools Window.
Selecting the TileEditor2D tool for the first time will show this:

The TileEditor2D tool requires a tilemap object to work
- In the
Level Window - Click the No TileMap Object message
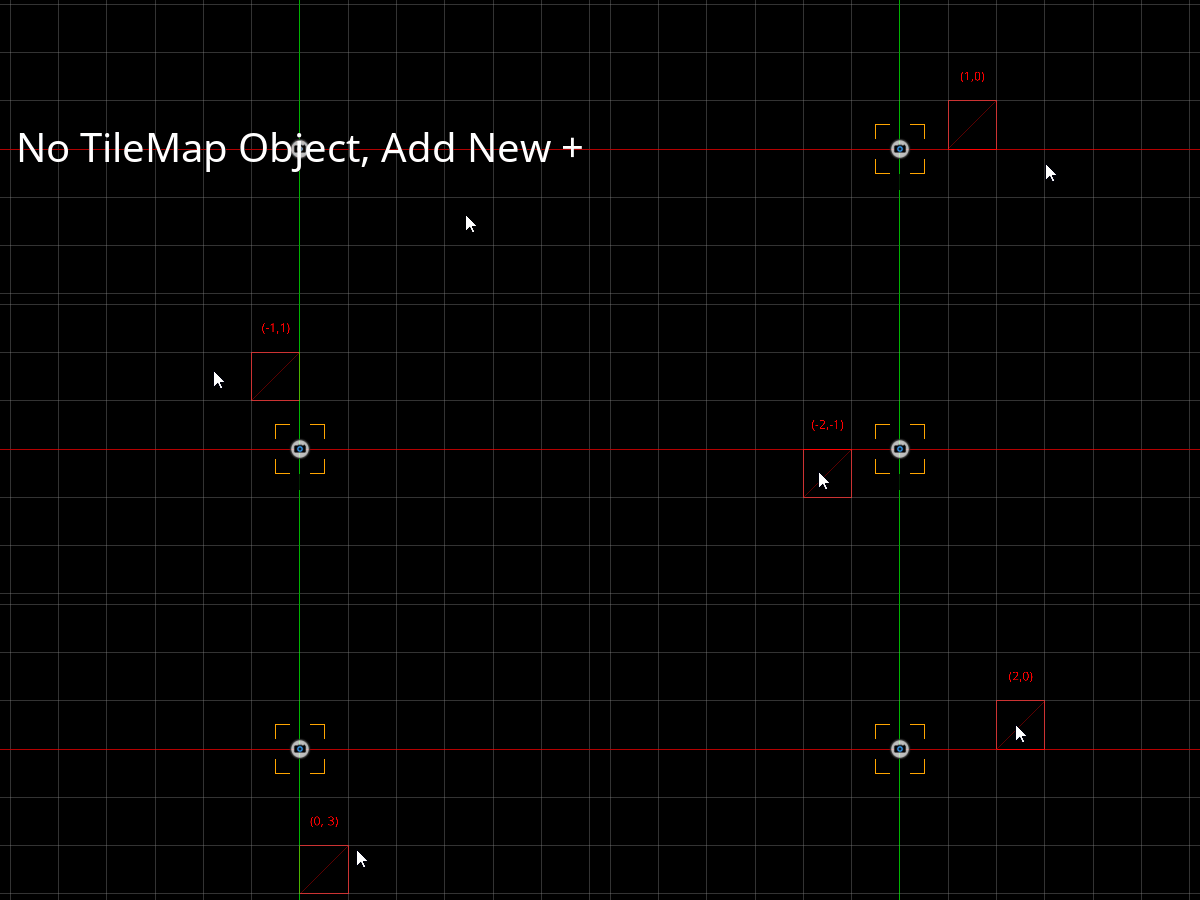
(NOTE) TileMap Objects: The TileEditor2D tool needs a tilemap object to work with. If there isn't one in the level, then you'll need to make one before you use it. Of course, you can have multiple tilemaps in the same level (say, for backgrounds and foregrounds). When you select the TileEditor2D tool, if no tilemap object is already selected, it will automatically select the one that was most recently edited.
Placing Tiles
Tiles can be added to the tilemap by using the TileEditor2D tool's Draw sub-tool and Selection sub-tool.
The Draw Sub-Tool
The Draw sub-tool allows you to paint tiles into a tilemap. All of your project's SpriteSources can be found in the list under the Sprite enum property.
- In the
Tools Window - Set Sprite enum to the SpriteSource of your choice
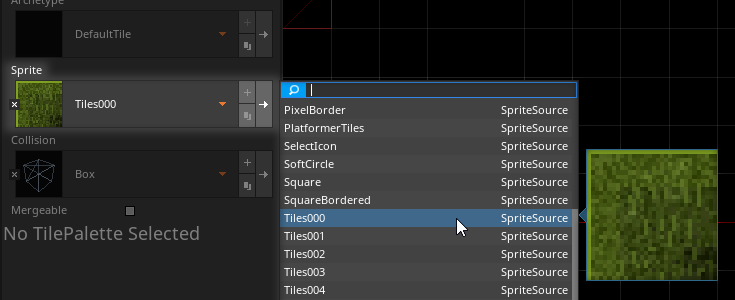
- In the
Level Window Left-click and dragto place tiles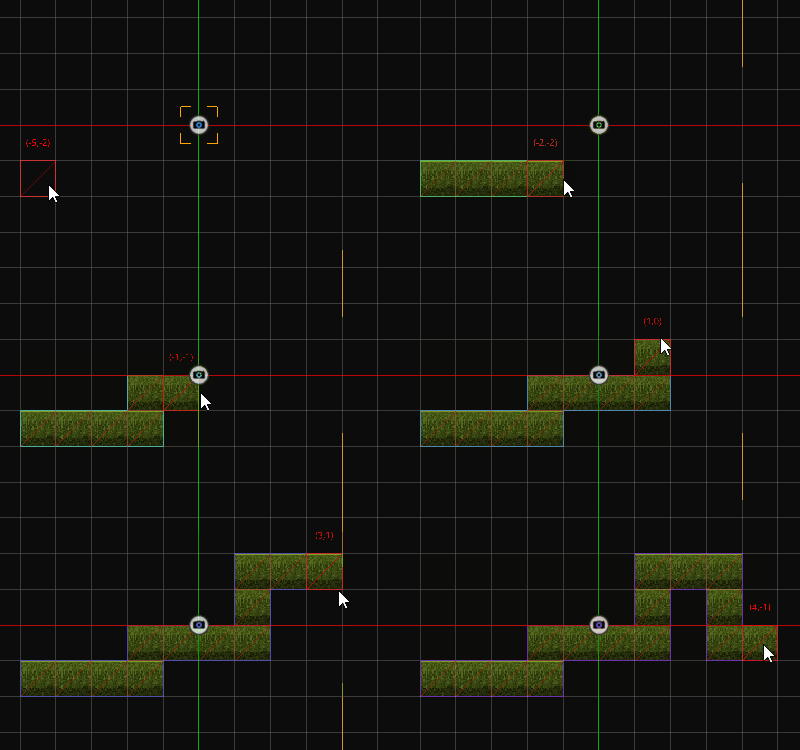
Right-click and dragto erase tiles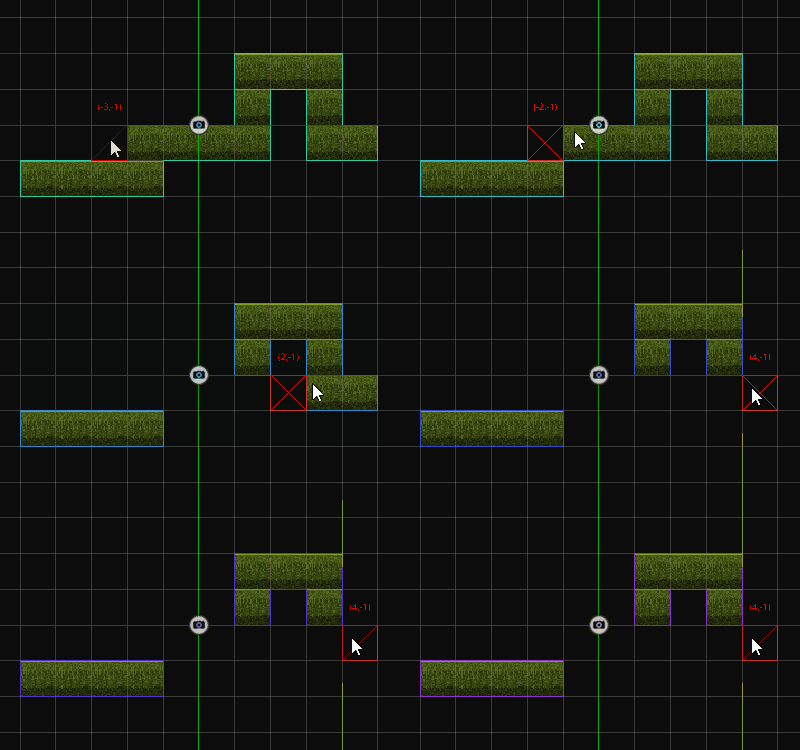
The Selection Sub-Tool
The Selection sub-tool allows you to select one or more tiles to use as a "brush", which can then be used to paint using the Draw sub-tool.
- In the
Tools Window - Set ToolType enum to SelectionTool

(NOTE) TileEditor2D Tool Hotkeys: You can quickly select the TileEditor2D tool by pressing key the 6 key. With the TileEditor2D tool active, you can select the Draw sub-tool and the Selection sub-tool by pressing key Shift + 1 and Shift + 2, respectively.
- In the
Level Window Left-click and dragto select tiles- After making a selection, right-click the selected tiles to commit the selection to be used as a brush
- If you don't want to use the selected tiles as a brush, right-click somewhere else in the
Level Windowto clear the selection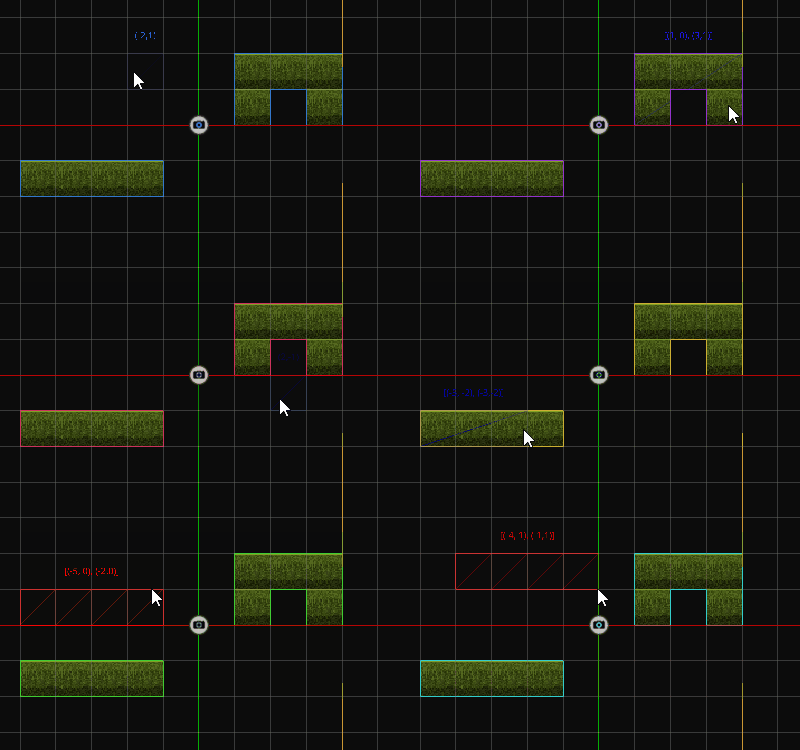
After committing a selection with the Selection sub-tool, the Draw sub-tool is automatically selected, and you can draw and erase with the new brush.
- In the
Tools Window - Confirm that the ToolType enum property is set to SelectionTool
- In the
Level Window Left-click and dragto make a selection and right-click it to commit it as a brushLeft-click and dragto place tiles with the new brushRight-click and dragto erase tiles with the new brush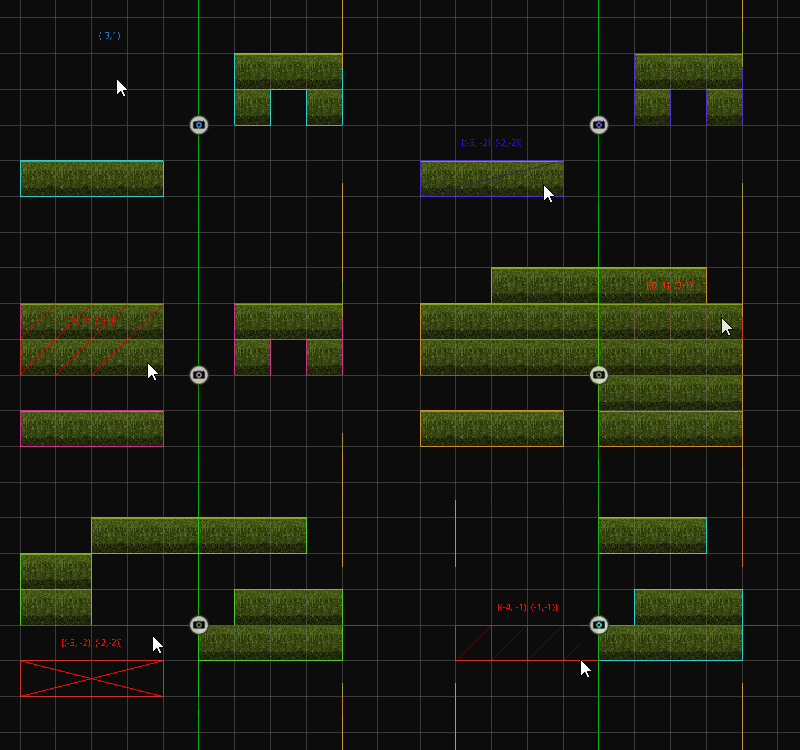
- Press key the
Esc(Escape) key to revert the brush to the tile specified in theTools Window
A Quick Test Run
Let's use what we've covered so far to throw together a very basic level (but really not much more than a couple of platforms) that we can play in using the swept character archetype that can be downloaded from the Zilch Market, as covered in tutorial on the Zilch Market.
- Use the TileEditor2D tool to create a set of simple platforms:

- Press the
 Market button button in the top-right corner of the editor
 - Click the
Sample Character Controllerpackage - Click the download link for the
SAMPLECHARACTERCONTROLLERS[1.0].ZEROPACKpackage - In the
Import Content Package Window - Press the Import button button
- Close the
Market Browser - In the
Library Window - Under Archetype
Left-click and dragSweptPlayer2Dinto theLevel Window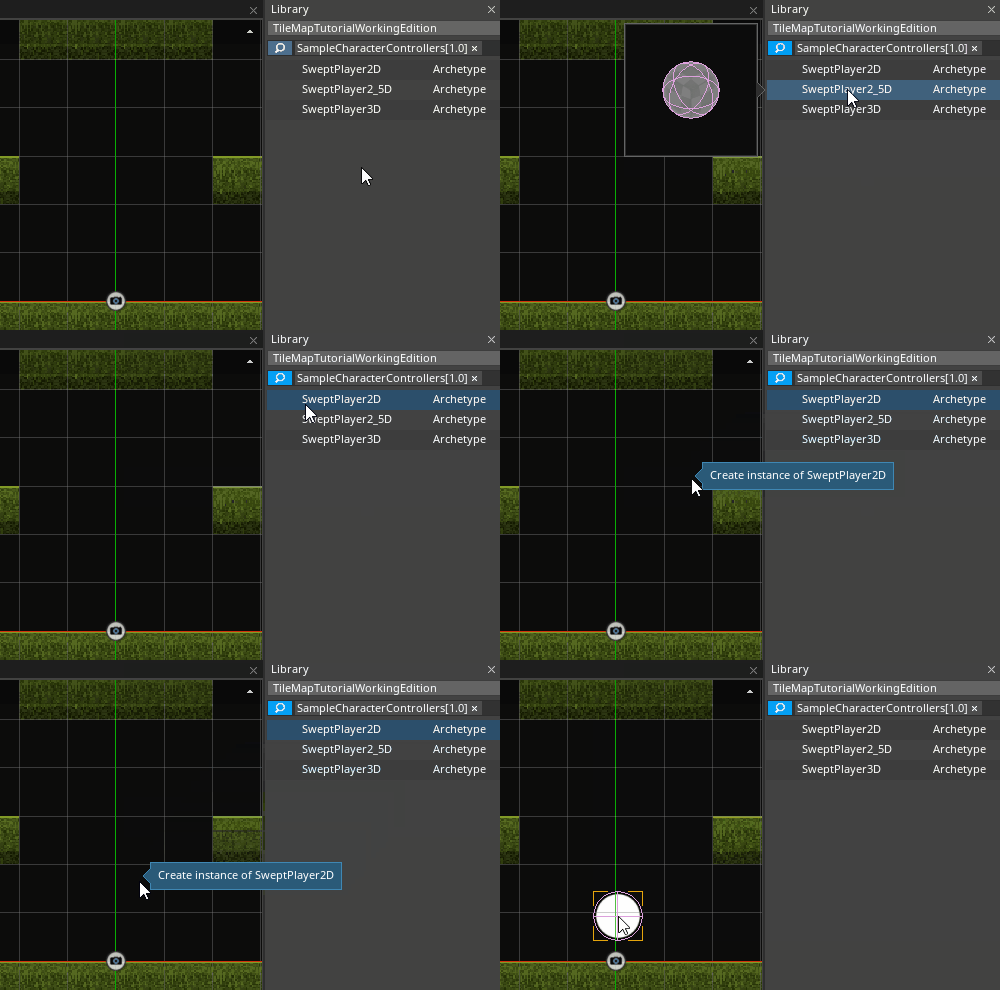
- Command : PlayGame
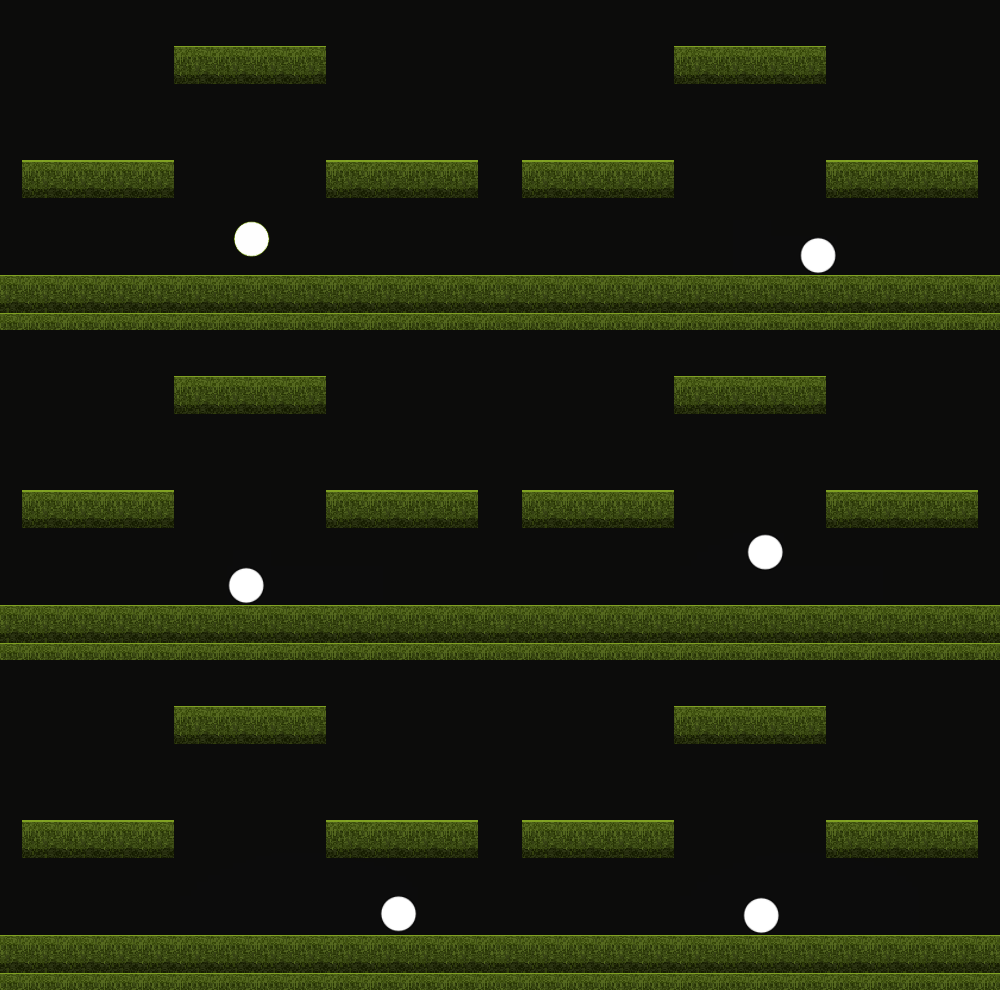
By default, the tiles placed with the TileEditor2D tool have collision
(NOTE) Can't Jump High Enough? Depending on how you constructed your level, you may want to adjust your player character's properties, such as the SweptController's Gravity and JumpSpeed .
The test run was a success: the swept character collides with the tiles as expected. In the next tutorial, we'll begin by learning about tile archetypes.
Related Materials
Tutorials
Manual
Reference
Commands
Enums
Development Task
- T2174