The SAMPLECHARACTERCONTROLLERS[1.0] package on the Zilch Market contains 2D and 3D input scripts that work with the SweptController component also included in the package. The SweptController is a generic kinematic character controller that is useful when prototyping many 2D and 3D game concepts.
Learning Objectives
- Character controller explanation
- Kinematic vs Dynamic
- SweptController usage
Level Setup
Create a new project using the {nav icon=clone, name=Empty 2D Project} template
Click the market button in the top right of the editor window
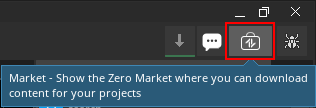
Click the
Sample Character Controllerpackage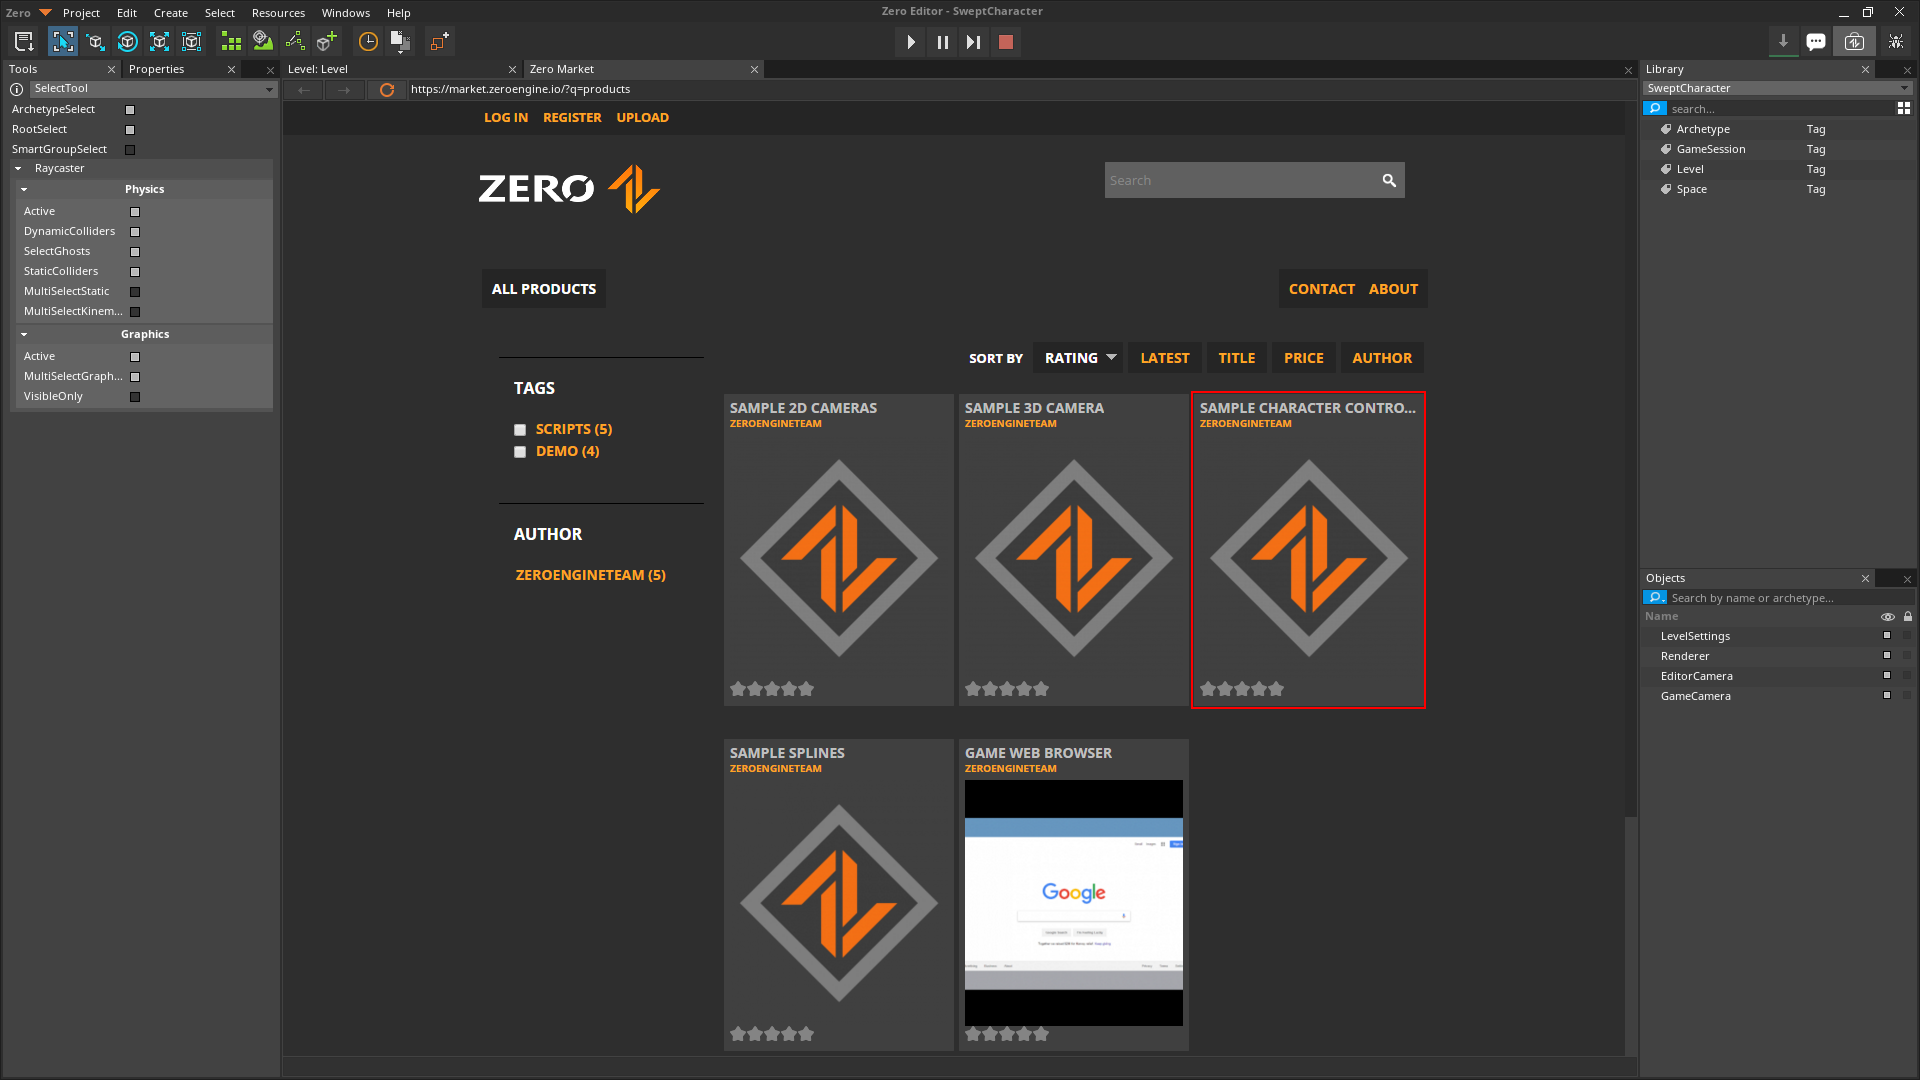
Click the download link for the
SAMPLECHARACTERCONTROLLERS[1.0].ZEROPACK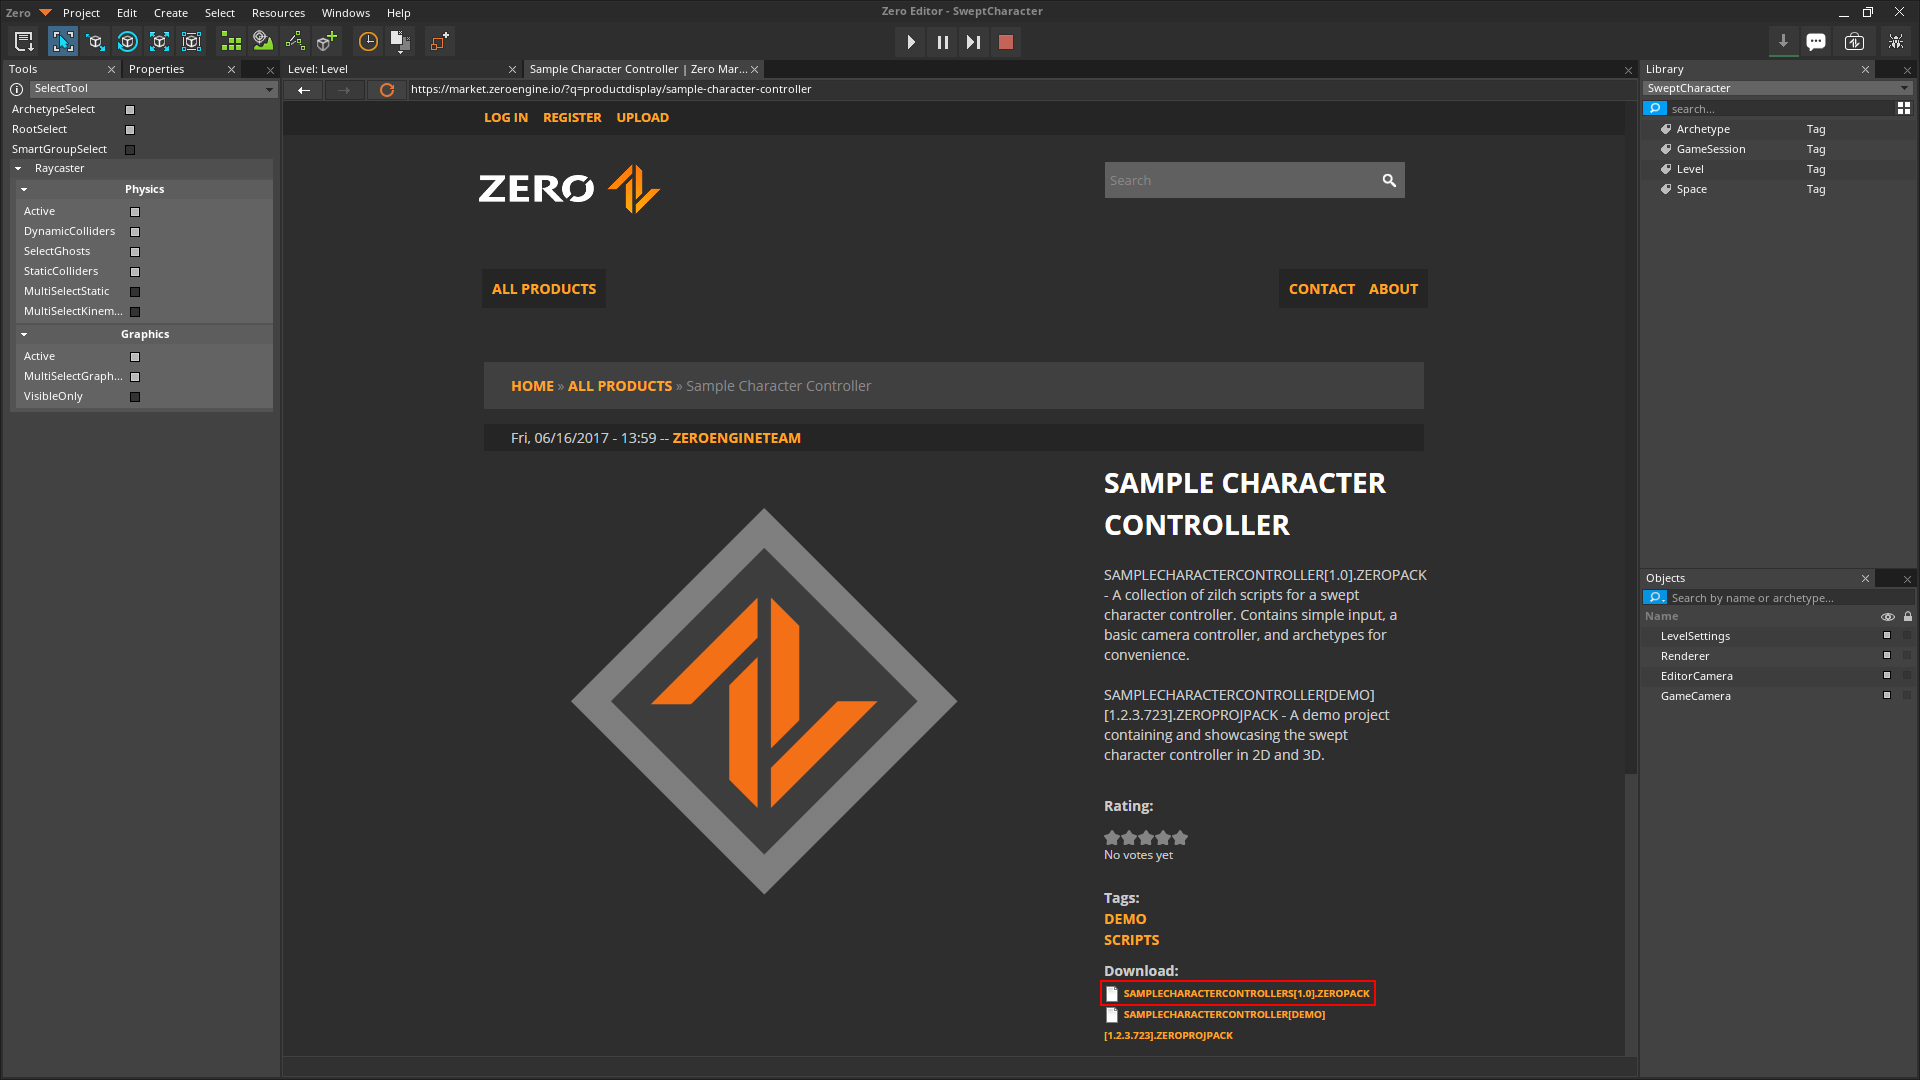
Click the Import button button
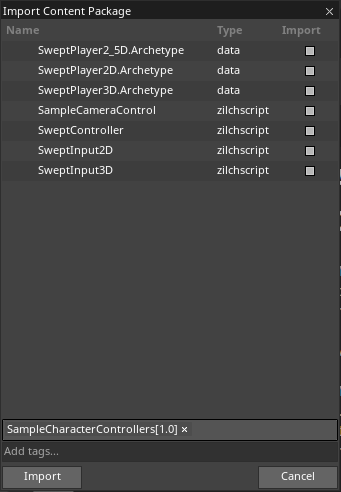
Close the
Market BrowserIn the
Properties WindowUnder Transform
Set Scale to
[50,1,1]Under RigidBody
Set DynamicState enum to Static
In the
Library WindowUnder Archetype
Click and drag{nav icon=wrench, name=SweptPlayer2_5D} into theLevel Window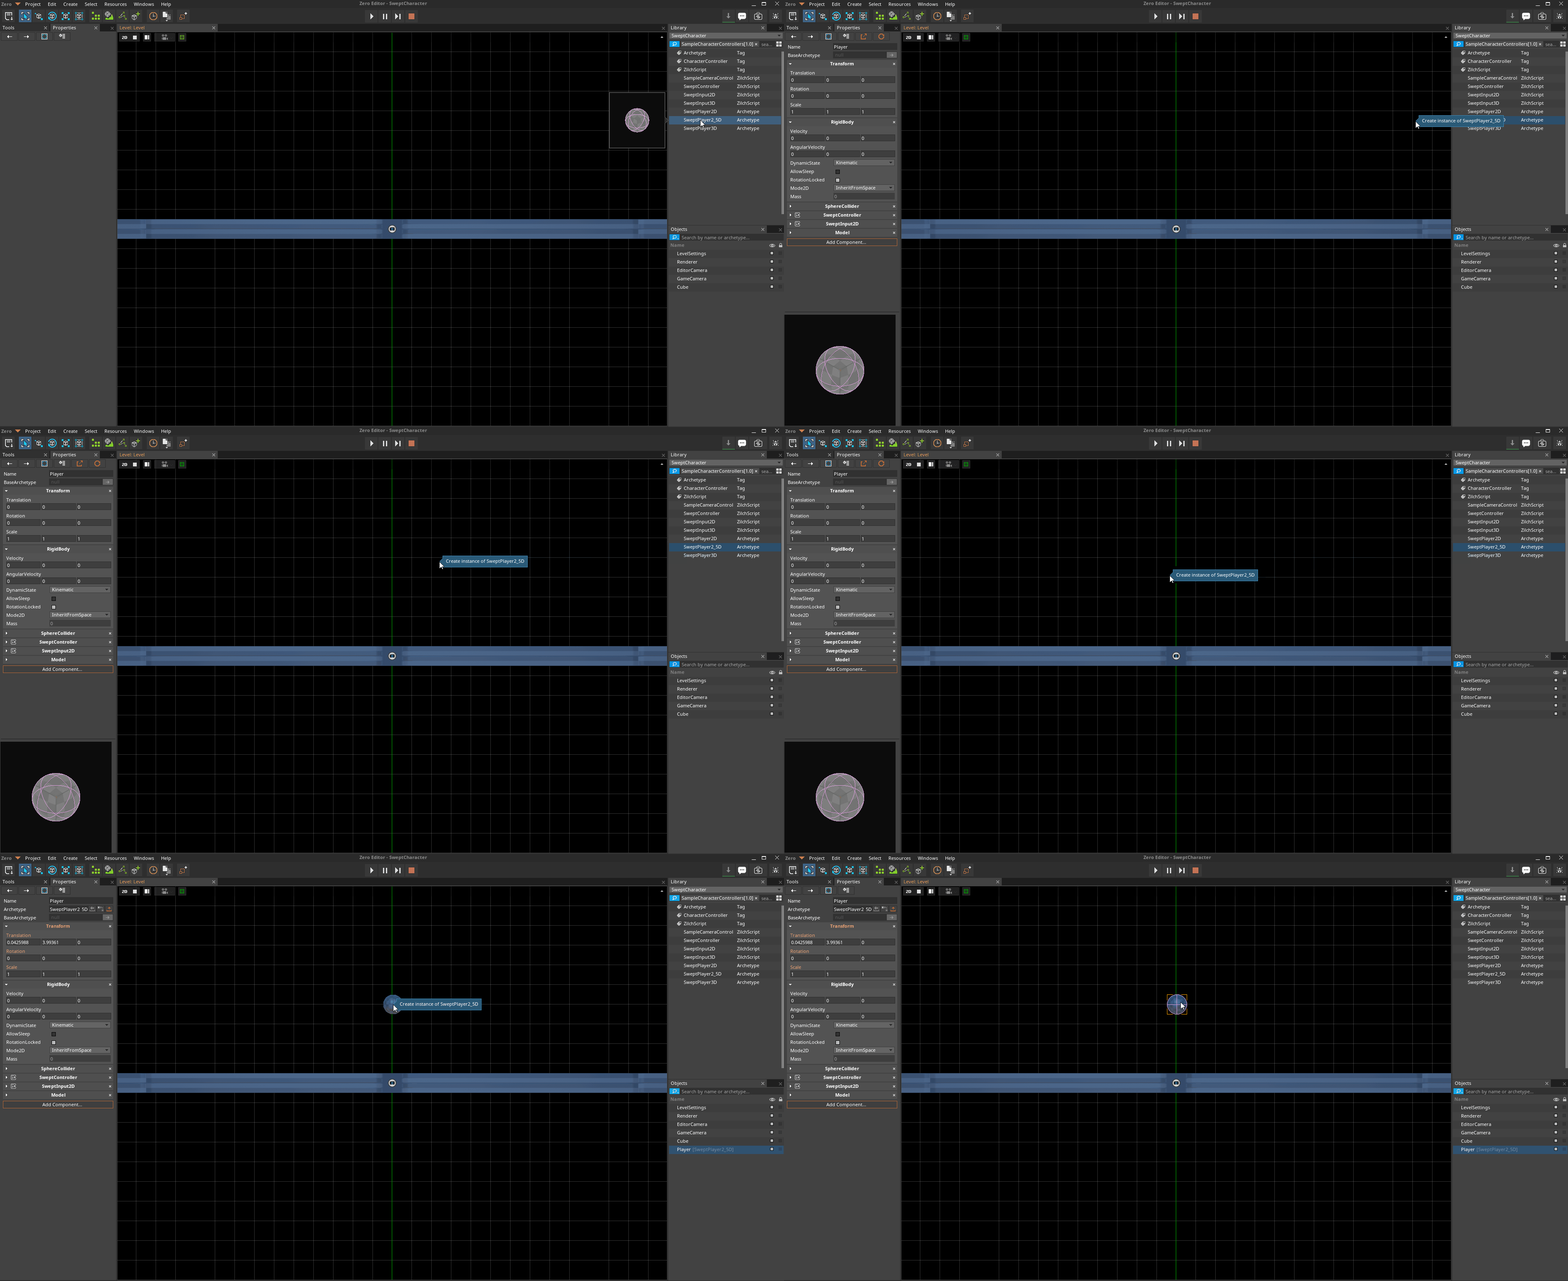
Move left with
Aand right withDJump with
Space
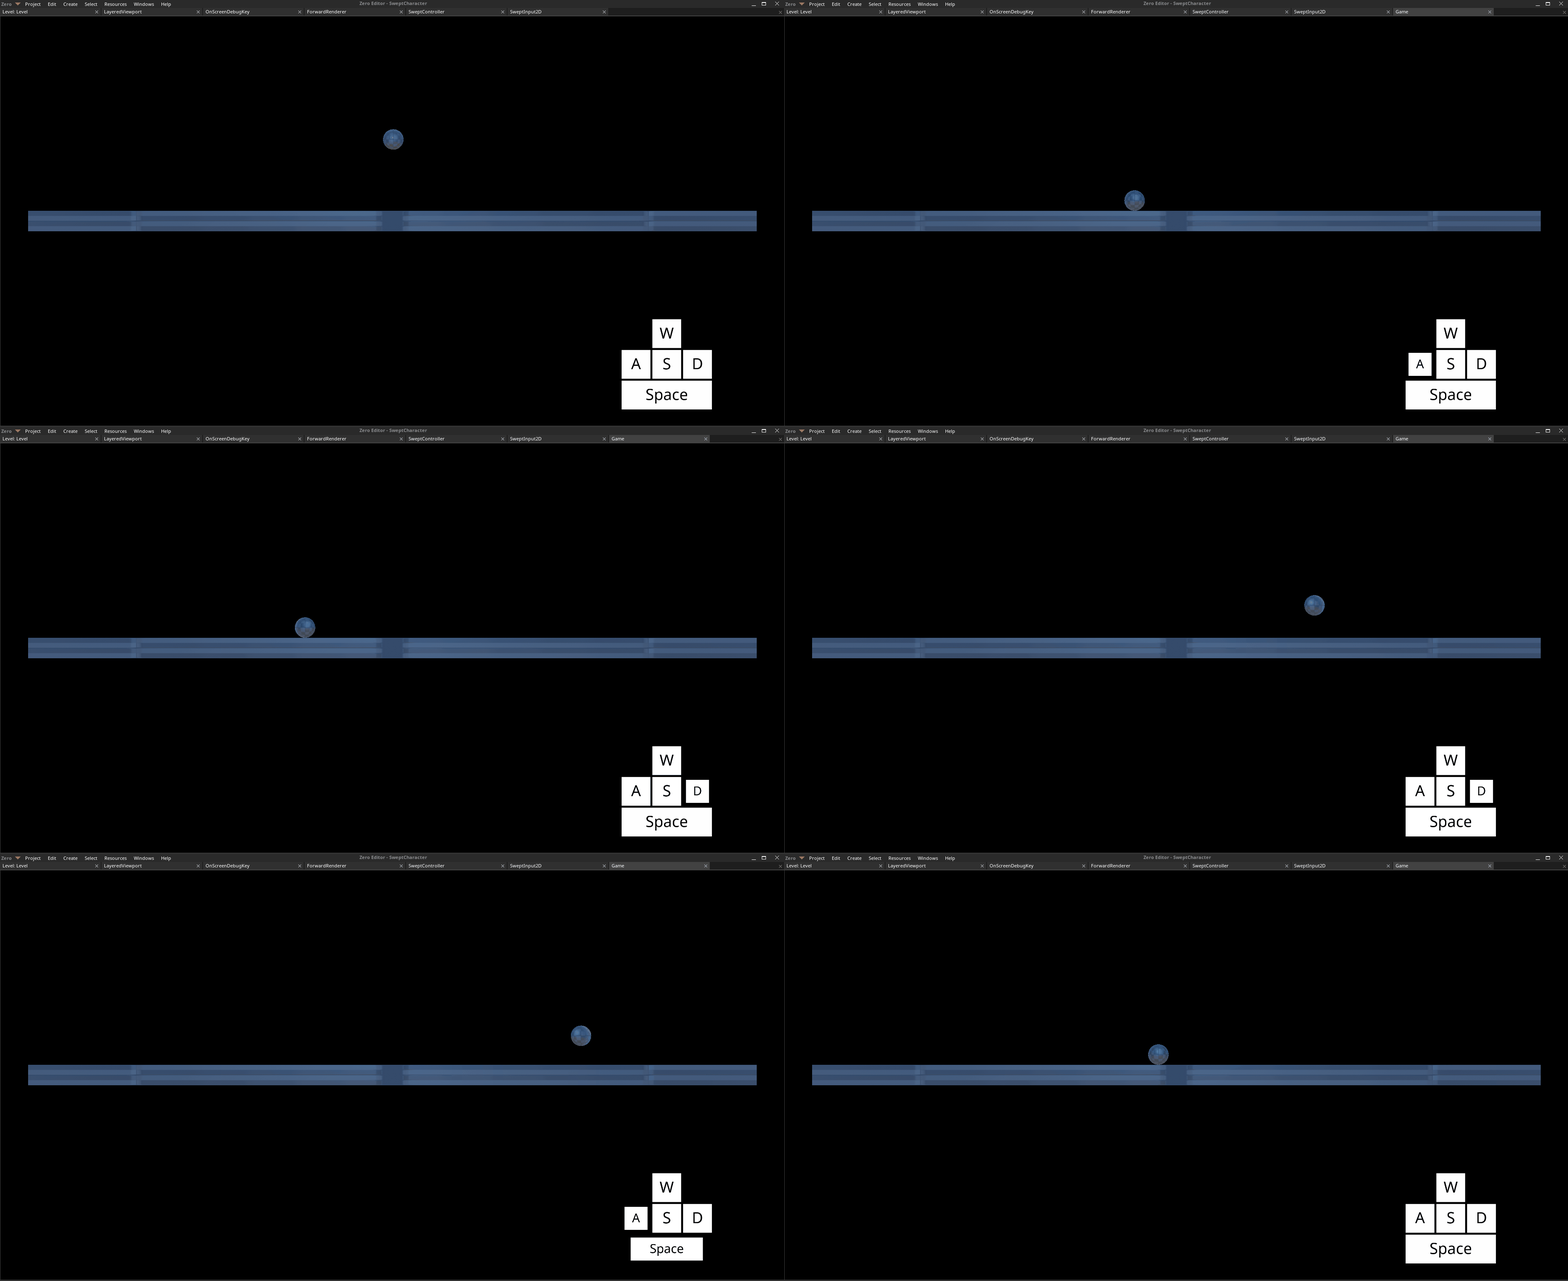
The Player object moving and jumping
SweptInput
Let's take a look at the SweptInput2D component.
class SweptInput2D : NadaComponent
{
  [Dependency] var SweptController : SweptController;

  [Property] var LeftKey : Keys = Keys.A;
  [Property] var RightKey : Keys = Keys.D;
  [Property] var JumpKey : Keys = Keys.Space;

  function Initialize(init : CogInitializer)
  {
    Zilch.Connect(this.Space, Events.LogicUpdate, this.OnLogicUpdate);
  }

  function OnLogicUpdate(event : UpdateEvent)
  {
    var movement = Real3(0, 0, 0);

    // Check for left/right movment
    if(Zilch.Keyboard.KeyIsDown(this.LeftKey))
      movement.X = -1;
    if(Zilch.Keyboard.KeyIsDown(this.RightKey))
      movement.X = 1;

    if(Zilch.Keyboard.KeyIsPressed(this.JumpKey))
    {
      this.SweptController.Jump();
    }

    this.SweptController.Update(movement, event.Dt);
  }
}
Very similar to our dynamic character controller from the first input tutorial, we need to calculate a direction in which to move and whether the character should jump. Using the input properties, we can configure which inputs drive the SweptController.
The important line to note in SweptInput2D is this.SweptController.Update(movement, event.Dt);. SweptController.Update must be called every frame on which the character should be moving. This function handles much of the behavior of the SweptController and should always be called at the end of the input detection update function in order to apply any changes that were made to SweptController properties that frame.
Swept Controller Properties
Because the SweptCharacter uses a Kinematic object, it must handle its own gravity behavior. The strength of this gravitational acceleration can be adjusted per object.
In the
Properties Windowfor Player objectUnder
SweptControllerSet Gravity to
50Jump with
Space
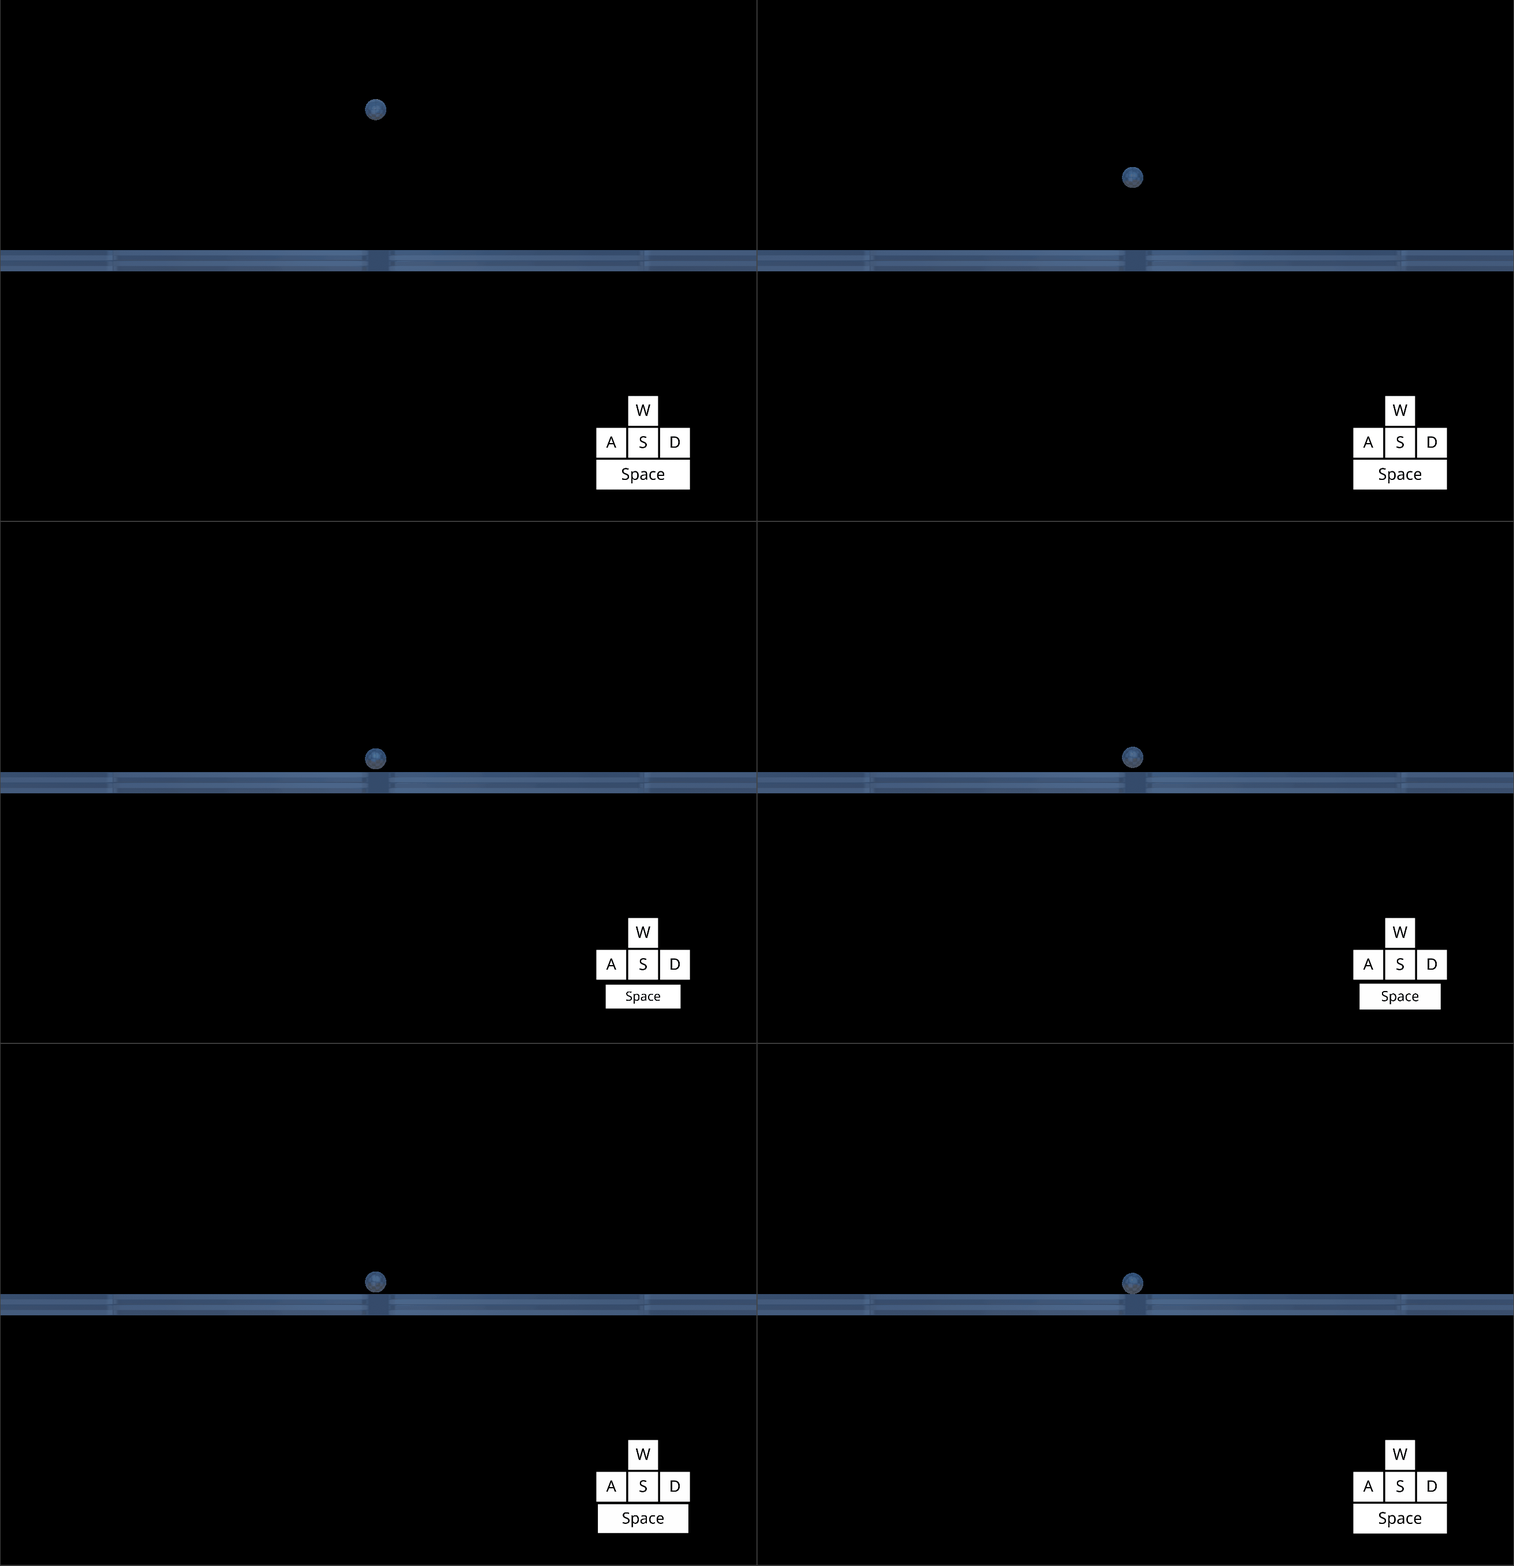
*The Player object jumping with increased Gravity *
Notice that the acceleration of gravity is now more powerful.
The jump velocity is also adjustable.
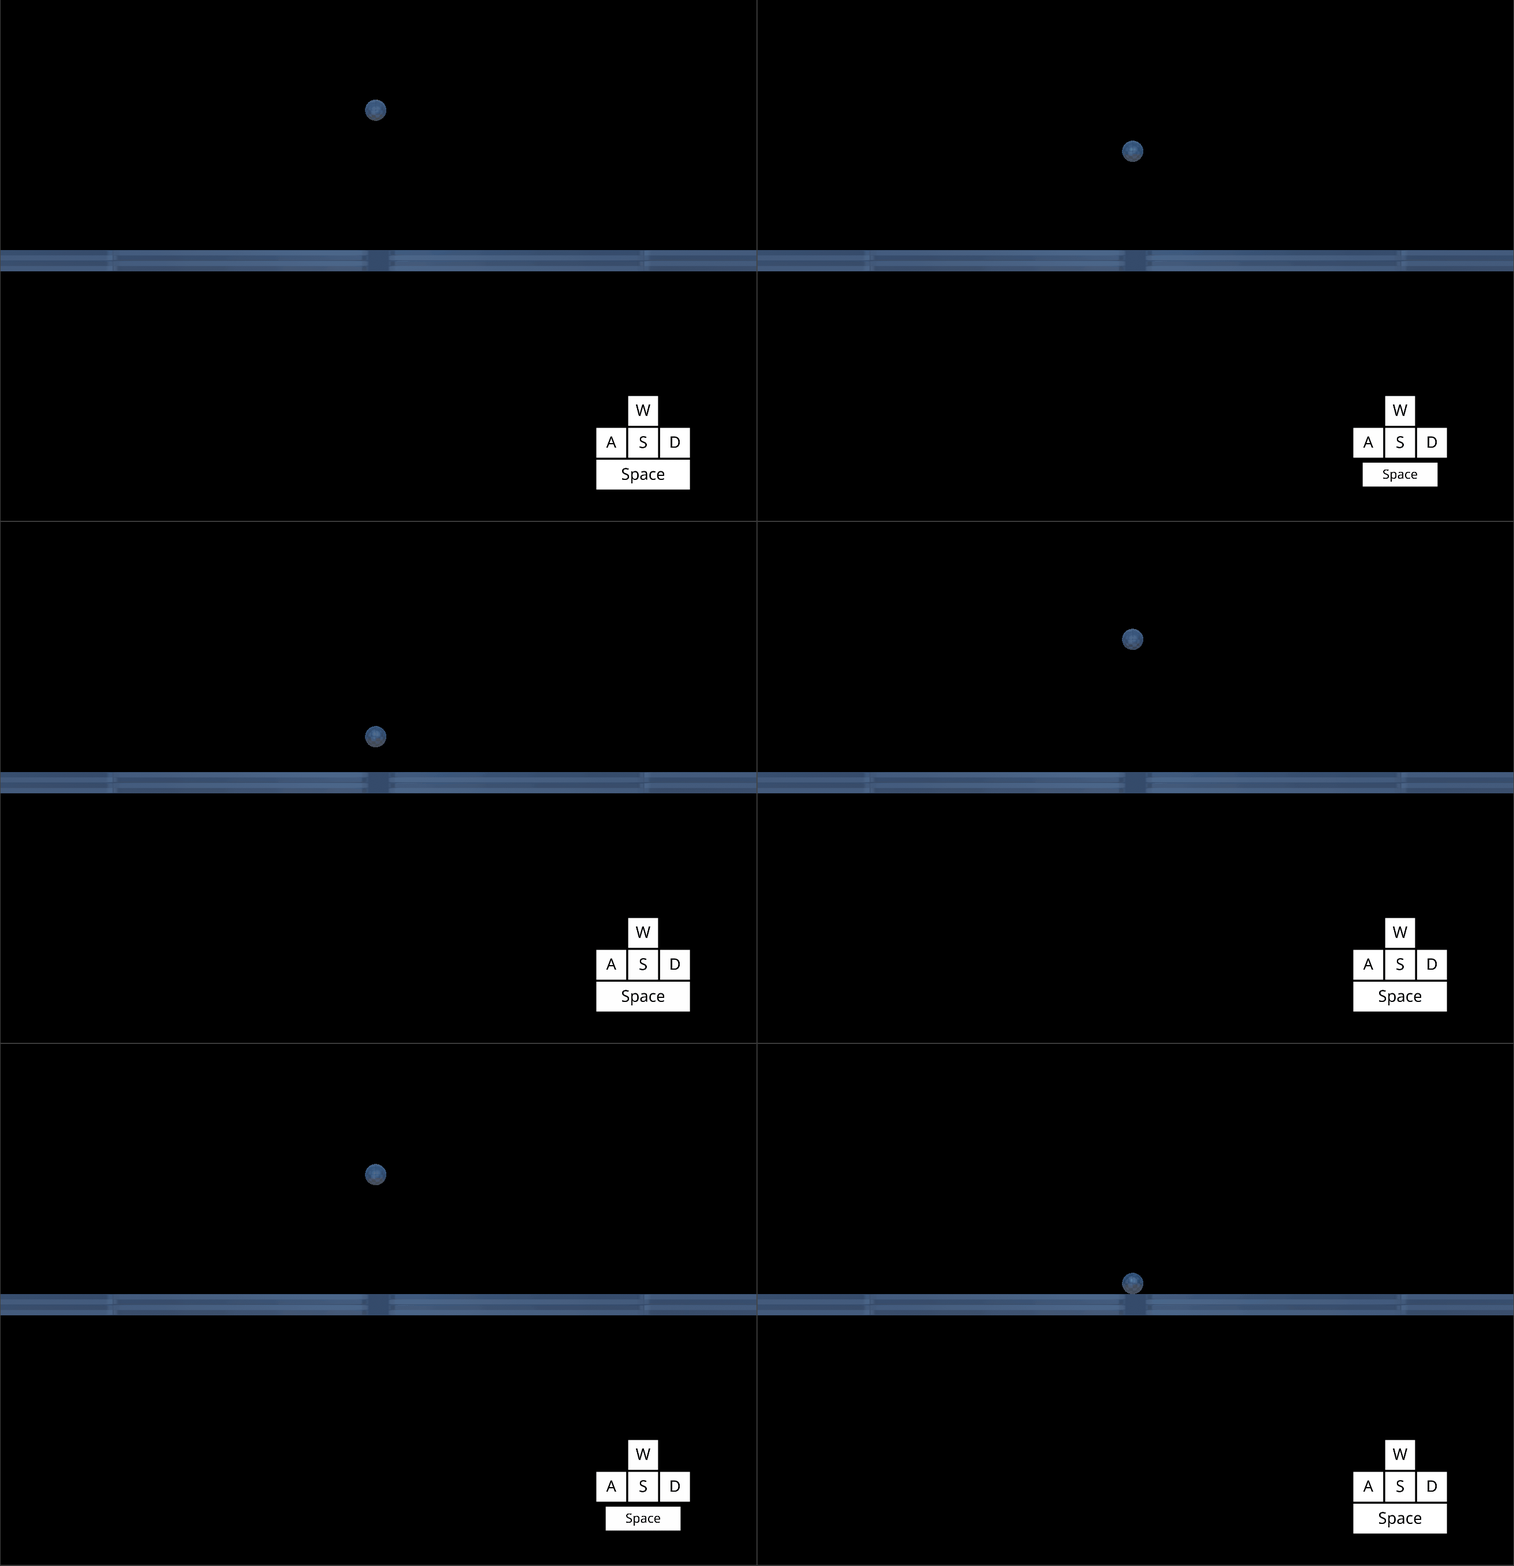
*The Player object jumping with increased Gravity and increased JumpSpeed *
Using these values alongside MaxFallSpeed allows you determine how fast your character rises and falls with each jump.
In-Air Control
When the swept character is in the air, it has slight control by default. The SweptController allows you to modify the strength of that control.
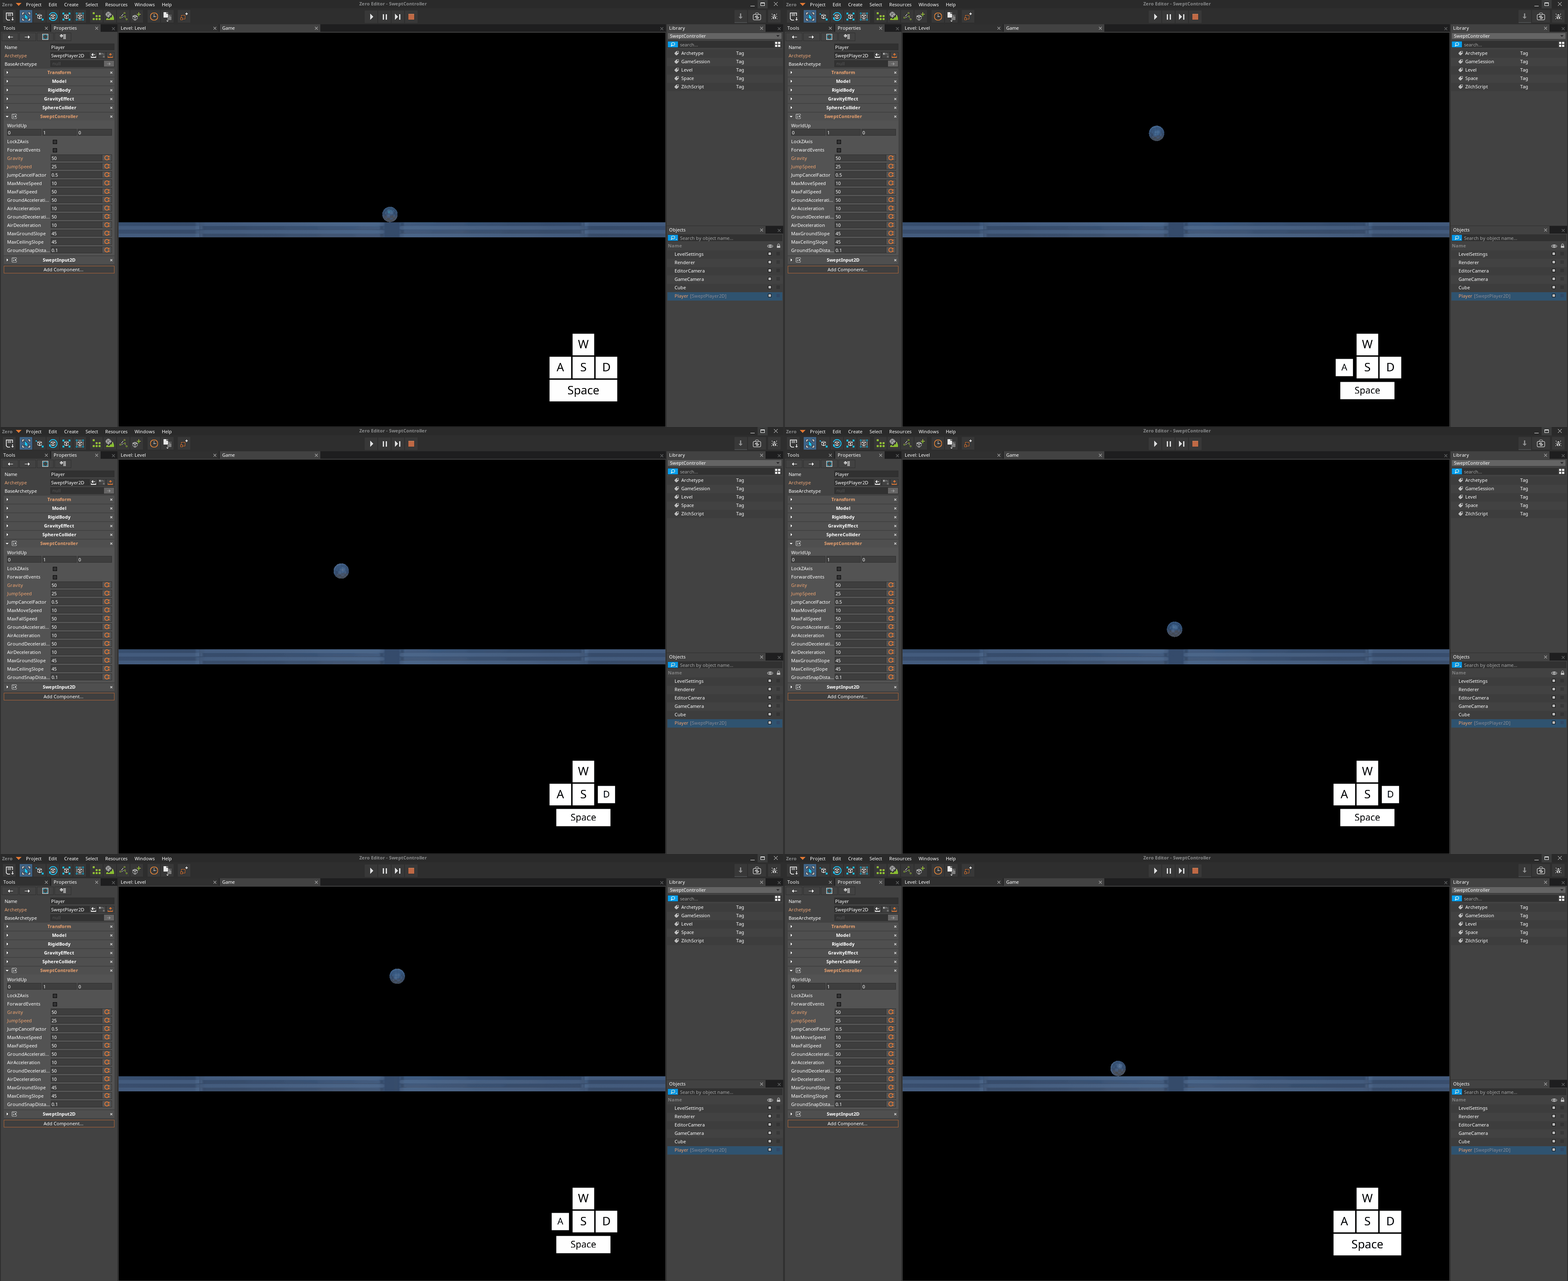
*The Player object jumping and moving with default AirAcceleration *
Now let's try increasing the air control.
In the
Properties WindowUnder
SweptControllerSet AirAcceleration to
25Jump and then move side to side while in the air
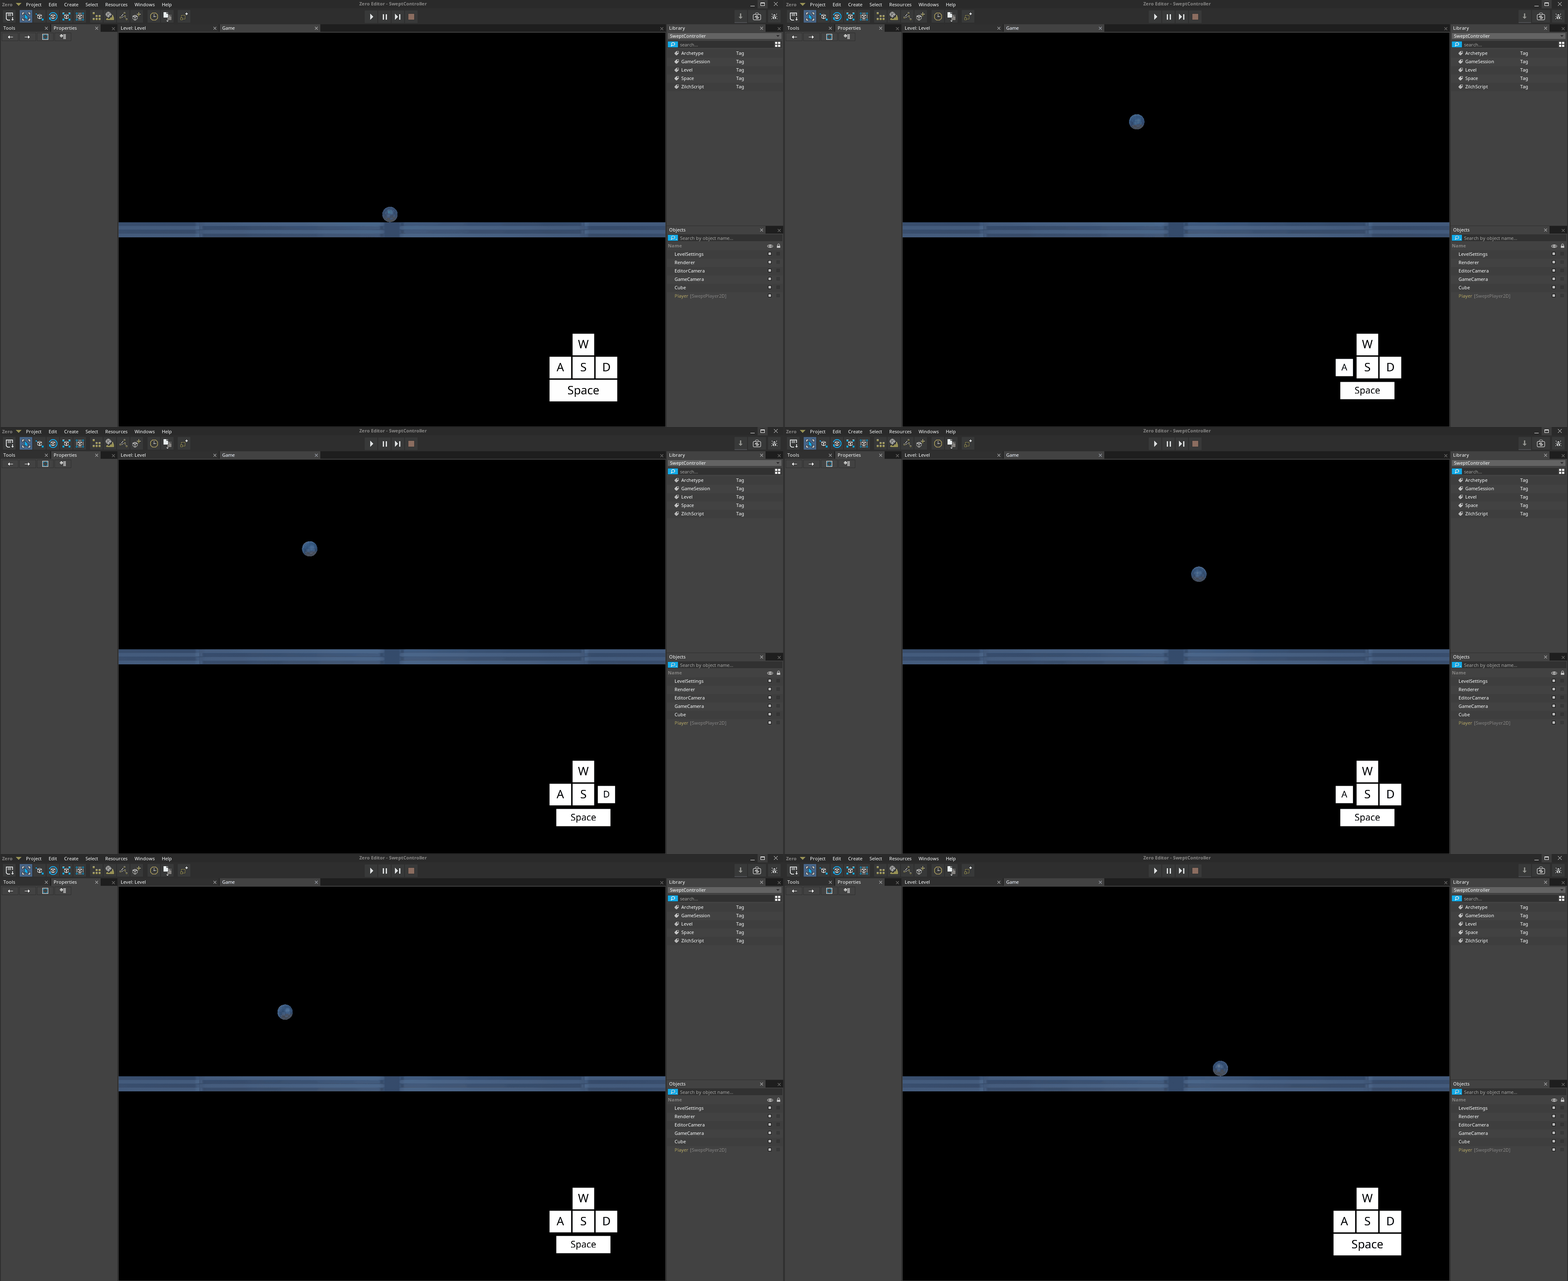
*The Player object jumping and moving with increased AirAcceleration *
In addition to changing the rate of acceleration in the air, you can also modify the GroundAcceleration to similarly affect the SweptCharacter's acceleration when not in the air.
Max Ground Slope
Something you may not have thought about yet is how the SweptController detects whether it is on ground// or not. There are certain behaviors, such as jumping, that should only occur when the object is //on ground//. This //ground detection is done through a technique called //swept collision//, which is too advanced to cover in this tutorial. The final step of ground detection, though, is to check the angle of the slope that the character is on. If the slope is too steep, the SweptController will cause the character to slide down it instead of being able to move up it.
Select : Cube object
In the
Properties WindowUnder Transform
Set Translation to
[5,0,0]Set Rotation to
[0,0,25]In the
Properties WindowUnder Transform
Set Translation to
[-5,0,0]Set Rotation to
[0,0,-50]Attempt to move onto all 3 platforms
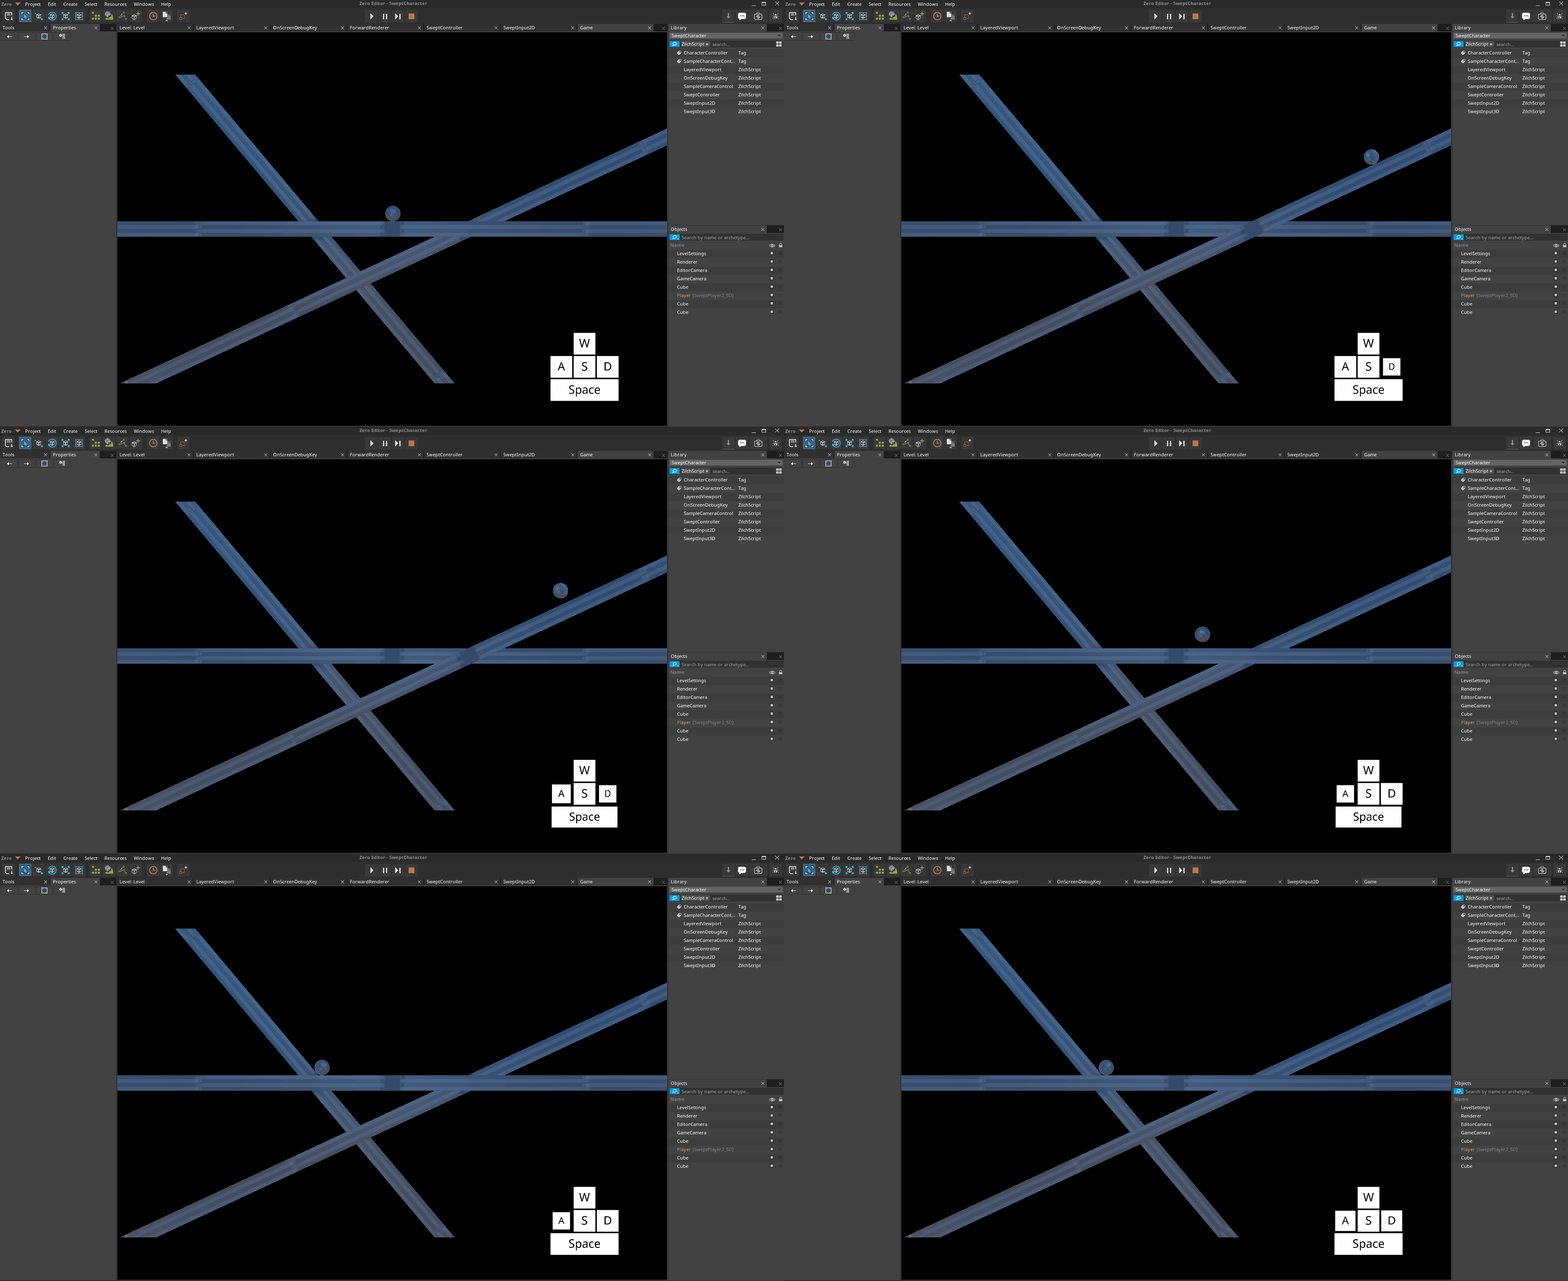
*Platforms both above and below the MaxGroundSlope *
Notice how the Player object object can move freely on the platform with a rotation of [0,0,25], but when it attempts to move onto the platform with a rotation of [0,0,-50], it slides off. This is due to the Z-Axis rotation of the lefthand platform having a greater magnitude than the MaxGroundSlope of the Player object's SweptController.
Swept Collision
Collision events were covered in the events tutorial. Now let's take a look at how they interact with the SweptController.
- Command : Add Resource
- Create a NadaScript resource using the Component template template and name it
CollisionDetector - Update the
CollisionDetectorscript to the following:
class CollisionDetector : NadaComponent
{
  function Initialize(init : CogInitializer)
  {
    Zilch.Connect(this.Owner, Events.CollisionStarted, this.OnCollisionStarted);
  }

  function OnCollisionStarted(event : CollisionEvent)
  {
    Console.WriteLine("`this.Owner` collided with `event.OtherObject`");
  }
}
---------------- Begin Game ----------------
Loaded level 0.00s
Level 'Level' was loaded.
Loaded level 0.00s
----------------  End Game  ----------------
Notice how our print statement from the CollisionDetector component is not executed. This is due to the fact that no standard collision is actually occurring here. The SweptController moves the player by predicting collision based on input and then translating to the correct point to simulate collision resolution. The result is that the kinematic collider of the Player object never actually touches the static colliders of the platforms.
- Command : StopGame
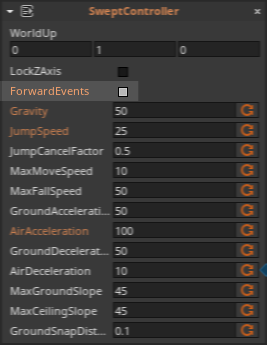
- In the
Properties Window - Under
SweptController - Set ForwardEvents checkBox to
true
- Select : Player object
- Add Component : customcollisioneventtracker
The customcollisioneventtracker detects circumstances where standard CollisionEvents would be sent out and dispatches them when a collider component would be involved in a standard collision.
---------------- Begin Game ----------------
Loaded level 0.00s
Level 'Level' was loaded.
Loaded level 0.00s
<Cog 'Player' (SweptPlayer2D) [2035]> collided with <Cog 'Cube' [2034]>
----------------  End Game  ----------------
Now we can detect and react to the CollisionEvents sent by the customcollisioneventtracker.
Related Materials
Tutorials
Manual
Reference
Commands
Classes
Events
Enums
Tasks
- T1181