Events are the main way that Cogs and components communicate to each other in the Zilch Engine. Often a component has information it needs to communicate to other components, one of the most flexible ways to do so is to package the information into an Event and then dispatch the event on an object. Then, any components that need the information can �listen� for the event to be dispatched, accessing that information in a special callback function.
There are two types of events in the Zilch Engine: built-in events and custom events. This lesson will cover built-in events while the next lesson will go over custom events.
Learning Objectives
- The LogicUpdate Event
- CollisionEvents
- Destruction events
Level Setup
- Command : New Project
- Create a new project using the {nav icon=clone, name=Empty 2D Project} template
- Select : LevelSettings object
- In the
Properties Window - Remove Component : gravityeffect
- Remove Component : drageffect
- Command : CreateSprite
- In the
Properties Window - Rename Sprite object to
Player - Under Sprite
- Set VertexColor to
[R:0, G:170, B:255, A:1.00] - Add Component : RigidBody
- Add Component : BoxCollider
- Command : Add Resource
- Create a NadaScript resource using the Component template template and name it
PlayerMovement
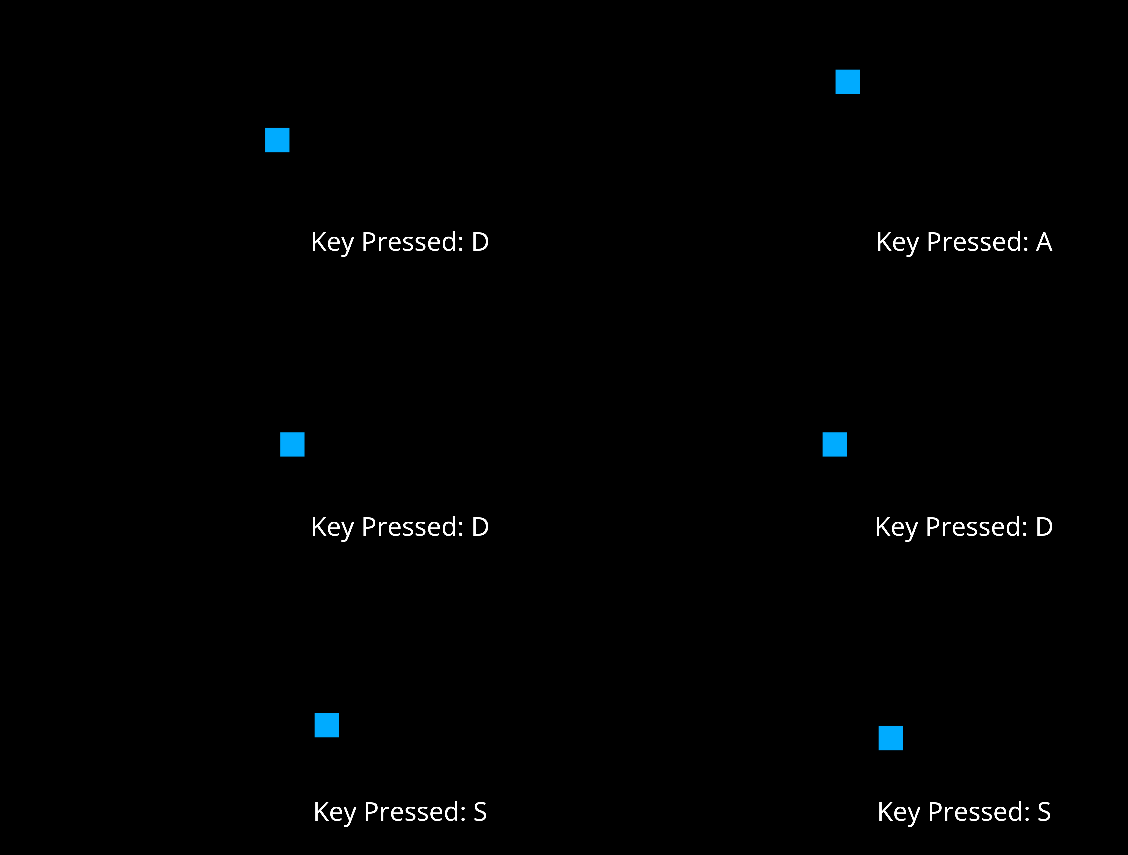
To get our player moving around we'll be using LogicUpdate, an updateevent that is dispatched on the space object every frame. Movement can be easily added by polling which Keys are currently being pressed, if any, and updating the velocity of the object based on the keypress.
- Update the
PlayerMovementscript to the following:
class PlayerMovement : NadaComponent
{
  [Dependency] var RigidBody : RigidBody;

  [Property]
  var MoveRight : Keys = Keys.D;

  [Property]
  var MoveLeft : Keys = Keys.A;

  [Property]
  var MoveUp : Keys = Keys.W;

  [Property]
  var MoveDown : Keys = Keys.S;

  [Property]
  var MoveSpeed : Real = 5;

  function Initialize(init : CogInitializer)
  {
    Zilch.Connect(this.Space, Events.LogicUpdate, this.OnLogicUpdate);
  }

  function OnLogicUpdate(event : UpdateEvent)
  {
    var movement : Real3 = Real3();

    if(Zilch.Keyboard.KeyIsDown(this.MoveRight))
      movement += Real3.XAxis;

    if(Zilch.Keyboard.KeyIsDown(this.MoveLeft))
      movement -= Real3.XAxis;

    if(Zilch.Keyboard.KeyIsDown(this.MoveDown))
      movement -= Real3.YAxis;

    if(Zilch.Keyboard.KeyIsDown(this.MoveUp))
      movement += Real3.YAxis;

    this.RigidBody.Velocity = movement * this.MoveSpeed;
  }
}
- Add Component :
PlayerMovement - Command : PlayGame

LogicUpdate is the event and this.OnLogicUpdate is the event callback function. A callback function is a function passed as an argument into another function, with the expectation that it will be called in response to something. An event callback function (in this case, this.OnLogicUpdate) is the function that is called every time a component (in this case, PlayerMovement) that is connected to some event (in this case, LogicUpdate) hears that the event has occurred (which is every frame in this instance). As OnLogicUpdate is called every frame, seamless movement can be achieved by updating the movement vector of the Cog within that function.
Event Connections
Connecting to an event involves both calling the Zilch.Connect function and creating the appropriate callback function. Let's look at the call to the Connect function first, parameter by parameter:
Zilch.Connect(this.Space, Events.LogicUpdate, this.OnLogicUpdate);
| Example Value | Parameter Type | Description |
|---|---|---|
this.Space |
Object | The object onto which the event will be dispatched. |
Events.LogicUpdate |
string | The name of the event. |
this.OnLogicUpdate |
Delegate | The callback function for the event. |
The callback function must take a parameter whose type matches the type of the event that you are connecting to. Now let's take a look at the callback function:
function OnLogicUpdate(event : UpdateEvent)
| Example Value | Parameter Type | Description |
|---|---|---|
event |
updateevent | An event whose type matches the type included with the declaration of the event name. |
Note that LogicUpdate is already declared to use an UpdateEvent; however, we can also declare our own events in Nada. When we do declare our own, we then specify the the types of events they will use (whether it's a pre-existing event or a custom event we make ourselves, as will be seen in the next lesson). As we will see, there are many types of events that may be connected to, starting with built-in events that are engine-constructed.
Built-In Events
Built-in events are provided for you ready to connect. They are always dispatched by the engine under a consistent and specific context. Examples of built-in events include mouseevent, keyboardevent, and soundevent. We've already seen the LogicUpdate event; now let's check out how some other built-in events can be used.
Collision Events
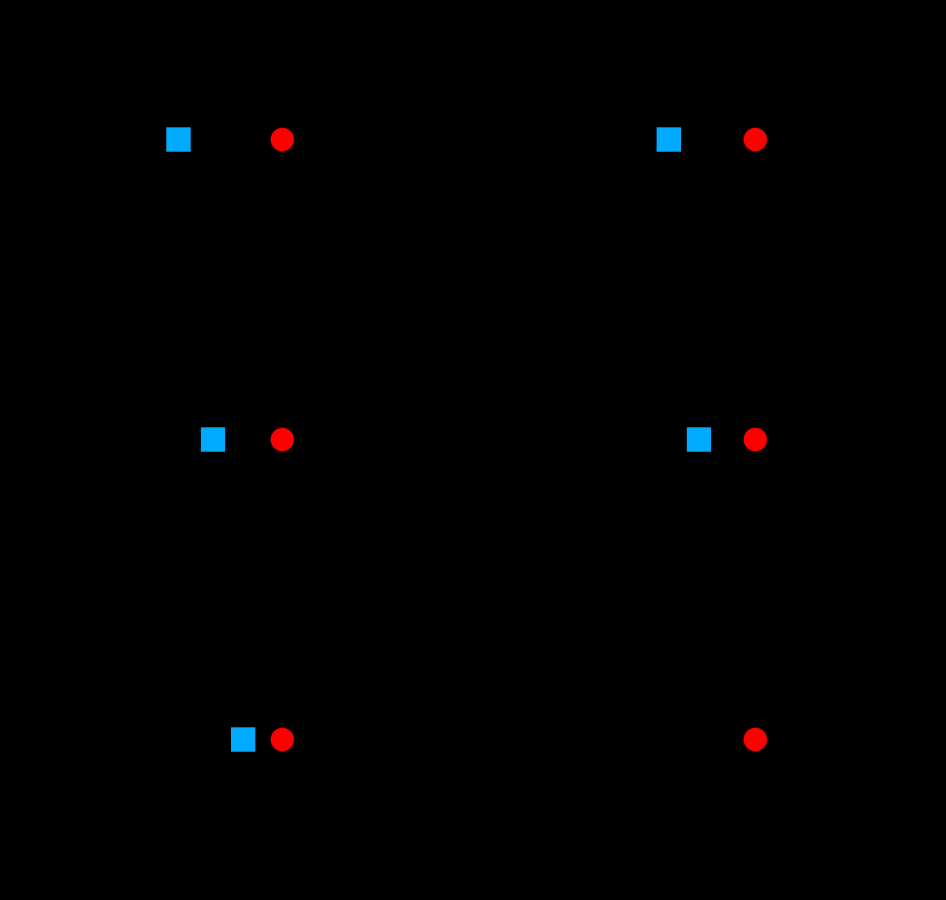
There are three main Collision events: CollisionStarted, CollisionPersisted, and CollisionEnded. When an object with a collider comes into contact with another collider, a CollisionStarted event is created by the physics engine and is dispatched that frame on both objects involved in the collision. In the following frames, if the object's colliders are still in contact, the CollisionPersisted event is dispatched on the objects. The first frame the colliders are no longer in contact the CollisionEnded event is dispatched on both objects. To demonstrate a Collision event, let's make a simple enemy sprite:
- Command : CreateSprite
- In the
Properties Window - Rename Sprite object to
Enemy - Under transform
- Set Translation to
[4, 0, 0]
- Set Translation to
- Under Sprite
- Set VertexColor to
[R: 255, G: 0, B: 0, A;1.00] - Set SpriteSource enum to
Circle - Add Component : BoxCollider
Now we need to create another component that will destroy the player cog in response to the collision event.
- Command : Add Resource
- Create a NadaScript resource using the Component template template and name it
DestroyOnCollide - Update the
DestroyOnCollidescript to the following:
class DestroyOnCollide : NadaComponent
{
  function Initialize(init : CogInitializer)
  {
    Zilch.Connect(this.Owner, Events.CollisionStarted, this.OnCollisionStarted);
  }

  function OnCollisionStarted(event : CollisionEvent)
  {
    this.Owner.Destroy();
  }
}
- Select : Player object
- Add Component :
DestroyOnCollide - Command : PlayGame
 Player cog being destroyed upon collision with an enemy cog.
Destruction Events
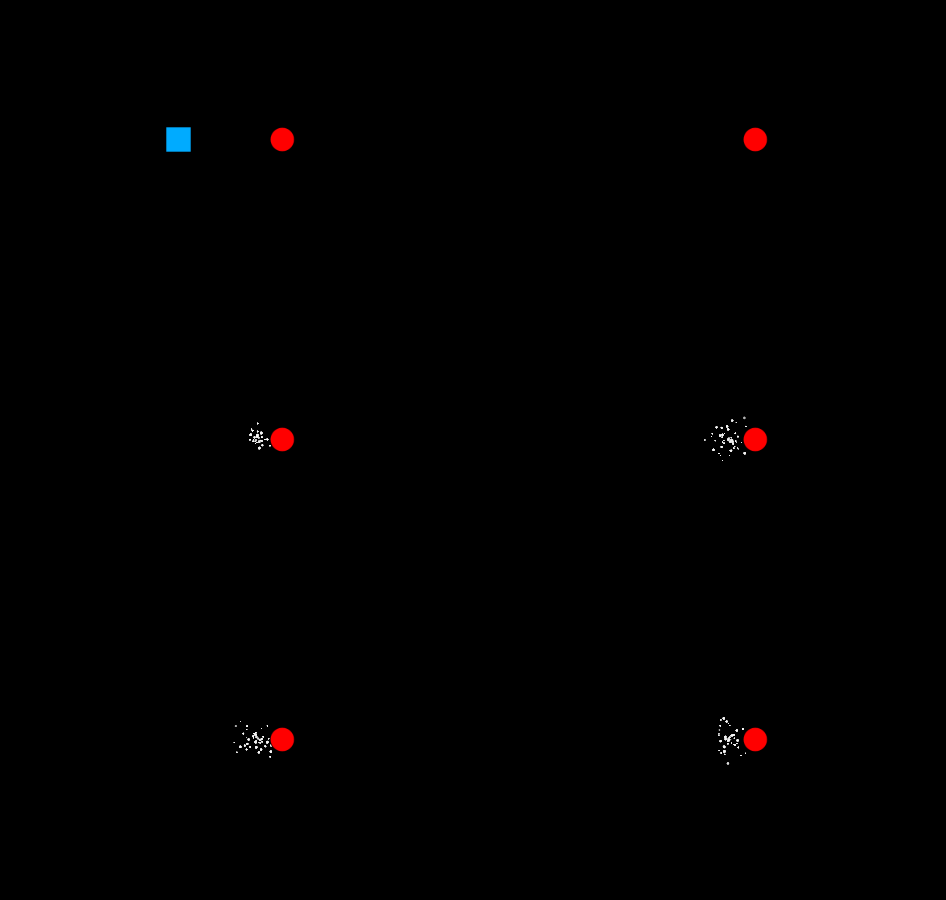
Another useful built-in event is the CogDestroy event which is dispatched on a cog the frame its Destroy function is called. These can be used to add effects or to update the UI when the player or enemies have been destroyed. Let's create a component that will create a particle effect on the destruction of our player.
- Command : Add Resource
- Create a NadaScript resource using the Component template template and name it
SpawnObjectOnDestroy - Update the
SpawnObjectOnDestroyscript to the following:
class SpawnObjectOnDestroy : NadaComponent
{
  [Dependency] var Transform : Transform;

  [Property]
  var ArchetypeToSpawn : Archetype = Archetype.SpriteParticles;

  function Initialize(init : CogInitializer)
  {
    Zilch.Connect(this.Owner, Events.CogDestroy, this.OnCogDestroy);
  }

  function OnCogDestroy(event : ObjectEvent)
  {
    var object = this.Space.CreateAtPosition(this.ArchetypeToSpawn, this.Transform.Translation);
    var selectionIcon = object.SelectionIcon;
    if (selectionIcon != null)
      selectionIcon.Visible = false;
  }
}
- Add Component :
SpawnObjectOnDestroy - Command : PlayGame

Now we can see the particle system object being created in our event response function. In the next tutorial, we will cover custom events, which are events you define and dispatch.
Related Materials
Tutorial
Manual
Reference
Class
- collisionevent
- gravityeffect
- drageffect
- sprite
- rigidbody
- BoxCollider
- updateevent
- zilch
- mouseevent
- keyboardevent
- soundevent
- objectevent
Command
Event
Enums
Nada Base Types
Development Task
- T781