This lesson covers the basics of Components and demonstrates basic usage of the Collider, RigidBody, Sprite, and SpriteText components.
Learning Objectives
- Component basics
- Common built-in components
Component Overview
Each component will typically have its own set of properties that can be modified to customize that component's behavior. In this tutorial we're going to show you some of the most commonly used components.
Level Setup
- Command : New Project
- Create a new project using the {nav icon=clone, name=Empty 2D Project} template
Create a Transform Object

Creating a Transform object via the Create Menu
Notice that the Trasnform object object can be found in the Objects Window:
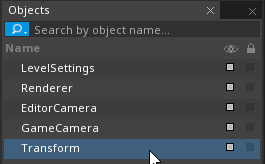
The Transform object listed in the Objects Window
This provides a very basic object that has a defined position, scale and rotation. Let's go ahead and make our object more interesting by adding a Sprite component.
Adding a Component
- In the
Properties Window - Click the
Add Componentbutton - Type key :
Sprite - Click on Sprite button to add a Sprite component.
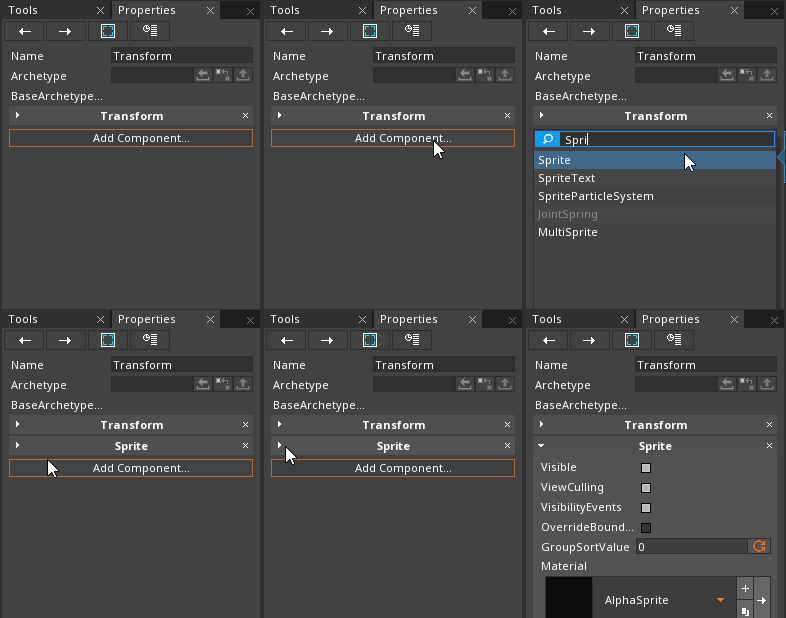
Adding the Sprite component to the Transform object
You can also add components to a selected object by using the hotkey Ctrl + M.
NOTE:
Some components may require another component to be present on an object before they can be added: this is called a dependency. Many of the components in Zilch (Including Sprite, for example) depend on the Transform component. If one or more dependencies aren't satisfied, Zilch will notify you when you attempt to add that component.

Sprite Component
The Sprite component provides a 2D visual representation of an object. Let's take a look at some of its most commonly used properties:
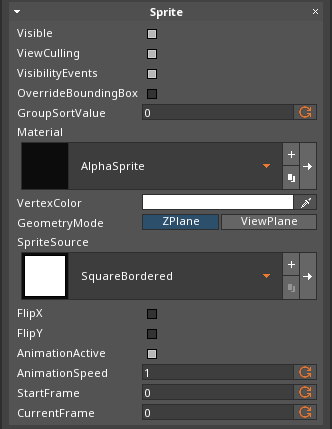
The Properties Window showing the Sprite component
| Common Sprite Properties | |
|---|---|
| Visible checkBox | Whether the object can be seen |
| VertexColor | The base color of the Sprite |
| SpriteSource enum | The image file that this Sprite displays |
Making a Copy of an Object
- Select : Transform object
- Press key
Ctrl + Cto copy it - Press key
Ctrl + Vto paste a new copy
Notice how there are two objects in the Objects Window, but we only see one in the Level Window. That's because they are overlapping; we can fix this by moving one of the objects.
Altering Component Properties
- In the
Properties Window - Rename Transform object to
RedBall - Under Transform
- Set Translation to
[0, 5, 0]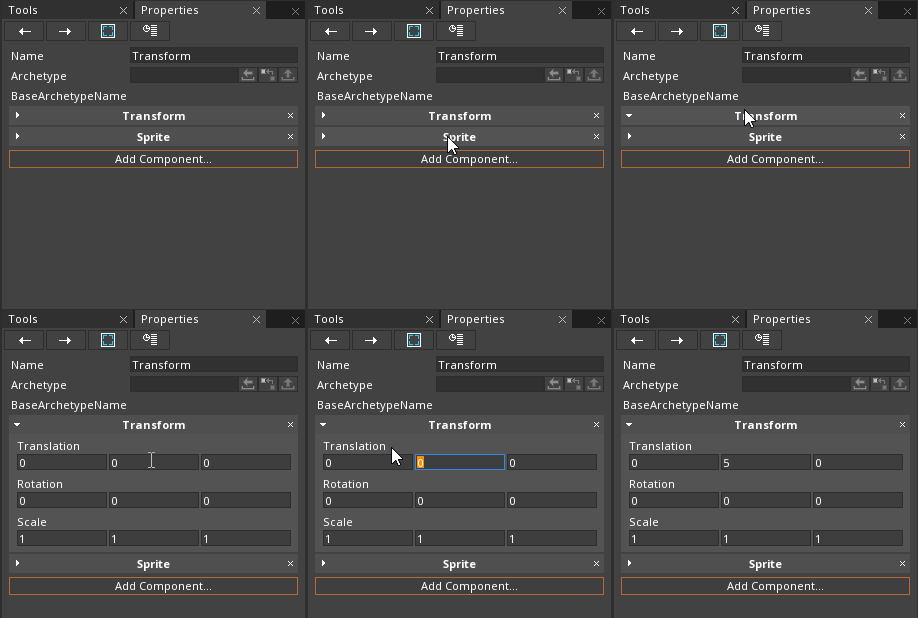
- Under Sprite
- Set SpriteSource enum to
CircleBordered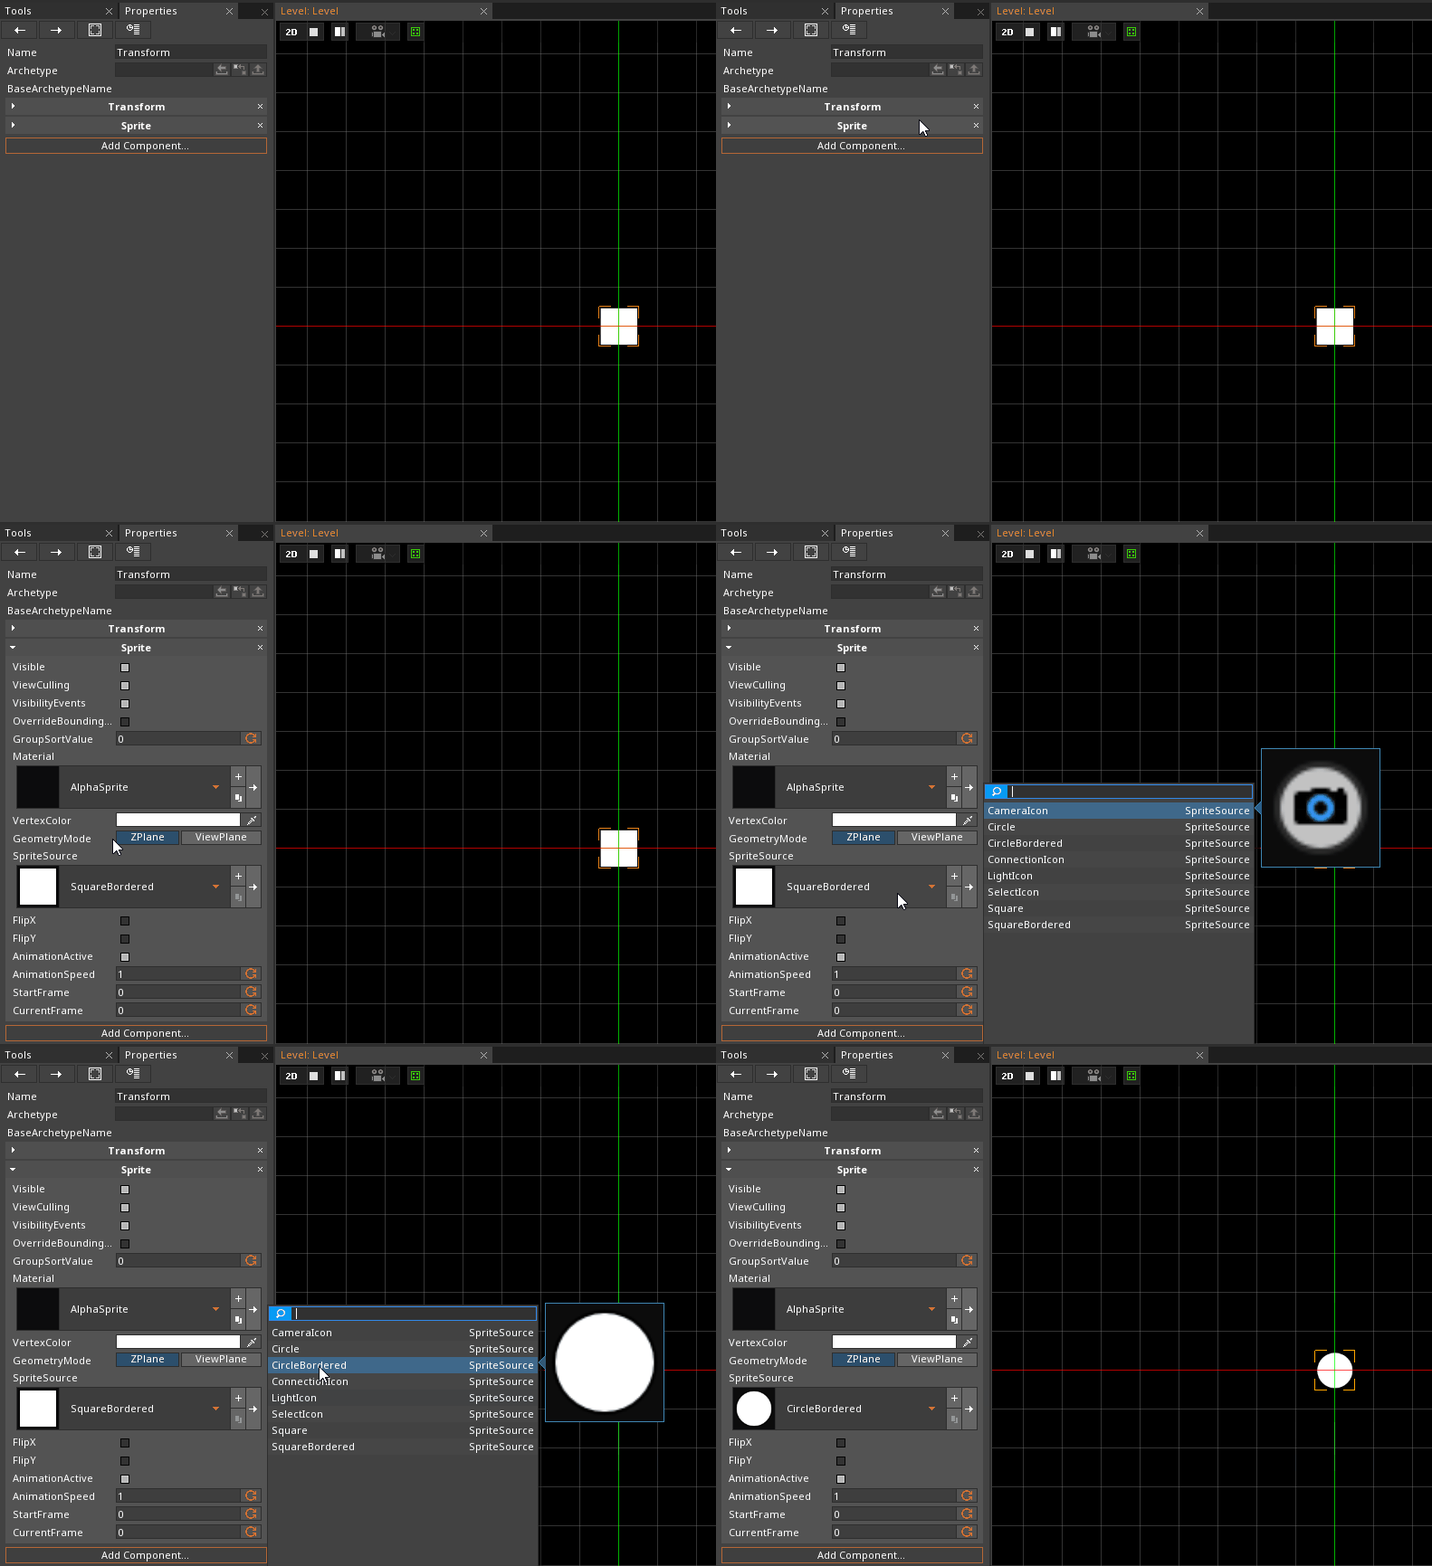
- Set VertexColor to
[R:255, G:0, B:0, A:1.00]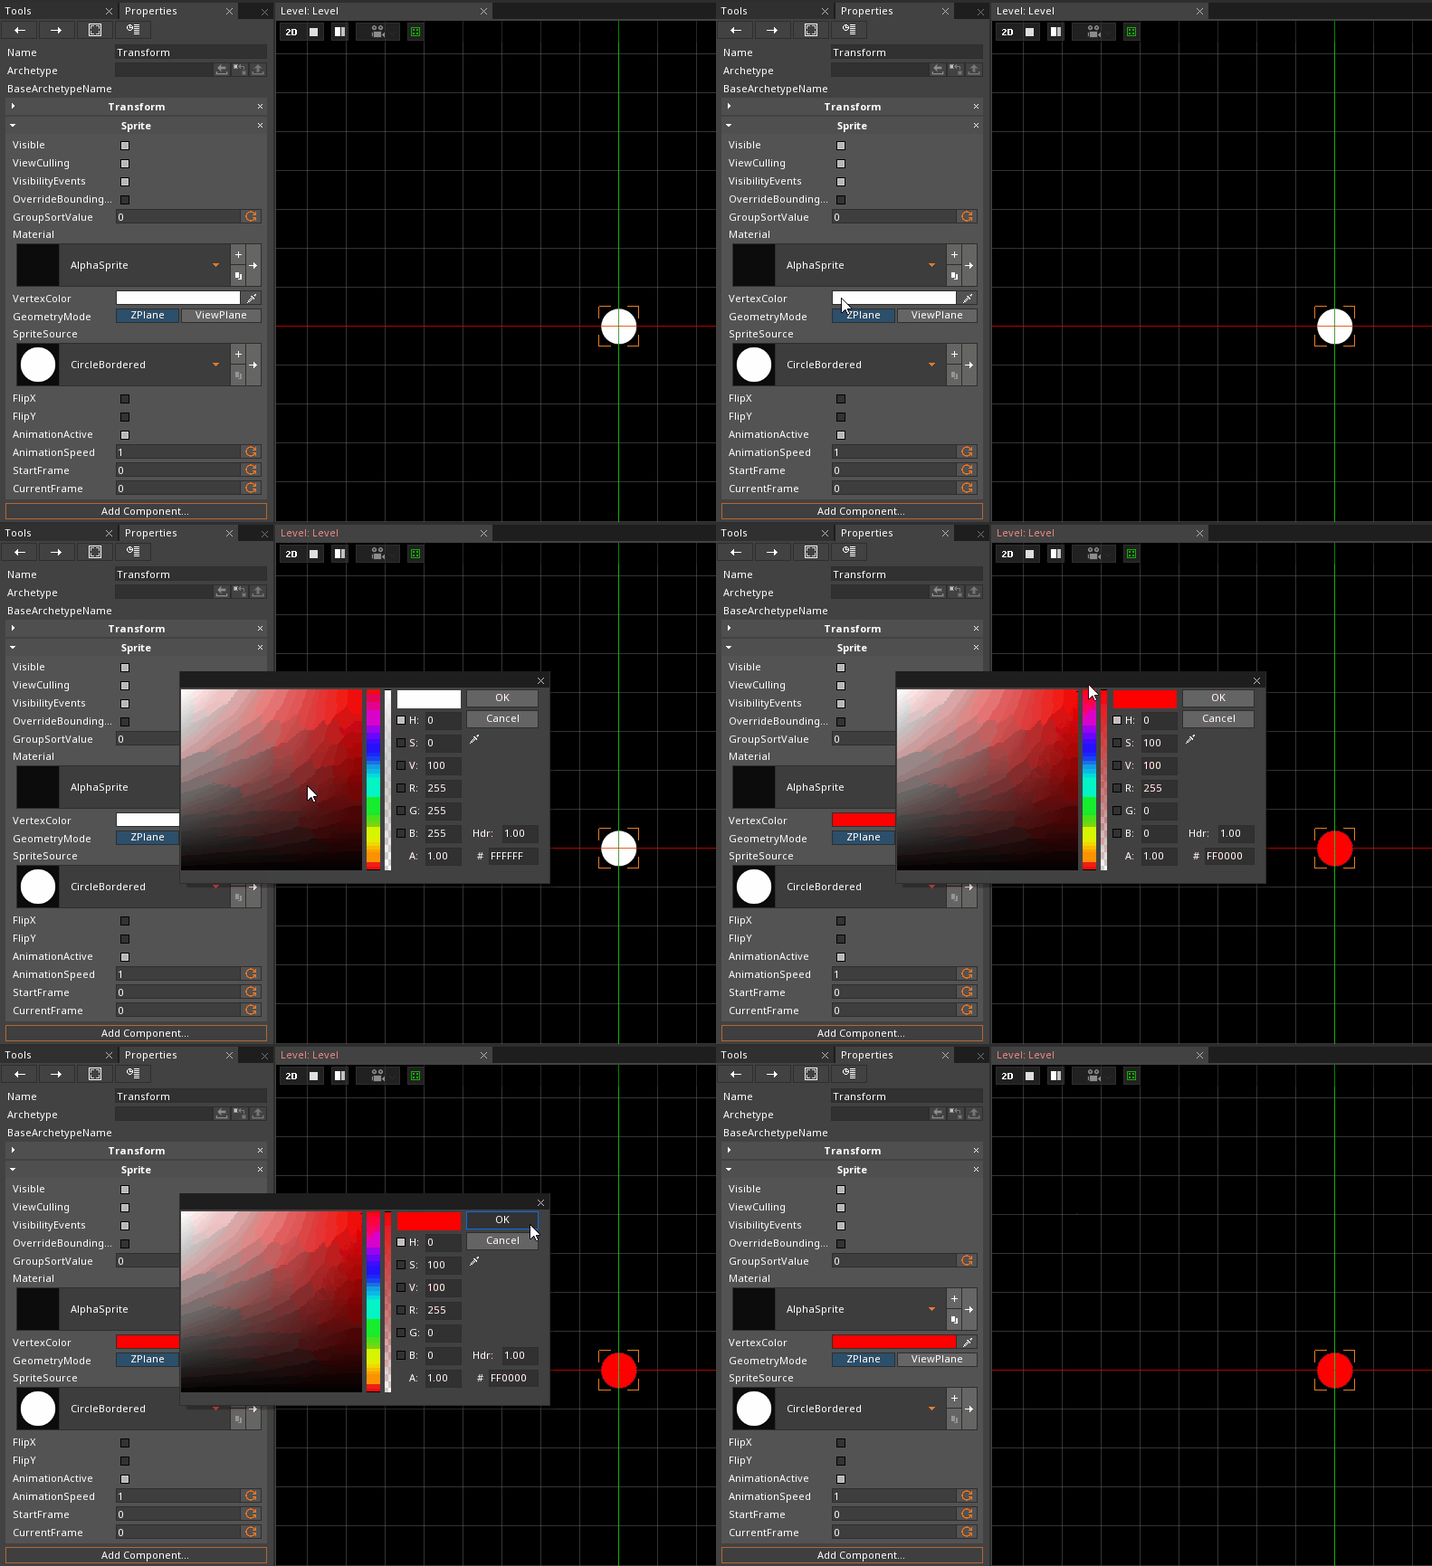
NOTE: Color is defined by four values; Red, Green, Blue, and Alpha, in that order: RGBA. The first three refer to the amount of each respective color, while Alpha denotes the opacity of the color. Color values in the property grid range from 0 to 255, while alpha ranges from 0.00 (fully transparent) to 1.00 (fully opaque).
| Color References | ||
|---|---|---|
| Red | [R:255, G:0 , B:0 , A:1.00] |
 |
| Green | [R:0 , G:255, B:0 , A:1.00] |
 |
| Blue | [R:0 , G:0 , B:255, A:1.00] |
 |
| Yellow | [R:255, G:255, B:0 , A:1.00] |
 |
| Magenta | [R:255, G:0 , B:255, A:1.00] |
 |
| Cyan | [R:0 , G:255, B:255, A:1.00] |
 |
| Orange | [R:255, G:128, B:0 , A:1.00] |
 |
| Pink | [R:255, G:0 , B:128, A:1.00] |
 |
| Purple | [R:128, G:0 , B:255, A:1.00] |
 |
| Teal | [R:0 , G:255, B:128, A:1.00] |
 |
| White | [R:255, G:255, B:255, A:1.00] |
 |
| Black | [R:0 , G:0 , B:0 , A:1.00] |
 |
- Select : the other Transform object object
- Rename it to
Ground - In the
Properties Window - Under Transform
- Set Scale to
[5, 0, 0] - Under Sprite
- Set VertexColor to
[R:0, G:255, B:0, A:1.00]
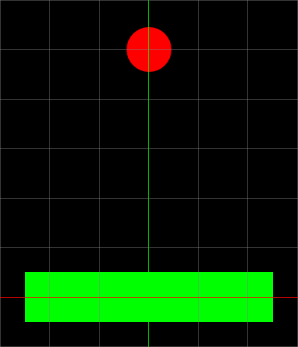
Your level should look like this:
RigidBody Component
The RigidBody component gives an object physics properties, like mass and velocity. Let's take a look at it:
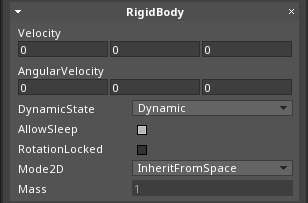
The Properties Window showing the RigidBody component
| Common RigidBody Properties | |
|---|---|
| Velocity | The current velocity being applied to the object. Changing this property in the editor sets the object's initial velocity |
| AngularVelocity | Angular velocity is an object's current spin. Changing this property in the editor sets the object's initial spin (only around the Z axis for 2D objects) |
| RotationLocked checkBox | Prevents the physics system from rotating the object. (The object can still be rotated by modifying its Transform's Rotation property.) Commonly used for player characters |
- Select : RedBall object
- In the
Properties Window - Add Component : RigidBody
- Command : Save Project
- Command : PlayGame
The RedBall object is now affected by gravity.
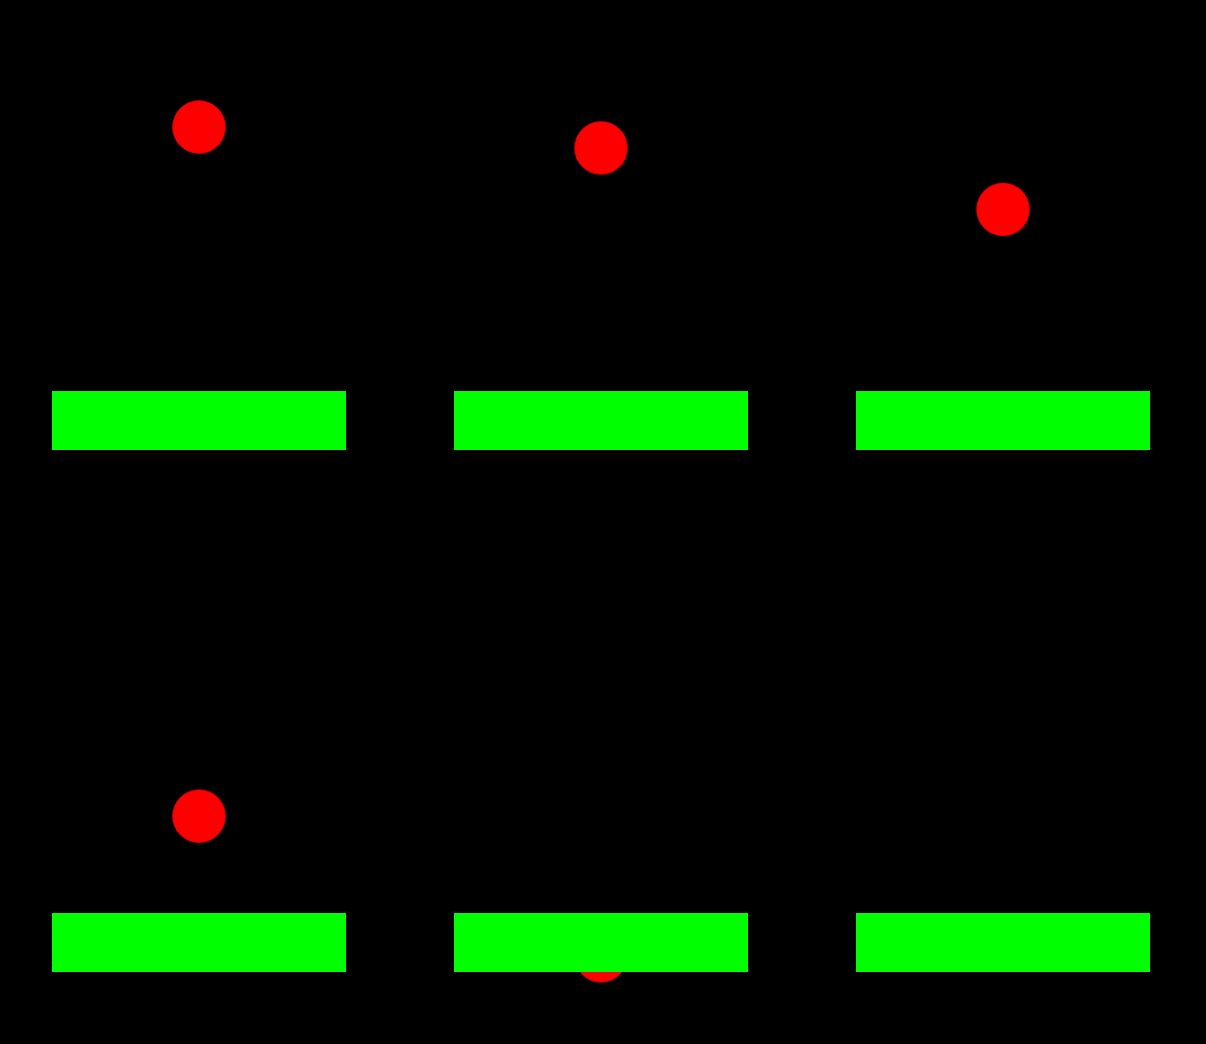
The RedBall object object falling due to gravity
Notice that it didn't collide with the Ground object object, though. To have the RedBall object hit the ground, we'll need to add colliders to our objects.
Collider Components
Colliders are used to detect when two objects occupy the same physical space, and, if so desired, prevent that. Zilch Engine offers several different types of colliders, including BoxCollider, SphereCollider, CylinderCollider, and CapsuleCollider; in this section, we'll demonstrate a couple of these.
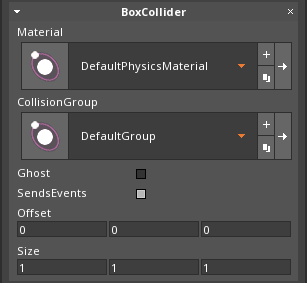
The Properties Window showing the BoxCollider component
| Common Collider Properties | |
|---|---|
| Offset | How far the collider should be offset from the object's position |
| Ghost checkBox | Allows for collision detection without resolution |
| Size | How big the collider should be, relative to the object's scale (only available on BoxCollider) |
| Radius | How big the radius of the collider should be, relative to the object's scale (only available on SphereCollider) |
- Select : RedBall object
- In the
Properties Window - Add Component : SphereCollider
Let's also add a collider to our Ground object object.
Select : Ground object
In the
Properties Window
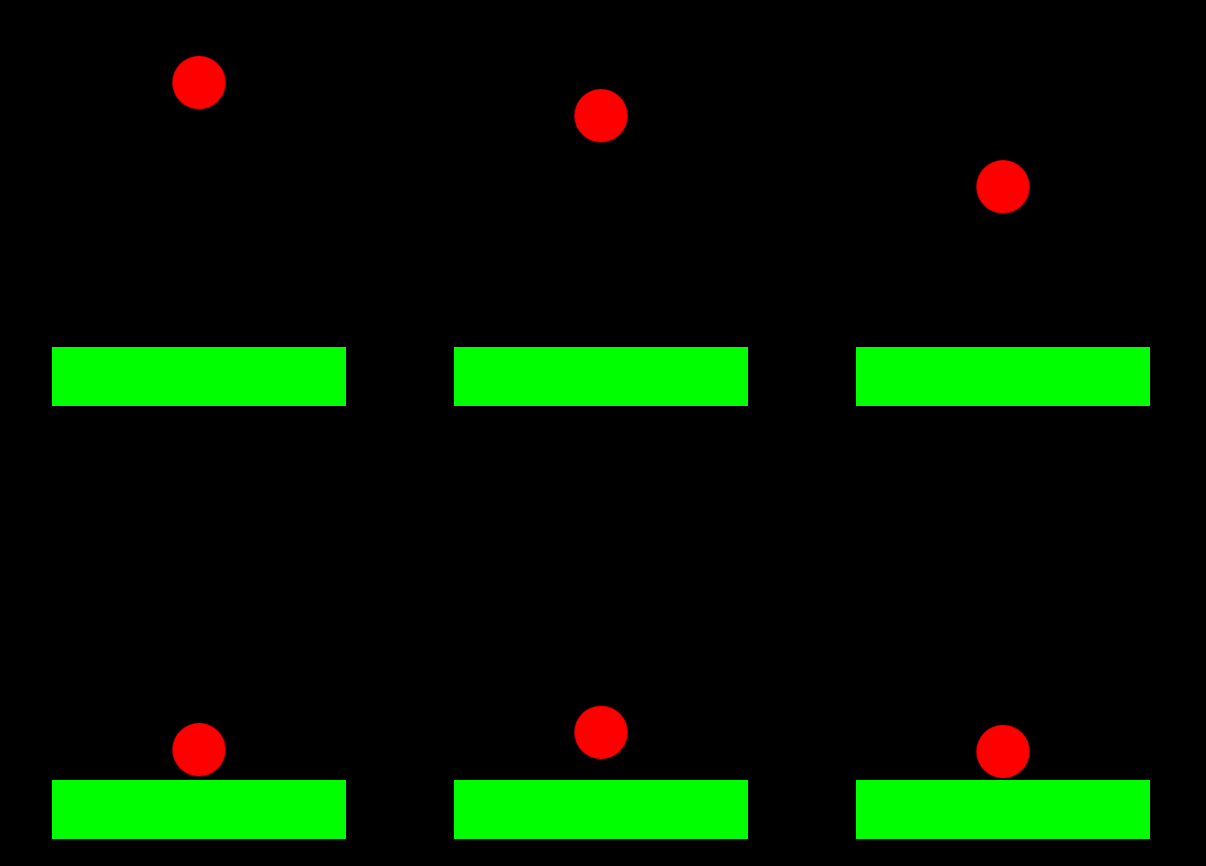
The RedBall object object landing on the Ground object object
Now our RedBall object is colliding with the Ground object as intended.
SpriteText Component
Similar to Sprite, the SpriteText component allows us to draw 2D text onto the screen. Let's take a look at its properties:
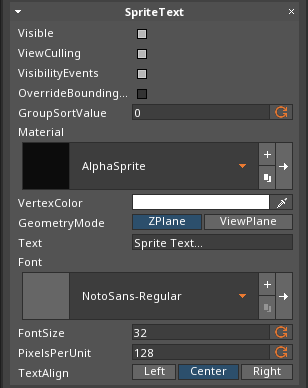
The Properties Window showing the SpriteText component
| Common SpriteText Properties | |
|---|---|
| Visible checkBox | Whether the text can be seen |
| VertexColor | The color of the text |
| Font enum | Which Font resource resource to use |
| FontSize | How big the text should be |
| Text | The actual text to be displayed |
To finish up, the project let's add a Title object.
- Command : CreateSpriteText
- Rename SpriteText object to
Title - In the
Properties Window - Under Transform
- Set Translation to
[0, 7, 0] - Add Component : SpriteText
- Under SpriteText
- Set FontSize to
100 - Set Text to
Hello World!, or your preferred title
Let's take a look at our final result:
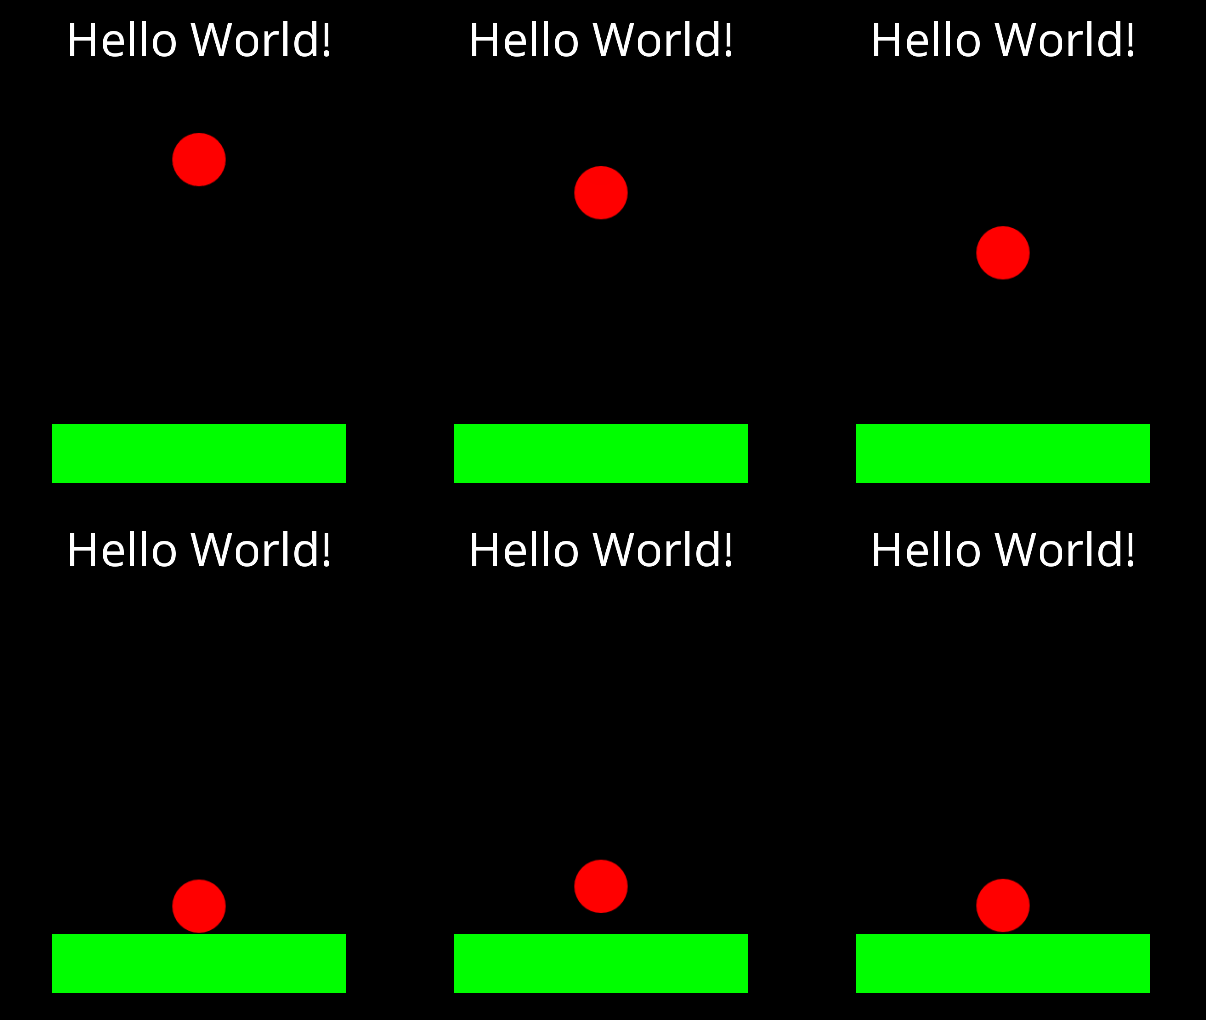
The RedBall object falls and lands on the Ground object while the Title object says hello
Related Materials
Manual
- components
- colliders
- rigidbody
- sprites
- spritetext
- editorcommands
- selectobject
- addremovecomponent
- gameobjectsconcept