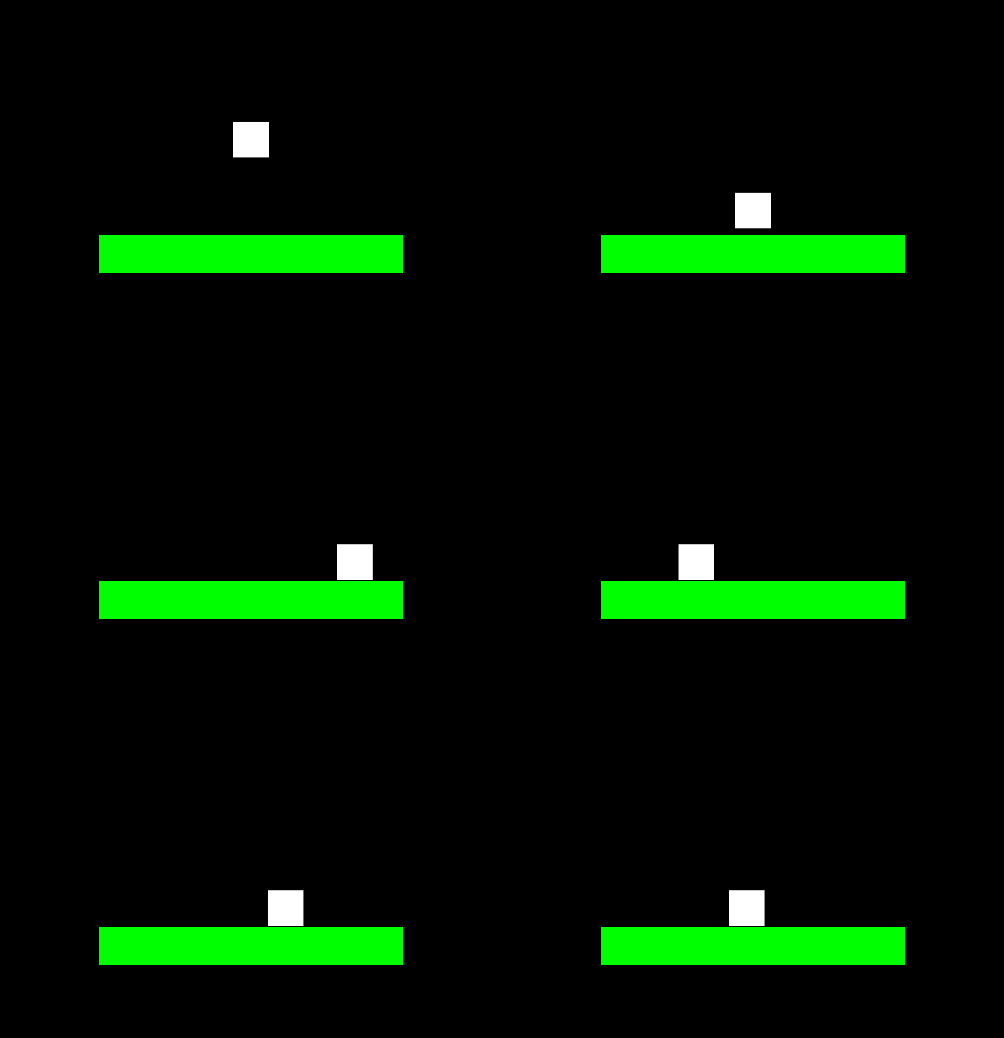
This lesson covers how to handle basic keyboard input in Zilch Engine.
Learning Objectives
- Checking for keyboard input
Level Setup
- Command : New Project
- Create a new project using the {nav icon=clone, name=Empty 2D Project} template
- Command : CreateSprite
- Command : Add Resource
- Create a NadaScript resource using the Component template template and name it
CharacterLogic - Select : Sprite object
- In the
Properties Window - Rename Sprite object to
Character - Add Component :
CharacterLogic
Keyboard Input
A critical part of making a game is to allow the user to interact with it. The simplest way to achieve that is to query the available hardware for input and have the simulation respond to it.
- Update the
CharacterLogicscript to the following code block:
class CharacterLogic : NadaComponent
{
  function Initialize(init : CogInitializer)
  {
    Zilch.Connect(this.Space, Events.LogicUpdate, this.OnLogicUpdate);
  }

  function OnLogicUpdate(event : UpdateEvent)
  {
    if(Zilch.Keyboard.KeyIsPressed(Keys.Space))
    {
      this.Owner.Sprite.VertexColor = Colors.Red;
    }
  }
}

Let's take a closer look inside our if statement:
| Zilch.Keyboard.KeyIsPressed(Keys.Space); | |
|---|---|
| Zilch | Accessing the Zilch engine class |
| Keyboard | Accessing Keyboard class |
| KeyIsPressed(...); | Function that determines whether a given key has been pressed this frame |
| Keys | Enumeration containing all keyboard keys |
| .Space | The enumeration index corresponding to the Space key |
Here are all Keyboard functions:
| Keyboard Functions | |
|---|---|
| KeyIsDown | Checks whether a given key is currently down this frame |
| KeyIsUp | Checks whether a given key is currently down this frame |
| KeyIsPressed | Checks whether a given key was pressed this frame |
| KeyIsReleased | Checks whether a given key was released this frame |
(NOTE) Enumerations -
An enumeration (or enum) is a data type that groups items assigning each a unique name under the enumerated list. Items can be referenced by accessing the type followed by a . and the name of the desired item (i.e. Keys.Space or Colors.Red). You can read more on enumerations here.
Dynamic Character Controller
Let's use what we just learned to create a character controller for a simple platformer.
Character Setup
- Select : Character object
- In the
Properties Window - Add Component : RigidBody
- Add Component : BoxCollider
- Under RigidBody
- Set RotationLocked checkBox to
true
Ground Setup
- Command : CreateSprite
- Select : Sprite object
- In the
Properties Window - Rename Sprite object to
Ground - Add Component : BoxCollider
- Under Transform
- Set Translation to
0.0, -3.0, 0.0 - Set Scale to
8.0, 0.0, 0.0 - Under Sprite
- Set SpriteSource texture to
Square - Set VertexColor to Green
[R:0, G:255, B:0, A:1.00]
Movement Code
- In the
CharacterLogicscript - Replace the previous
LogicUpdatefunction with the following:
function OnLogicUpdate(event : UpdateEvent)
{
  var speed : Real = 5.0;
  var xDir : Real = 0.0;

  if(Zilch.Keyboard.KeyIsDown(Keys.Right))
  {
    xDir += 1.0;
  }

  if(Zilch.Keyboard.KeyIsDown(Keys.Left))
  {
    xDir += -1.0;
  }

  this.Owner.RigidBody.Velocity = Real3(xDir * speed, this.Owner.RigidBody.Velocity.Y, 0.0);
}

Related Materials
Manual
- Sprites
- RigidBody
- Colliders
- KeyboardInput
- Enumerations
- Create a New 2D Project
- CreateSprite
- Add Resource