This lesson covers how to import and use sprite sheets to create sprite animations
Learning Objectives
- Importing sprite sheets
- Defining each animation frame
- Sprite animation parameters
Level Setup
- Command : New Project
- Create a new project using the {nav icon=clone, name=Empty 2D Project} template
- Command : CreateSprite
- In the
Properties Window - Rename Sprite object to
Player - Under Transform
- Set Scale to
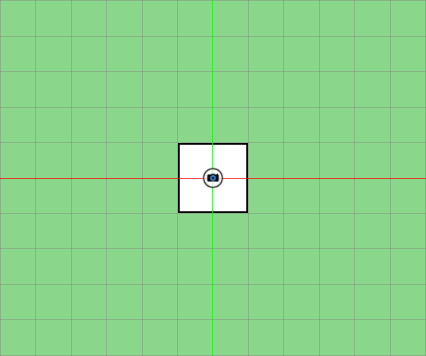
[2, 2, 2] - Select : Renderer object
- Under
ForwardRenderer - Set ClearColor to
[R:125, G:255, B:125, A:1.00]
Importing a Sprite Sheet
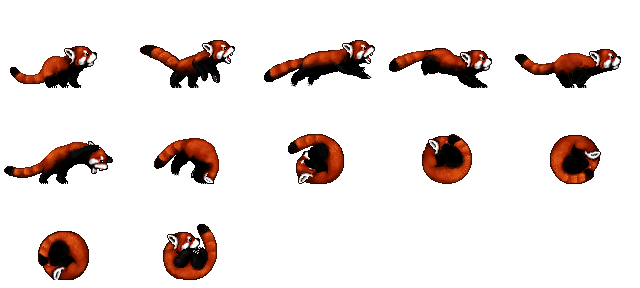
Sprite animations are created out of a sequence of images displayed in quick succession. To accomplish this we use a Sprite Sheet; a image file that contains the sequence of frames corresponding to one or more animations.
- Download the following Sprite Sheet:
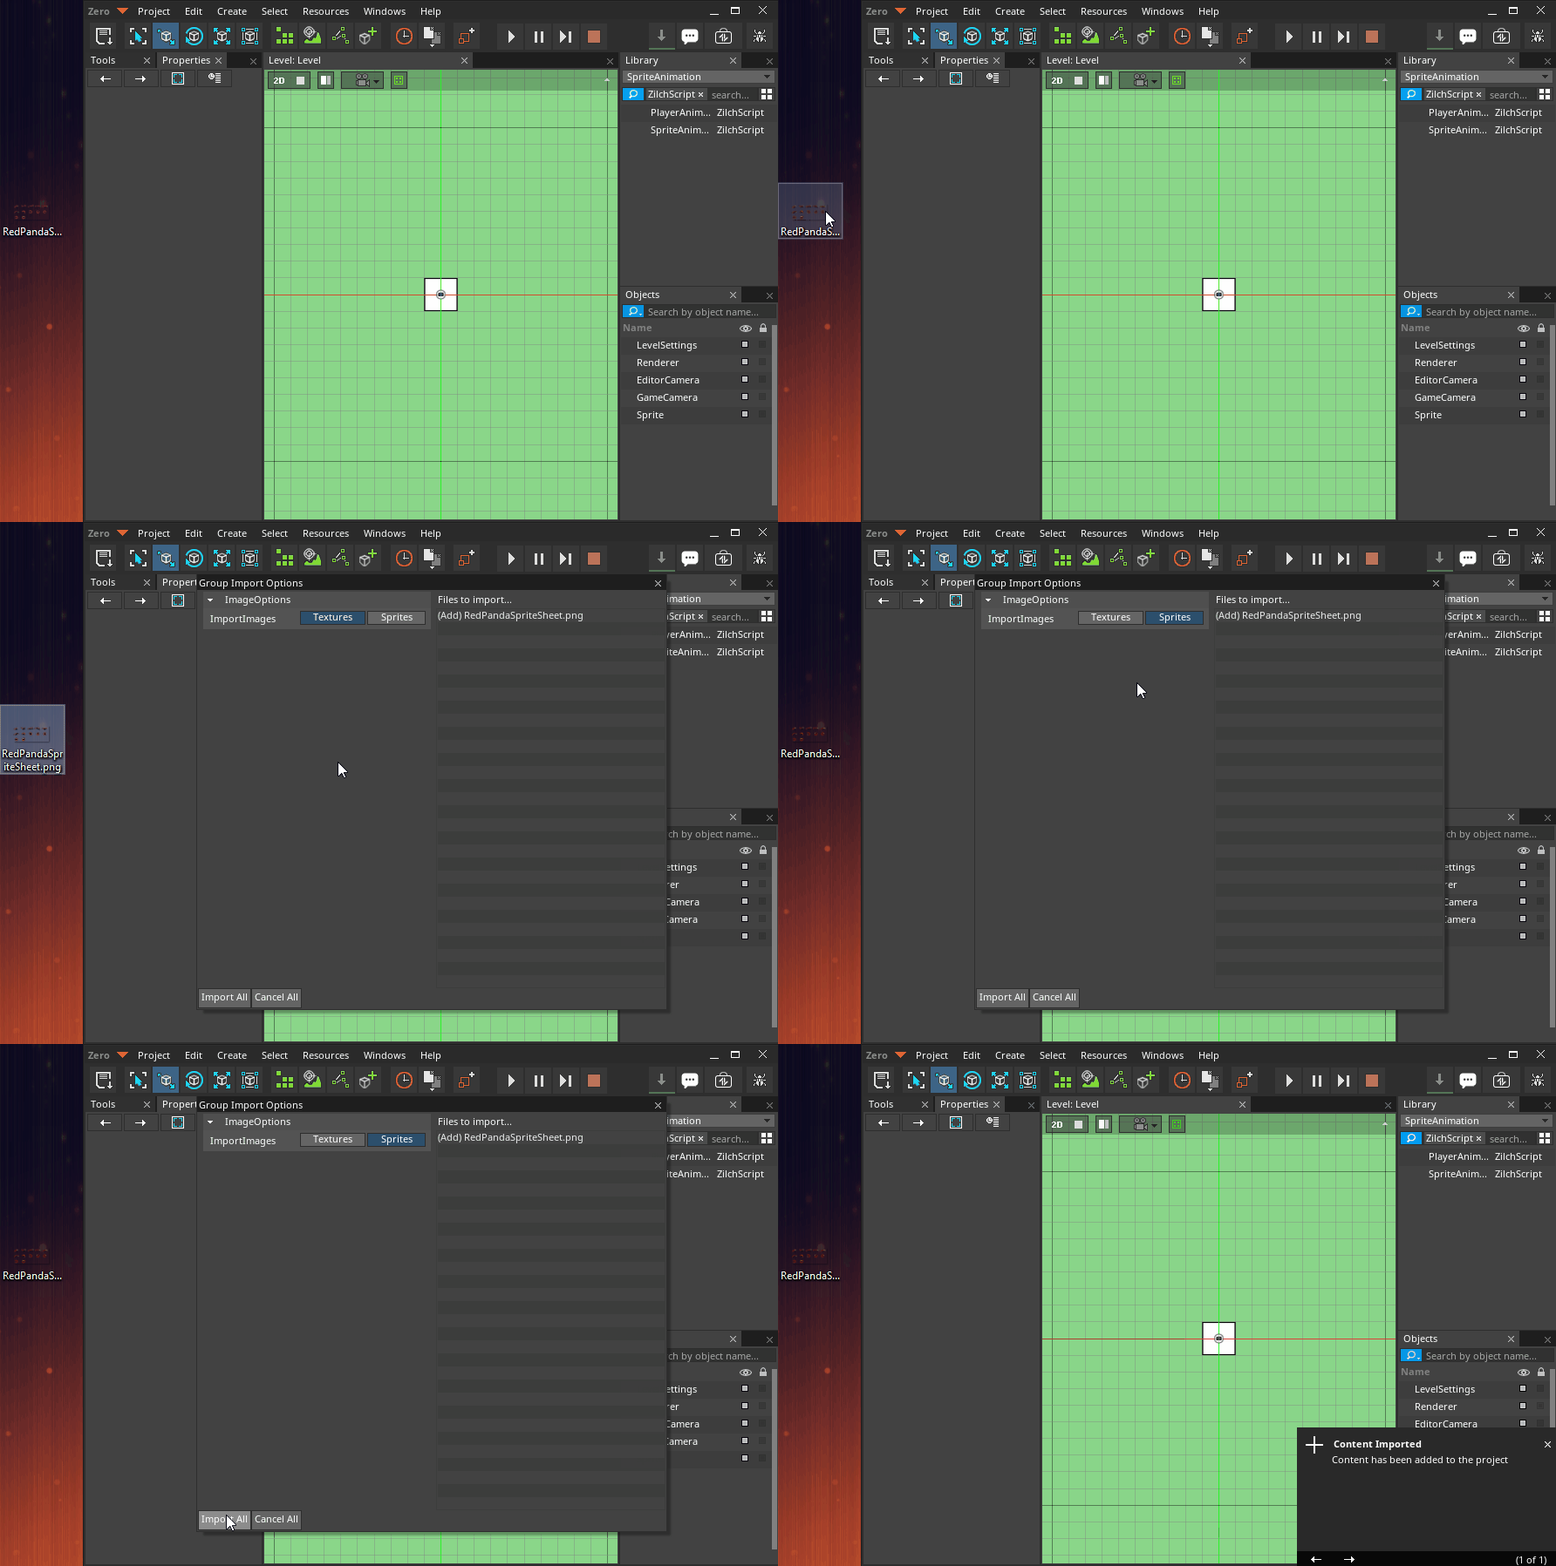
- Import them into the project by dragging and dropping the files into the
Level Window - In the
Group Import Options Window - Set ImportImages enum to
Sprites - Press the
Import Allbutton
Creating Sprite Animations
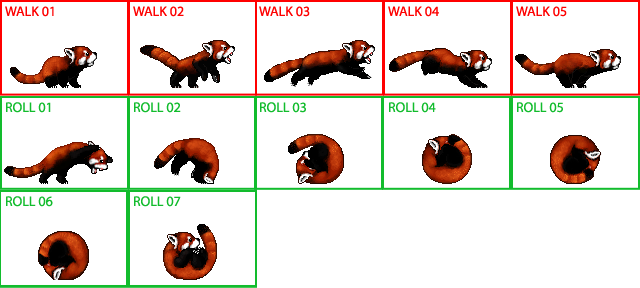
Now that we have imported a sprite sheet, we need to separate the frames into their respective animations. The sheet we just imported has two animations; a walk animation that corresponds to the top 5 frames and a roll animation that corresponds to the remaining 7 frames.
- In the
Library Window - Under the SpriteSource tag
Double-Clickthe RedPandaSpriteSheet texture resource- In the
Sprite Source Editor Window - Press the
Convert To Animationbutton
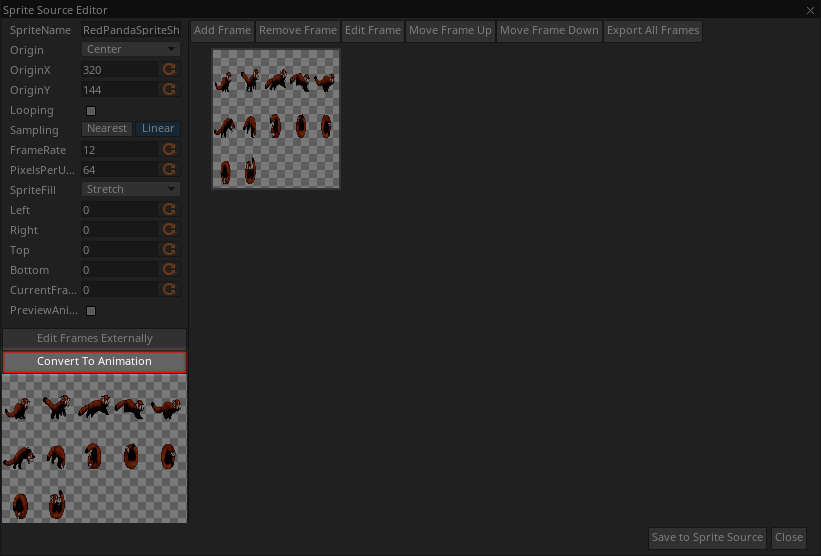
- In the
Sprite Importer Window - Set FramesPerRow to
5 - Set NumberOfRows to
3 - Left-click frames 0 through 4 to select them
- If you accidentally select a tile you don't want, right-click it to deselect it
- Set Name to
Walk - Press the
Add and Continuebutton - Left-click frames 5 through 11 to select them
- Set Name to
Roll - Press the
Add and Closebutton
(NOTE) Frame Size vs. Frame Count: When you set FramesPerRow , the Sprite Importer automatically calculates the FrameWidth property, and vice versa. Likewise, when you set NumberOfRows , FrameHeight is computed automatically, and vice versa. As a result, if you would rather specify the pixel dimensions of each frame in a sprite sheet than the number of frames, that's a perfectly valid option too.
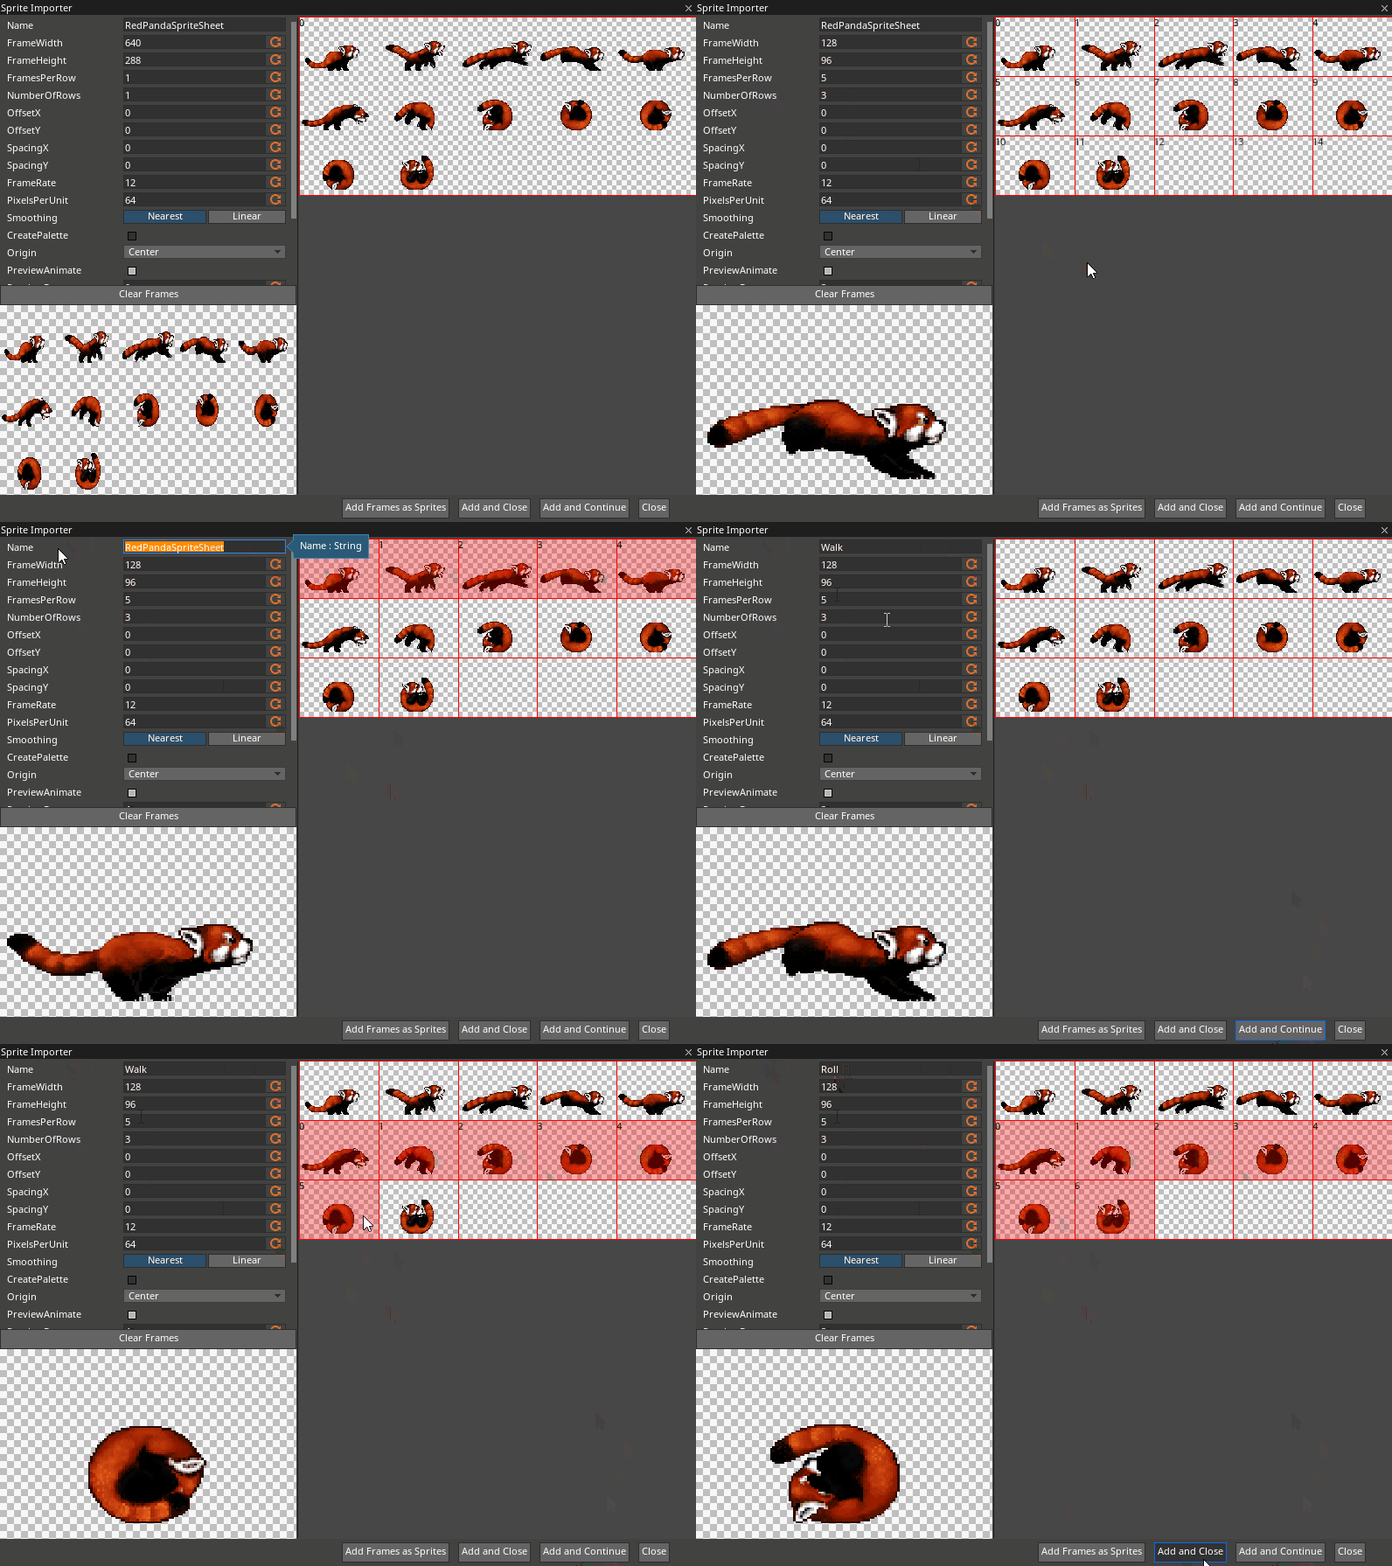
Using Sprite Animations
Now that we've generated the animation resources, we can start using them with sprites.
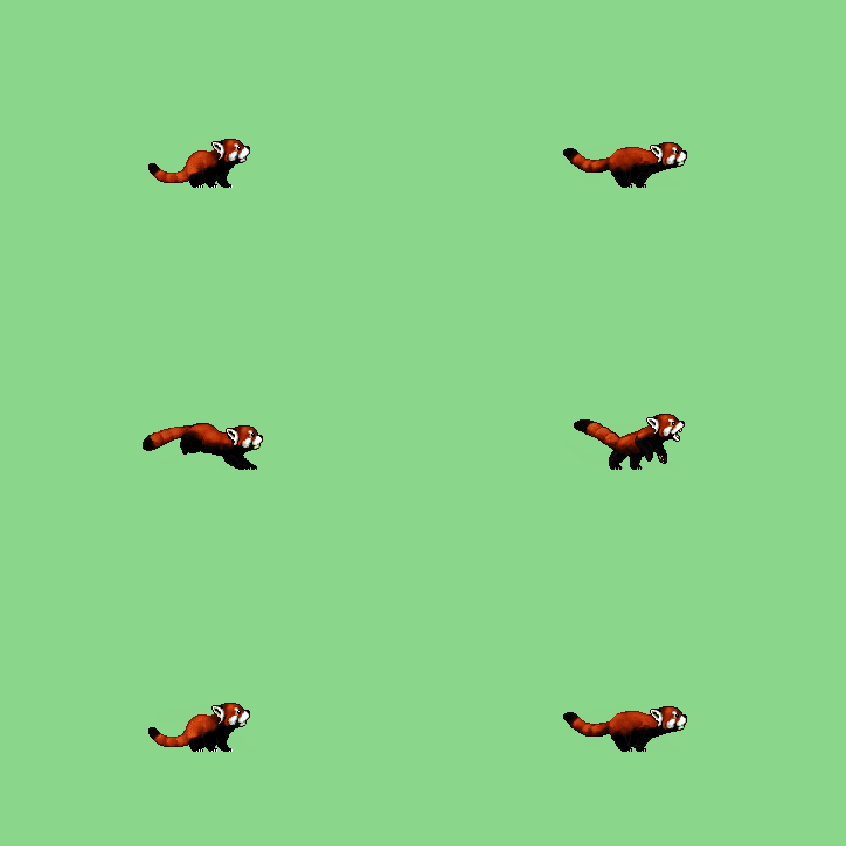
Looking at the Sprite component on the property grid we find that the last 4 properties are dedicated to sprite animations. They are:
| Sprite Animation Properties | |
|---|---|
| AnimationActive checkBox | Whether the animation is playing currently (Both in editor and in game) |
| AnimationSpeed | Scalar applied to the Frame Rate of the animation resource |
| StartFrame | What frame the animation should start from |
| CurrentFrame | The current active frame of the animation (cycles as the animation is playing) |
Let's add a component that lets us control the animation.
- Command : Add Resource
- Create a NadaScript resource using the Component template template and name it
PlayerAnimationController - In the
PlayerAnimationControllerscript - Update the
PlayerAnimationControllerclass to the following:
class PlayerAnimationController : NadaComponent
{
  [Dependency] var Sprite : Sprite;

  [Property]
  var WalkAnimation : SpriteSource = SpriteSource.Walk;

  [Property]
  var RollAnimation : SpriteSource = SpriteSource.Roll;

  [Property]
  var RollKey : Keys = Keys.Space;

  function Initialize(init : CogInitializer)
  {
    Zilch.Connect(Zilch.Keyboard, Events.KeyDown, this.OnKeyDown);
    Zilch.Connect(this.Space, Events.LogicUpdate, this.OnLogicUpdate);
  }

  function OnKeyDown(event : KeyboardEvent)
  {
    if(event.Key == this.RollKey)
      this.Sprite.SpriteSource = this.RollAnimation;
  }

  function OnLogicUpdate(event : UpdateEvent)
  {
    //If we are playing the roll animation
    if(this.Sprite.SpriteSource == this.RollAnimation)
    {
      //And it reaches its last frame (counted from 0 to 6)
      if(this.Sprite.CurrentFrame == 6)
      {
        //Play the walk animation
        this.Sprite.SpriteSource = this.WalkAnimation;
      }
    }
  }
}
Select : Player object
In the
Properties WindowAdd Component :
PlayerAnimationControllerPress
Space
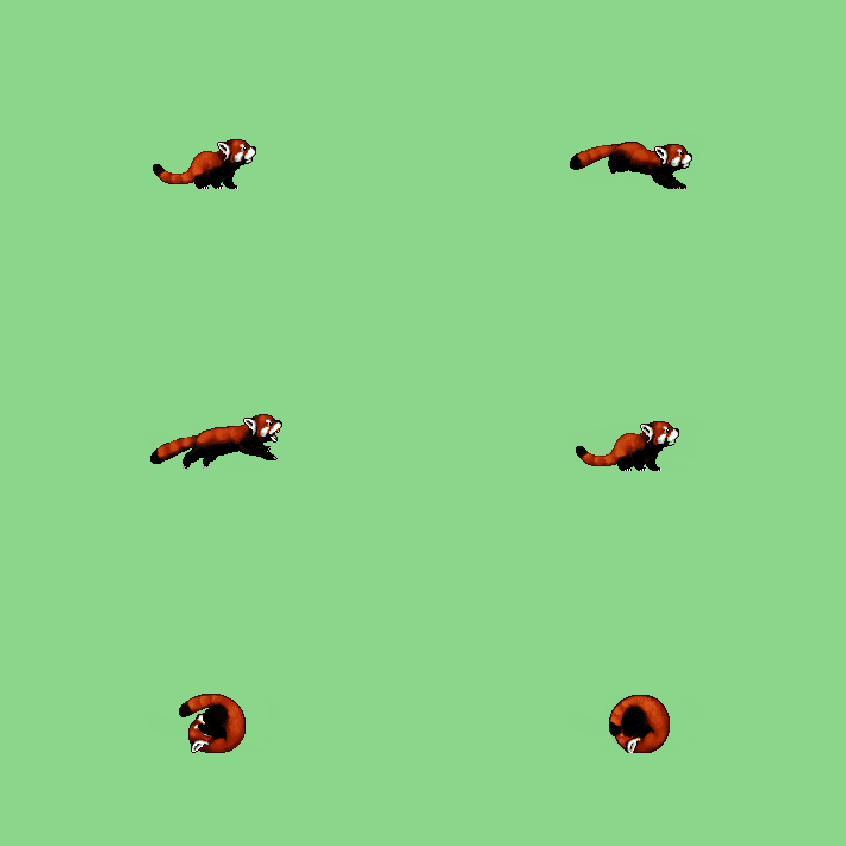
Related Materials
Manual
Code Reference
Classes
Commands
Development Task
- T1183