This lesson covers some of the more advanced features of Zilch Engine's Tile Editor tool. The previous lesson covers the basics.
Learning Objectives
- Tile colliders
- Tile palettes
Level Setup
- Reopen the TileEditor zero project project from the previous tutorial
Tile Archetypes
When you place tiles with the TileEditor2D tool, they are not created as individual game objects. Instead, they are placed into a tilemap, which allows multiple tiles to be merged into a single cog, saving memory and processing time. As a result, tile archetypes are used a bit differently than conventional archetypes.
When the engine creates a merged tilemap object, it is always given a MultiSprite component, so you don't necessarily need to put one on your tile archetype. If you do, though, the resultant merged tilemap will use the settings specified by your archetype's MultiSprite. Similarly, a merged tilemap object optionally has a MeshCollider component, so you only need to give a tile archetype that component if you want the merged tilemap to use the settings from the MeshCollider for your archetype.
Let's create a tile archetype with some custom game logic and add it to our level.
- Command : Add Resource
- Create a NadaScript resource using the Component template template and name it
ReloadLevelOnCollisionStarted - Update the
ReloadLevelOnCollisionStartedscript to the following:
class ReloadLevelOnCollisionStarted : NadaComponent
{
  function Initialize(init : CogInitializer)
  {
    Zilch.Connect(this.Owner, Events.CollisionStarted, this.OnCollisionStarted);
  }

  function OnCollisionStarted(event : CollisionEvent)
  {
    this.Space.ReloadLevel();
  }
}
This component will cause the level to be reloaded if the player character (or, really, anything at all) comes in contact with it. We can use it to create "deadly" tiles.
- Command : CreateTransform
- In the
Properties Window - Rename Transform object to
DeadlyTile - Add Component : MeshCollider
- Under MeshCollider
- Set Ghost checkBox to
true - Add Component :
ReloadLevelOnCollisionStarted - Set Archetype to
DeadlyTile - Command : Delete the DeadlyTile object
This new archetype can now be used with the TileEditor2D tool with any sprite source in the project.
- Select the {nav icon=pencil, name=TileEditor2D} tool
- In the
Tools Window - Set Archetype enum to
DeadlyTile
- In the
Level Window - Using the {nav icon=pencil, name=TileEditor2D} tool, create a lava pit in the level with both the plain lava sprite source
 and the animated LavaSurface texture sprite source
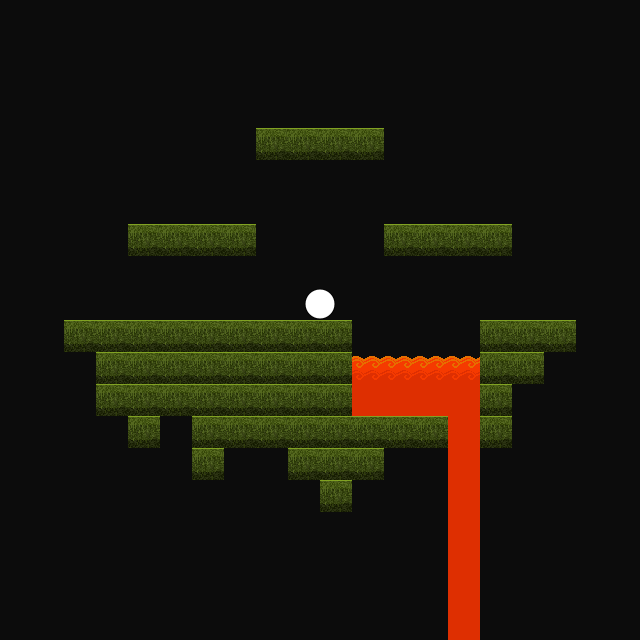
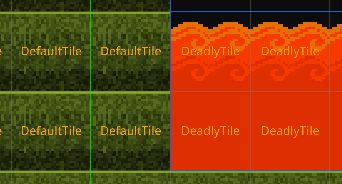
While you're painting tiles into a level, it can sometimes be easy to lose track of which tiles have what archetypes. Fortunately, the TileEditor2D tool has a feature to help with that.
- In the
Tools Window - Set ShowArchetype checkBox to
true
With ShowArchetype checkBox enabled, the editor will show the name of the archetype that was used for each tile in the level.
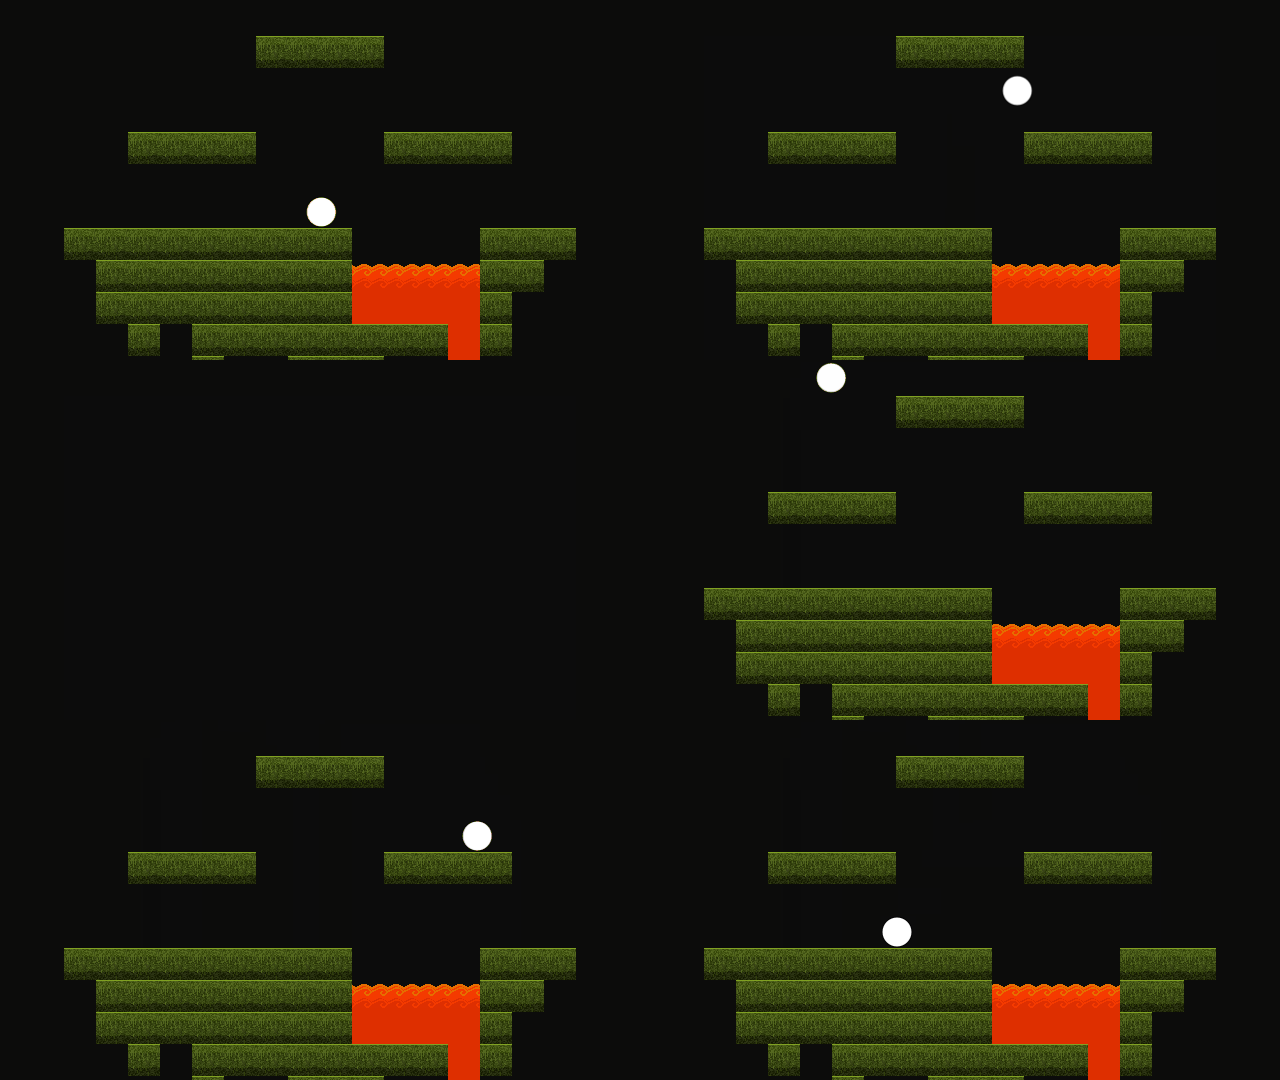
The lava seems to be working as intended. Now let's get a closer look at some of what's going on here. Pressing F9 while the game is running begins Edit In Game mode, which makes the editor open the game session and all of its spaces for editing while it's still running. This is a very powerful and useful feature in any situation, but it is great for showing off some of the details of how the TileEditor2D tool merges groups of tiles.
- While the game is running, press key the
F9key - In the
Objects Window - Under TileMap object
- Observe the objects that are there
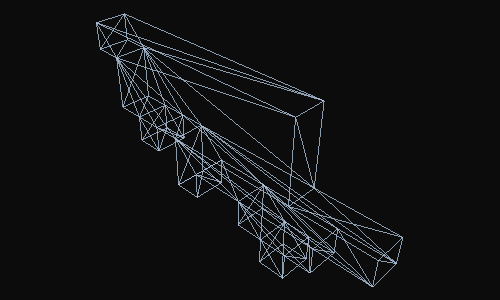
When the game starts, before the first frame, the engine prepares level by merging the tilemaps into their logical pieces. Note how each separate platform is its own object, and the lava is separate from the ground.
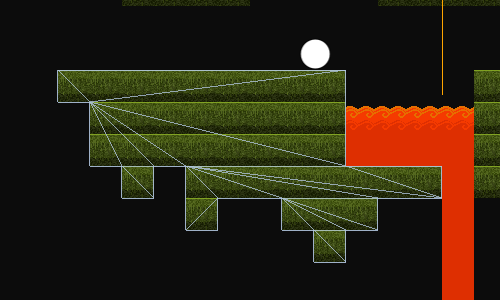
Observe how the colliders on each object use meshes that are dynamically generated to perfectly fit the pieces they're placed on.
Let's move on.
Tile Collision
So far, every tile we've placed has used a simple box-shaped collider. The TileEditor2D tool isn't limited to just boxes, though. It can use any PhysicsMesh as its collision shape. Zilch Engine comes with a set of common ramps and boxes to be used with tilemaps.
- Download the following tile sheet:

Drag and dropthe file into theLevel Window- In the
Group Import Options Window - Set ImportImages enum to
Sprites - Press the
Import Allbutton - In the
Library Window - Under the SpriteSource tag
- Double-click
SimpleTriangleTiles - In the
Sprite Source Editor Window - Press the
Convert To Animationbutton
This sheet's tiles are 64-pixel squares.
- In the
Sprite Importer Window - Set FrameWidth to
64 - Press the
Add Frames as Spritesbutton - Press the Close button button
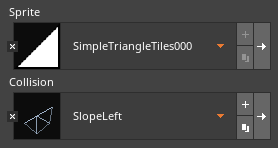
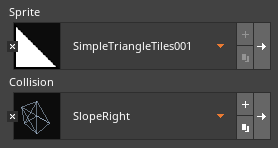
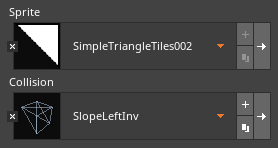
Now let's add some sloped surfaces to the level. Each of the new triangular tile sprites will pair perfectly with one of the sloped collider options:
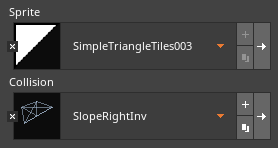
(NOTE) No Collision: To remove the collider from a tile, click the little {icon times} button on the Collision enum property:  Similarly, you can remove the sprite from a tile by clicking the corresponding button on the Sprite enum property.
- Select the {nav icon=pencil, name=TileEditor2D} tool
- In the
Tools Window - Set Archetype enum to
DefaultTile - Set Sprite enum to
SimpleTriangleTiles000 - Set Collision enum to
SlopeLeft - In the
Level Window - Use the Draw sub-tool to paint a slope
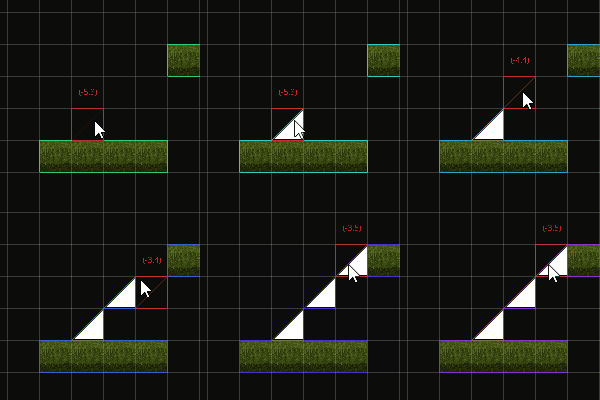
It's wise to fill in the underside of the slope to alleviate potential collider-catching problems.
- In the
Tools Window - Set Sprite enum to
SquareBordered - Set Collision enum to
Box - In the
Level Window - Use the Draw sub-tool to fill in the underside of the slope
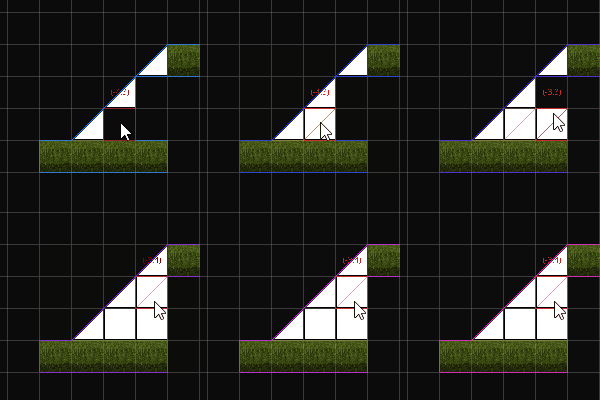
- Using the new sloped sprite sources and the sloped colliders, paint additional slopes as desired
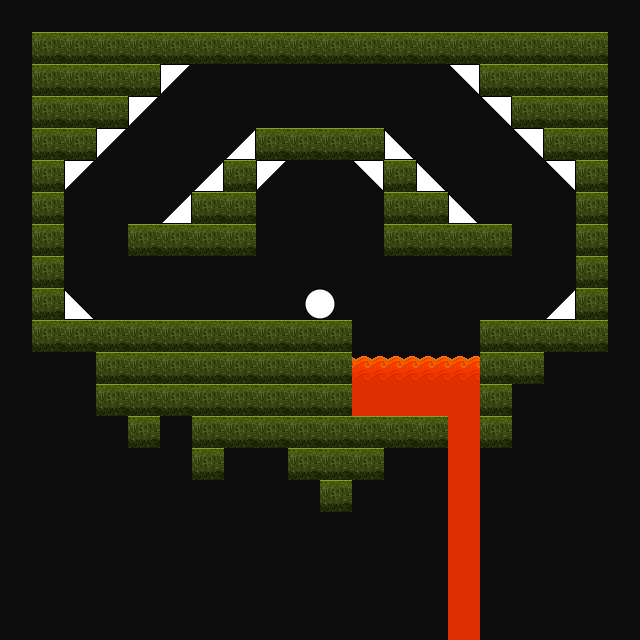
By this point, you might be getting tired of having to set the Archetype enum, Sprite enum, and Collision enum properties every time you want to change tiles. That's where tile palettes come in!
Tile Palettes
A tile palette is like a shelf that stores tile definitions, making it easy to switch between tiles with a single click. It occupies the bottom portion of the TileEditor2D tool's property grid, and expands as necessary. Creating a tile palette is simple.
- Select the {nav icon=pencil, name=TileEditor2D} tool
- In the
Tools Window - Press the Add button button to the right of the TilePalette enum property

- In the
Add TilePaletteSource Resource Window - Set Name to
Grass - Press the Create button button
- Select the {nav icon=pencil, name=TileEditor2D} tool
- In the
Tools Window - Set TilePalette enum to
Grass
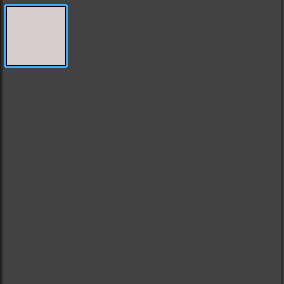
The new palette is mostly empty, but it's easy to add to it. Just set up a tile the way you want it, and then click in any empty space in the palette view to place it there.
- In the
Tools Window - Set Archetype enum to
DeadlyTile - Set Sprite enum to
LavaSurface - Set Collision enum to
HalfBoxBottom
Notice how the palette already reflects the changes you have made to its selected tile, which is outlined in blue:
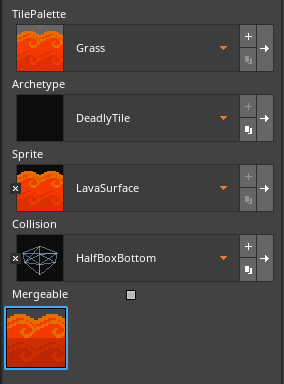
To add a new tile to the palette, first click in an empty spot in the palette view and then set its properties. To modify an existing tile in the palette, select the tile you want to modify, and then set its properties. To remove a tile from the palette, right-click the tile you want to remove. In this manner, you can make things very convenient for yourself while you're editing a level.
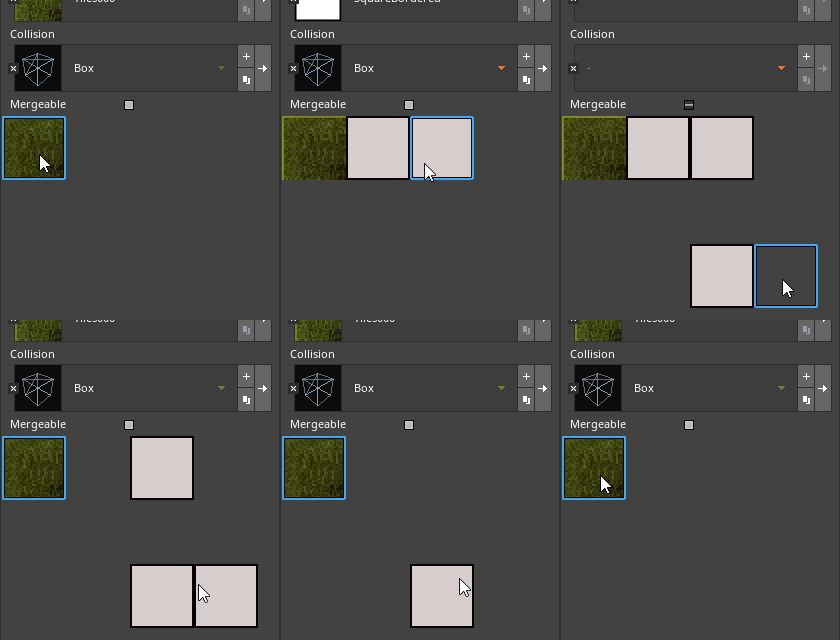
The left mouse button adds tiles, and the right mouse button removes them
- In the
Tools Window - Create a full tile palette with archetypes, sprites, and colliders
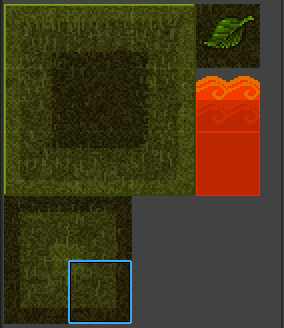
(NOTE) Zooming the Palette View: To make more room for yourself, you can hold key the Ctrl key and scroll the mouse wheel to zoom the palette view in and out.
You can make multiple tile palettes to make it easy to facilitate making levels that are set in different locations, or use different art styles, and so on.
- In the
Tools Window - Press the Add button button to the right of the TilePalette enum property

- In the
Add TilePaletteSource Resource Window - Set Name to
Slopes - Press the Create button button
- Select the {nav icon=pencil, name=TileEditor2D} tool
- In the
Tools Window - Set TilePalette enum to
Slopes - Fill in the tile palette with the triangular sprite sources and the SquareBordered texture sprite source, with appropriate collisions set for each tile
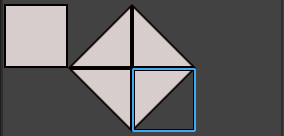
Let's use both palettes to create a new level.
(NOTE) TiledDrawing: Watch what happens when you left-click and drag in the tile palette view to select multiple tiles, and then paint with them. Then, set the TileEditor2D tool's TiledDrawing checkBox property to true and then paint again. See the difference? TiledDrawing checkBox is great for preserving a specific configuration of tiles that you have laid out in the palette, but it also works with a brush committed with the Selection sub-tool! 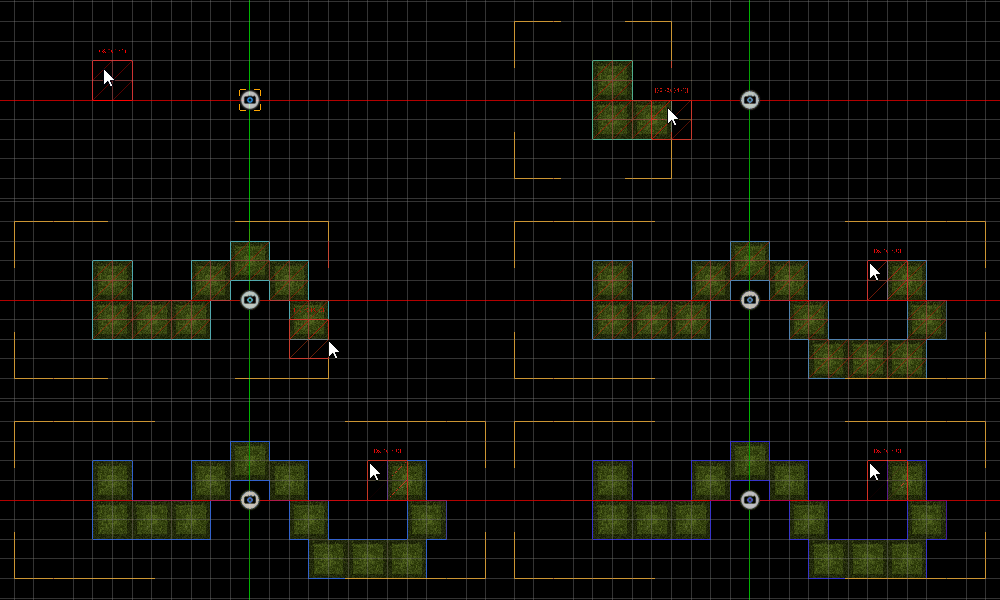
- Command : Add Resource
- Create a Level resource using the {nav icon=clone, name=2D Level} template and name it
OtherLevel - Select the {nav icon=pencil, name=TileEditor2D} tool
- In the
Level Window - Click the No TileMap Object message
- In the
Tools Window - Set TilePalette enum to
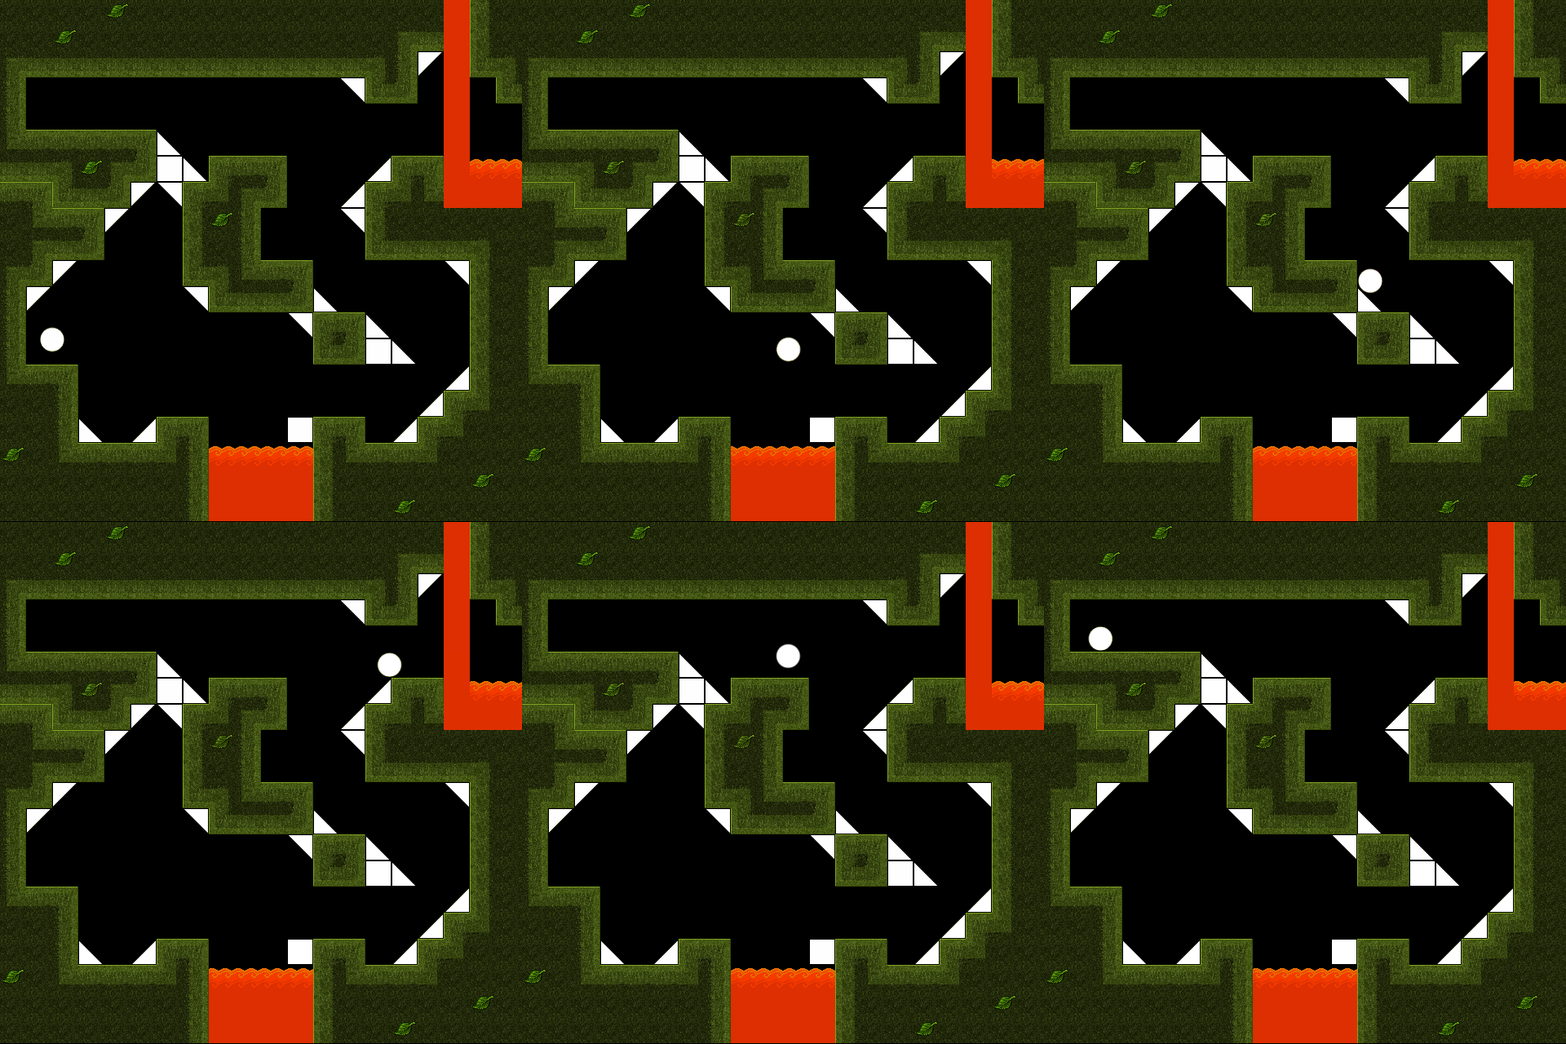
Grass - Using the
Grasspalette, create the main pieces of a level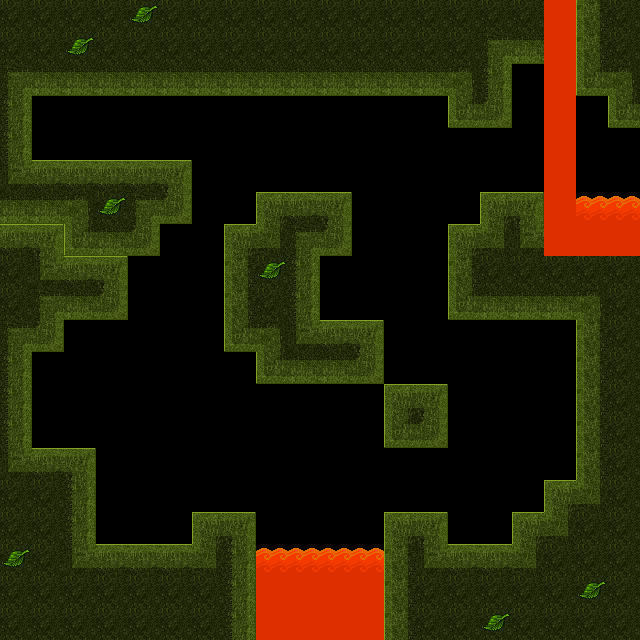
- In the
Tools Window - Set TilePalette enum to
Slopes - Using the
Slopespalette, add slopes to the level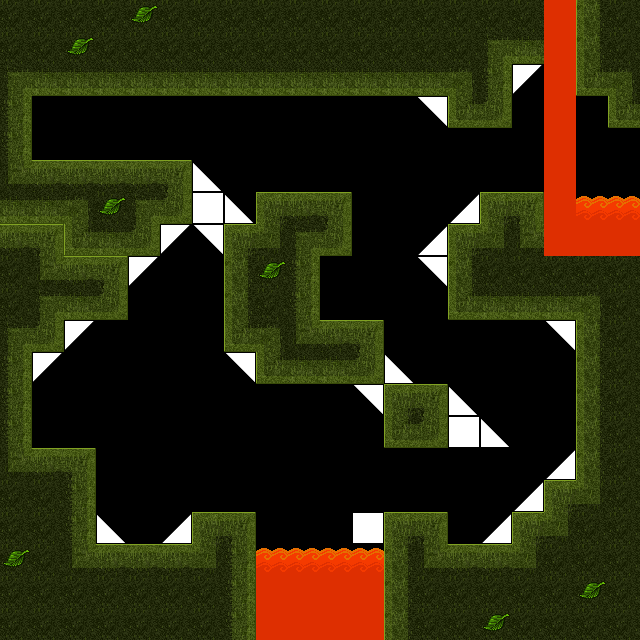
- In the
Library Window - Under Archetype
Left-click and dragSweptPlayer2Dinto theLevel Window- In the
Properties Window - Configure the
SweptControllercomponent's properties as desired - Command : PlayGame
On Your Own
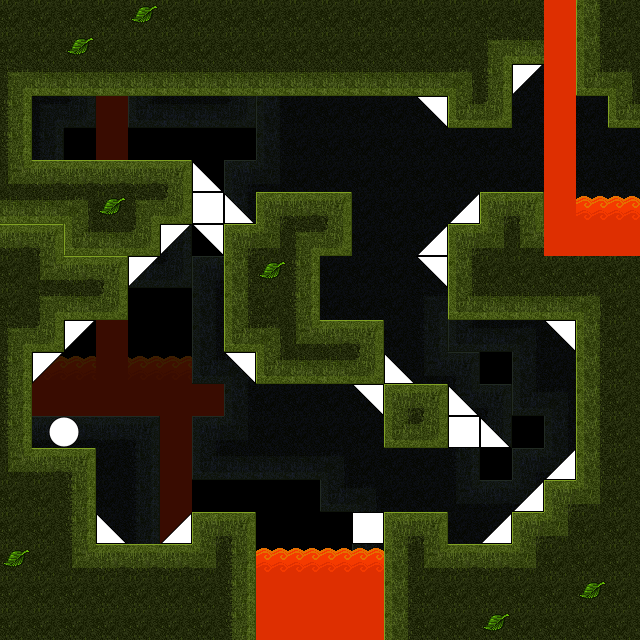
Background tilemaps can really make a level feel alive. To create one, just press the CreateTileMap button button in the {nav icon=pencil, name=TileEditor2D} tool's property grid.

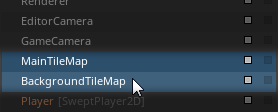
It is often useful to organize your tilemaps by giving them descriptive names:
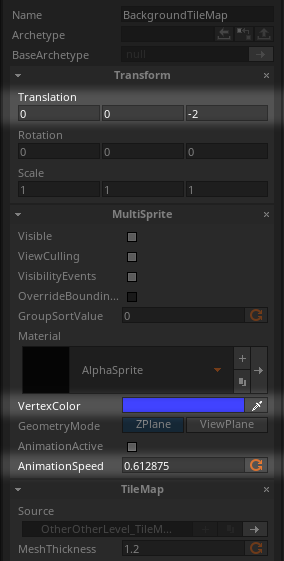
To make a tilemap into a proper background tilemap, just push it back a bit along the Z axis. You may also wish to alter some of the properties of the MultiSprite component to give it a moodier look:
Experiment with placing multiple layered tilemaps to help add visual flair to your levels.
Related Materials
Tutorials
Manual
Reference
Commands
Classes
Events
Development Task
- T2174