Particles are a great way to polish your game and are used for a variety of effects. The concept of a particle system is essentially a set of non-cog sprites which have a set of initial conditions and possible animation. Particle systems allow us to create thousands of small sprites and simulate physics for them with only one Cog. Particles are a deep topic and this lesson will only cover the basics.
Learning Objectives
Level Setup
- Command : New Project
- Create a new project using the {nav icon=clone, name=Empty 2D Project} template
- Command : CreateSpriteParticles
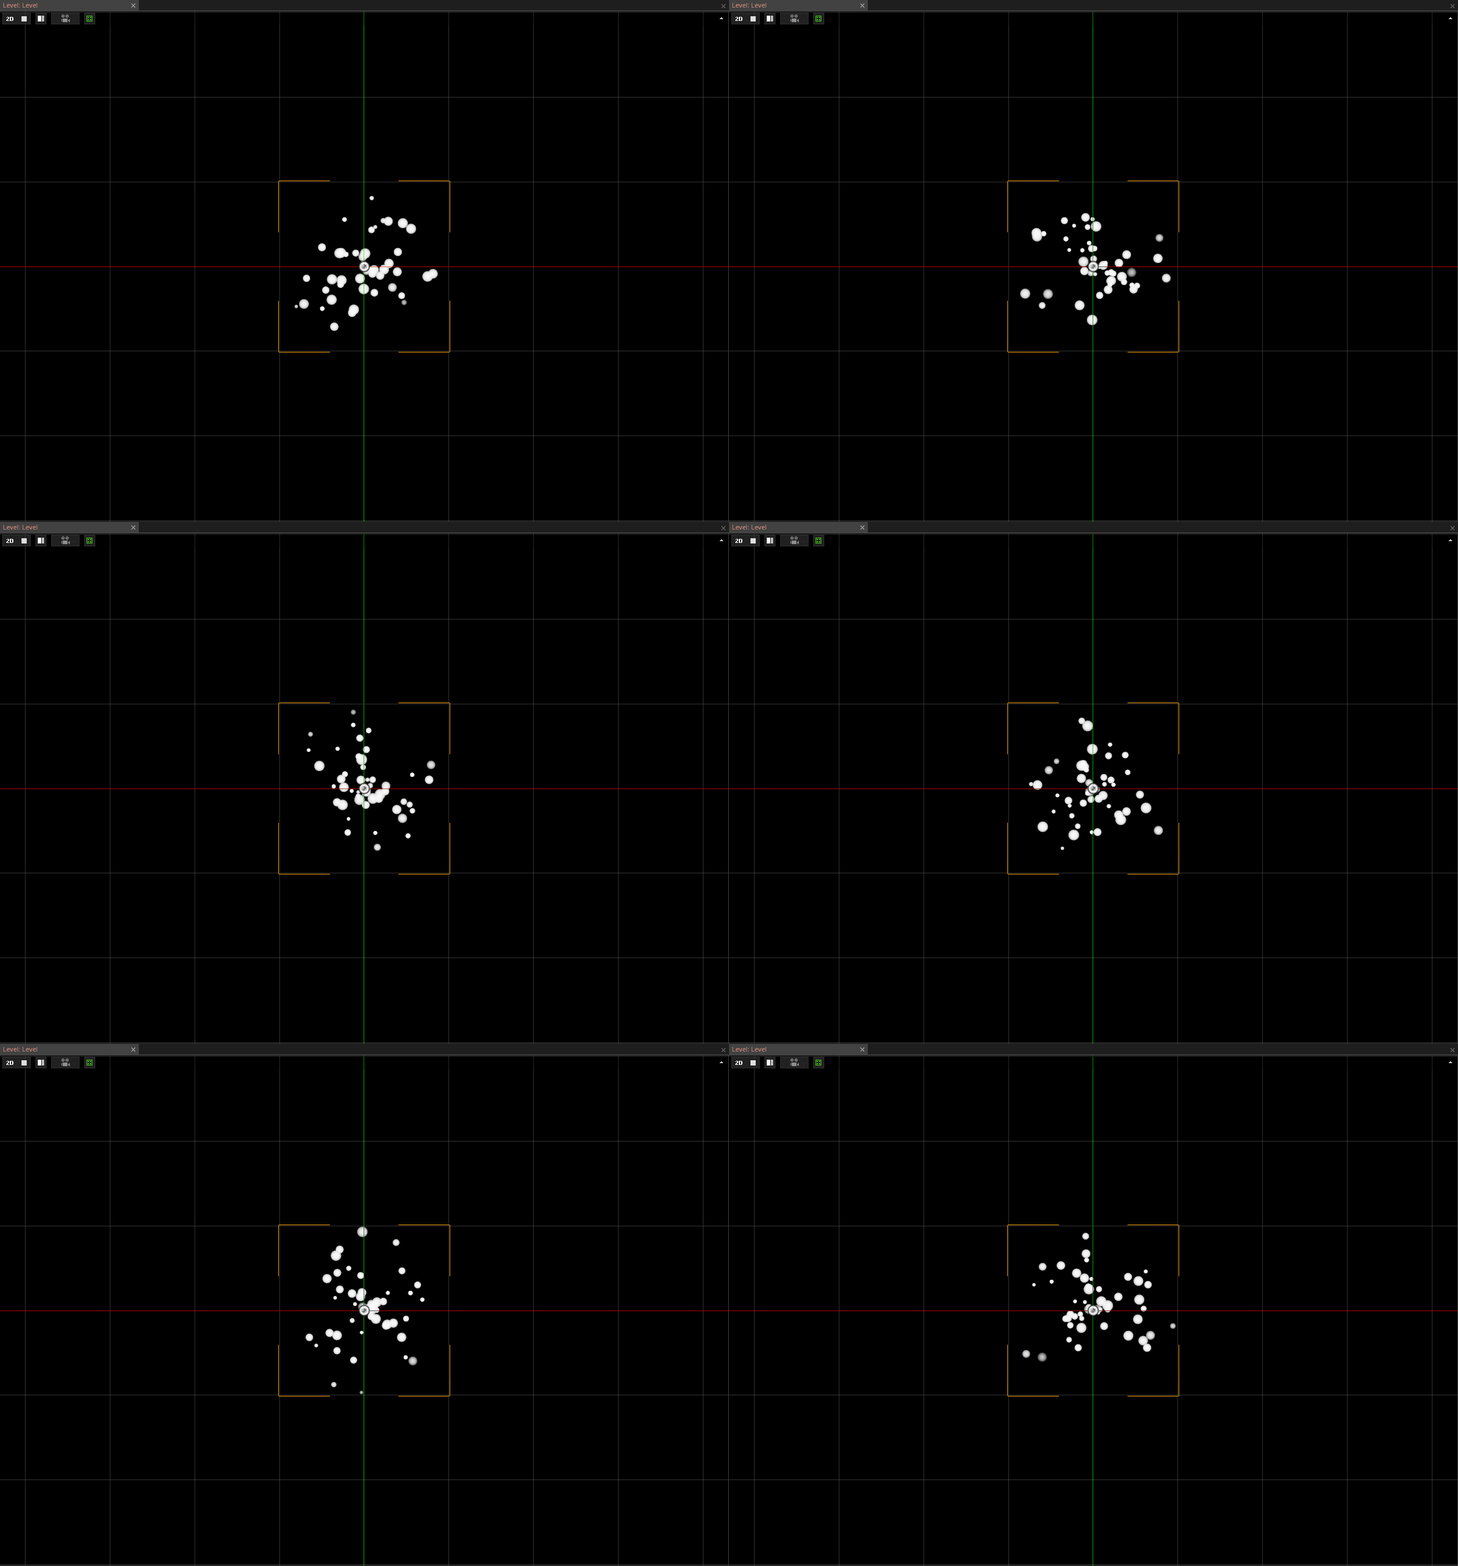
The first thing to realize is that particle systems require more than just one component to actually create, animate, and render particles. Let's look at the first component on the cog we just created, SpriteParticleSystem.
SpriteParticleSystem
SpriteParticleSystem handles the graphical resources for a particle system. It also allows for configuration of common properties that exist in all particle systems; this means that every particle system much have this component.
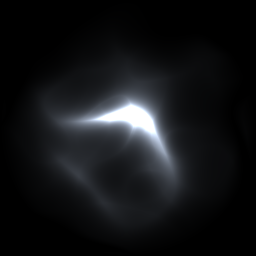
- Download and import this fire particle sprite:
- In the
Group Import Options Window - Under
ImageOptions - Set ImportImages enum to
Sprites - Click the
Import Allbutton - In the
Properties Window - Under SpriteParticleSystem
- Set SpriteSource enum to
Fire
At this point, the particle system does not really look like fire.
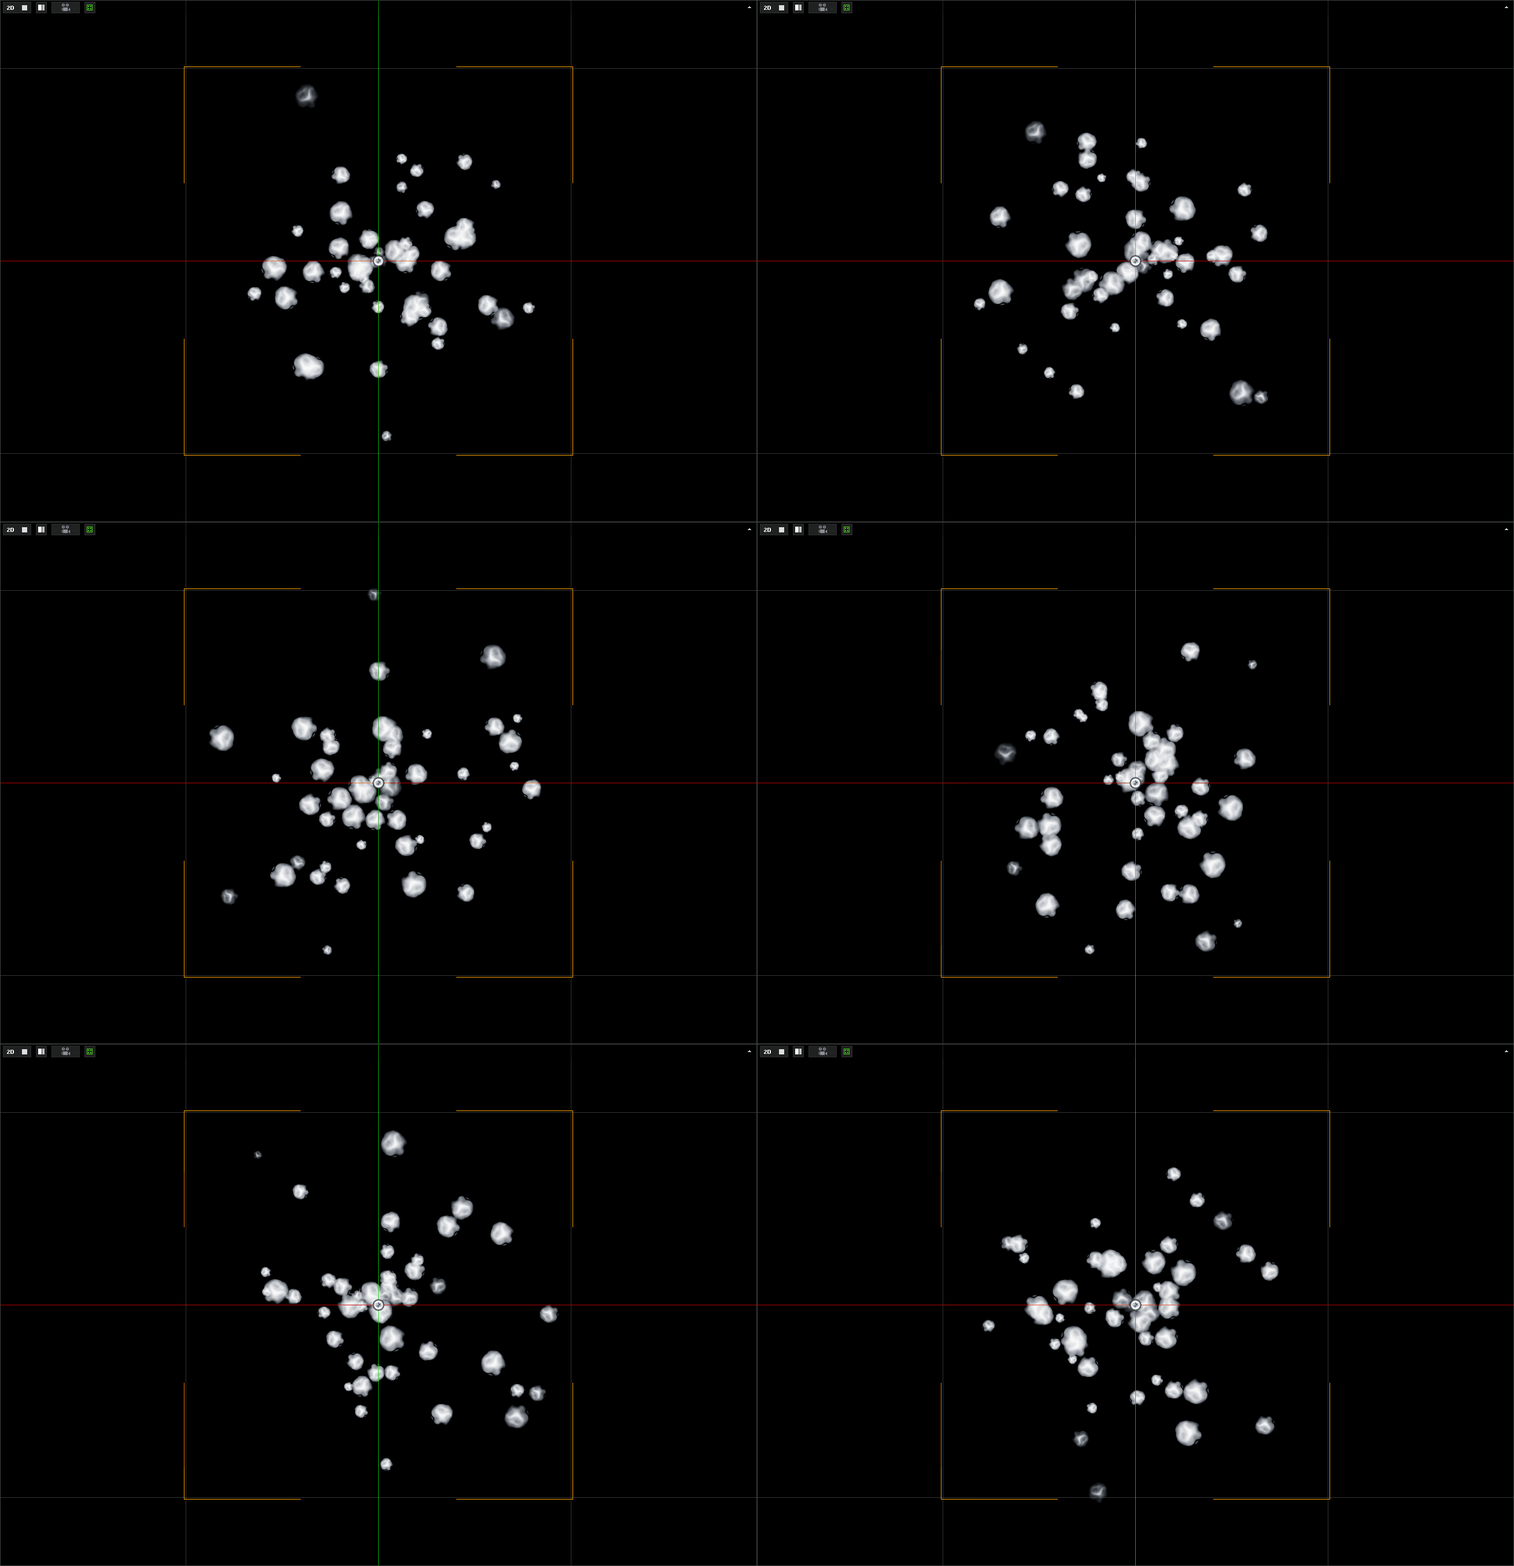
Particle Emitters
Particle emitters create particles and give them initial conditions such as a starting velocity, particle size, emitter size, or spin. The emitter in a particle system also contains properties for adjusting how long particles live, the rate of particle emission, and the size of the actual emitter.
- In the
Properties Window - Under SpriteParticleSystem
- Set VertexColor to
[R: 251, G: 91, B: 13] - Under SphericalParticleEmitter
- Set StartVelocity to
[0, 1, 0] - Set RandomVelocity to
[1, 0, 0] - Set EmitterSize to
[2, 0, 0] - Set Lifetime to
5
By changing StartVelocity we ensured that each particle has an upward velocity when created. By itself, this would cause every particle to move in a straight line upward, but in combination with RandomVelocity only having an X-axis value we have made it so the particle fan up and out.
This fan of fire still does not look very realistic. Let's try to make it look like a campfire.
- In the
Properties Window - Under SphericalParticleEmitter
- Set EmitRate to
700 - Set EmitRateVariance to
200 - Set Size to
0.3 - Set SizeVariance to
0.15 - Set Lifetime to
4 - Set LifetimeVariance to
2
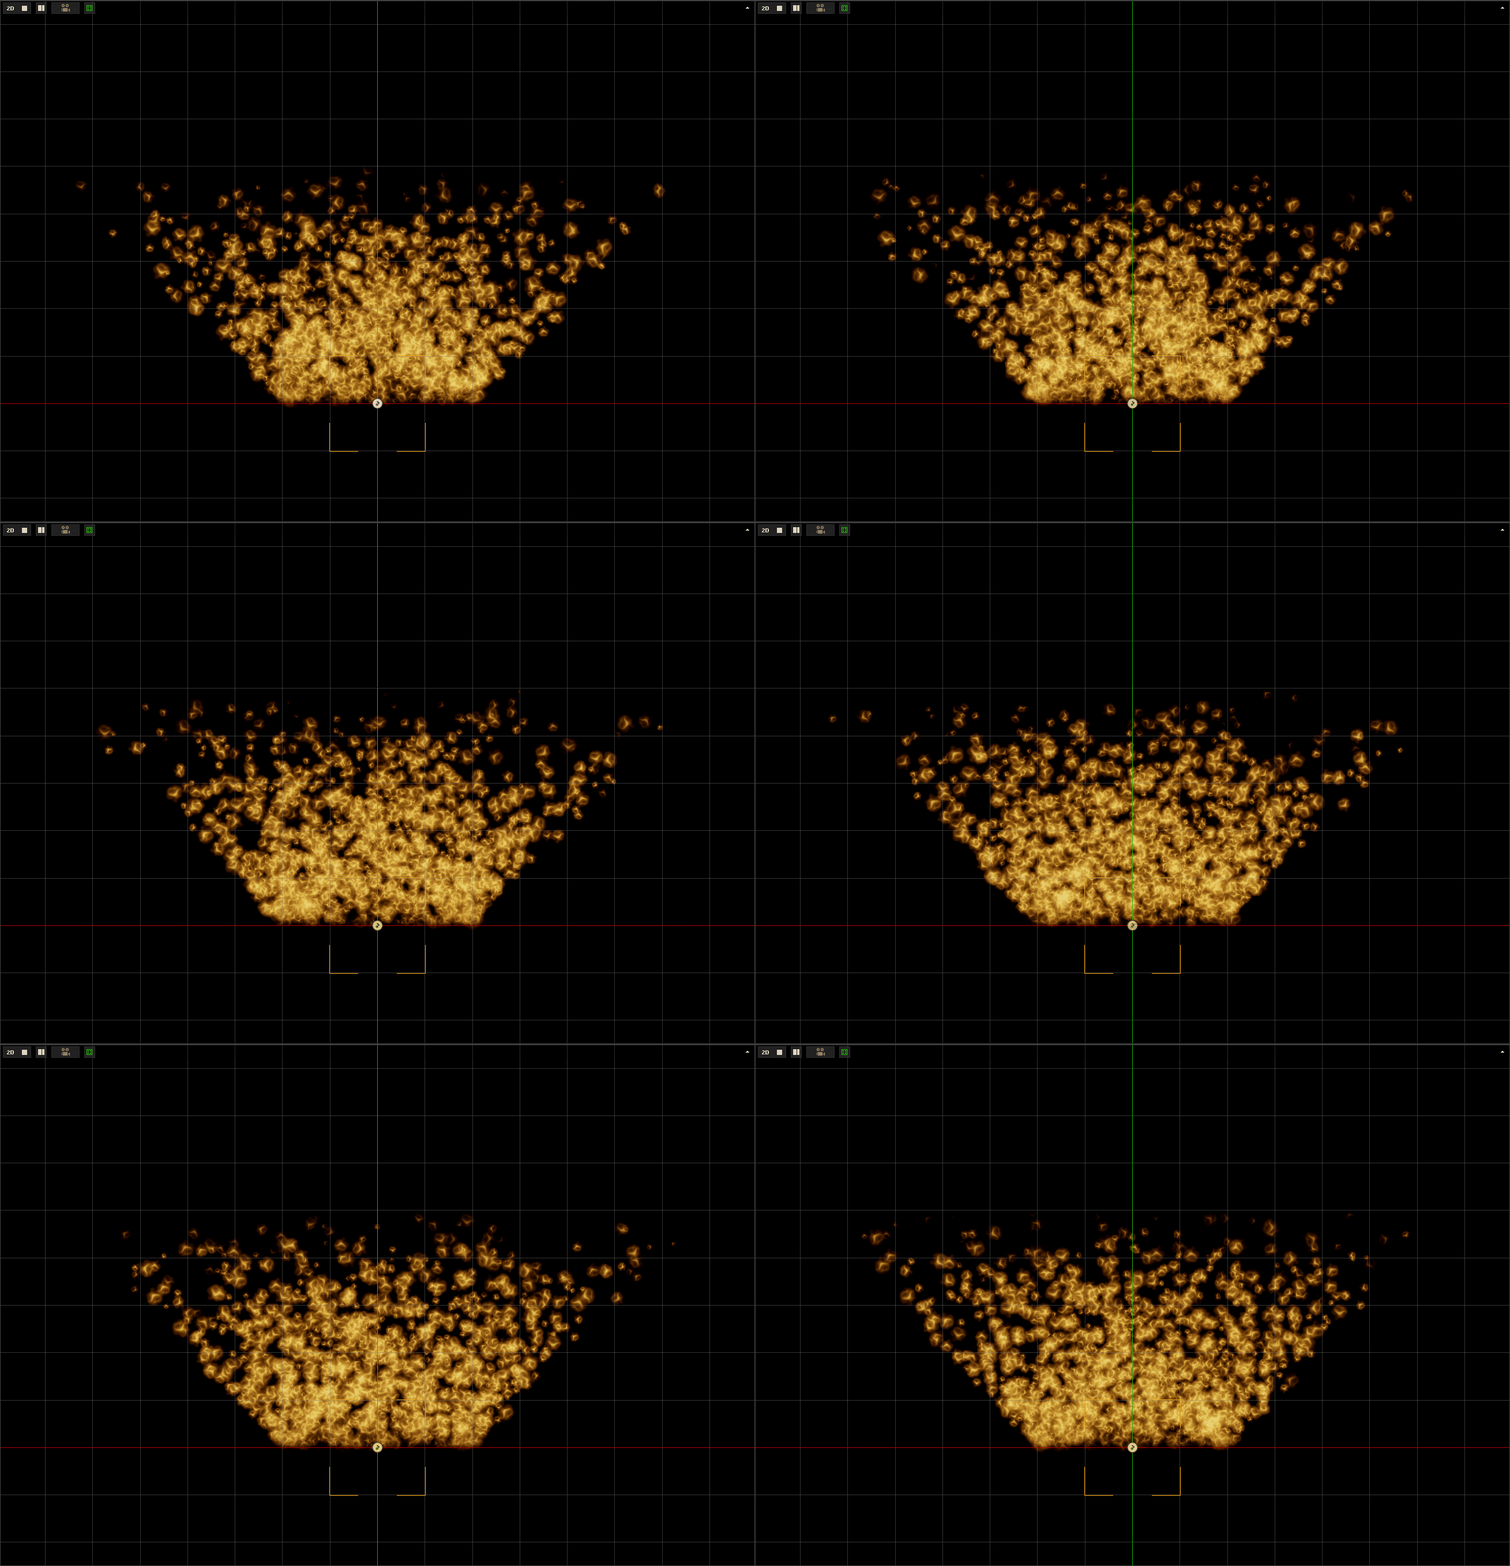
You may have noticed we changed some properties that ended in the word Variance. Variance properties act as a modifier for other properties on a component. It is very rare that all particles in a given system should be the same size, or that a continuous particle system would emit at a static rate forever. Usually, we desire a range of possible values for parameters such as these and variance properties gives us that option by varying from the base value.
In our current example, the particle system would be emitting 700 particles per second, but it has a variance value of 200. Therefore, the emitter will randomly change its rate of emission to a value between 500 and 900, as it subtracts and adds the variance to the base value to calculate the minimum and maximum range of the value.
Particle Attractor
The ParticleAttractor component allows you to define a position relative to the center of the particle system to which particles are attracted. It also allows you to define the minimum and maximum distances from the point that the attraction force will apply.
Campfires generally have a wider base and have flames get higher the closer to the middle of the fire. Let's use the ParticleAttractor to make this more of a pyramid than a fan.
- In the
Properties Window - Add Component : ParticleAttractor
- Under ParticleAttractor
- Set AttractPosition to
[0, 6, 0] - Set MinDistance to
0.5
- Set AttractPosition to
- Under SphericalParticleEmitter
- Set StartVelocity to
[0, 0, 0] - Set RandomVelocity to
[0, 0, 0]
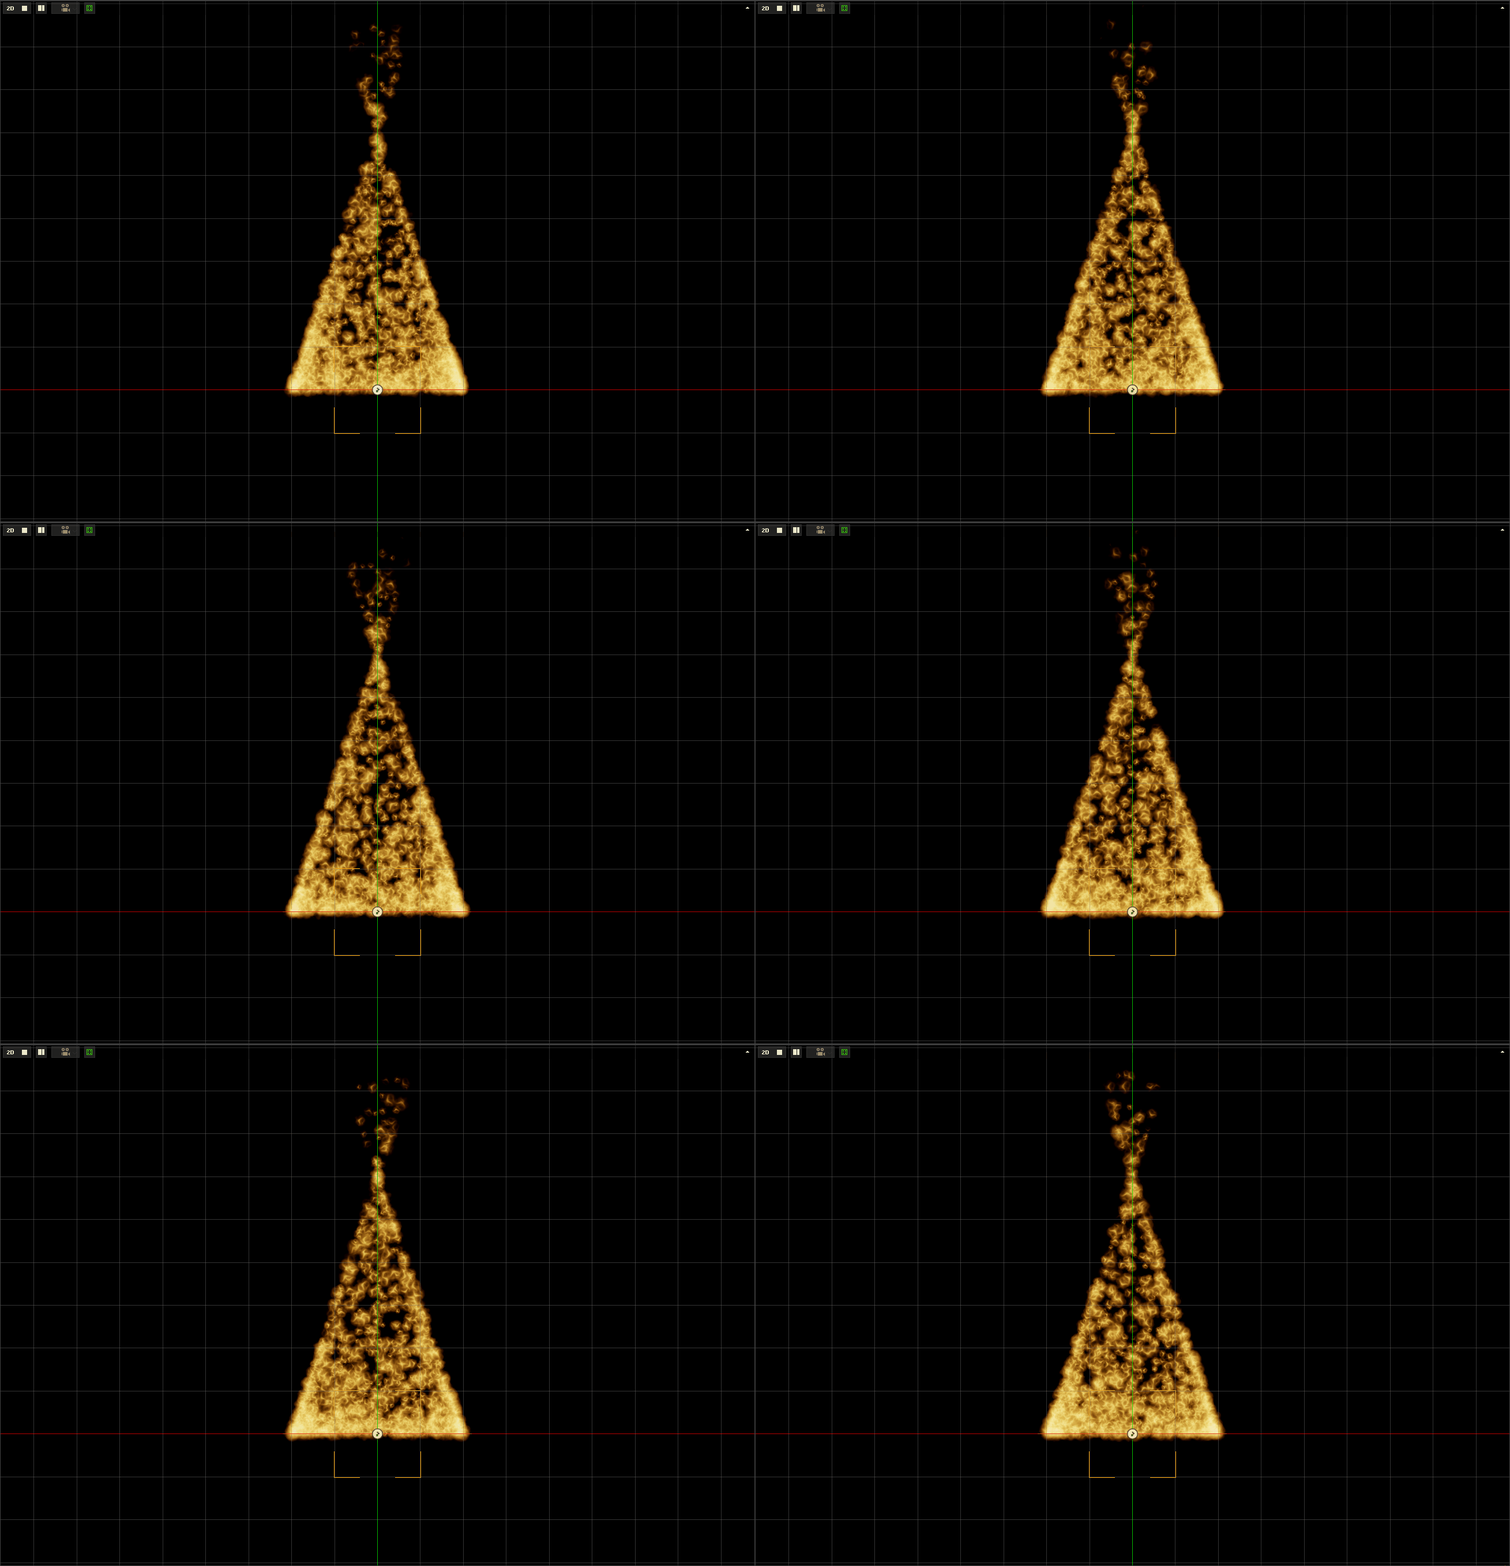
Our campfire is starting to look better. The ParticleAttractor is now pulling it up as well as towards the center of the fire. However, campfires are usually not hard-edged pyramids.
Particle Animator
Particle animators such as the LinearParticleAnimator allow the user to animate particles throughout their lifetime, instead of just at the moment the particles are created like the emitter components.
Campfires tend to wander randomly in the wind. The flames also get smaller before reaching their peak and going out at the tip of the fire. These are examples of behaviors that happen throughout the lifetime of a flame as opposed to just happening once when the flame is created.
- In the
Properties Window - Under LinearParticleAnimator
- Set RandomForce to
[2, 0, 0] - Set Growth to
-0.05
- Set RandomForce to
- Under SphericalParticleEmitter
- Set EmitRate to
700 - Set EmitRateVariance to
200 - Set Size to
0.5
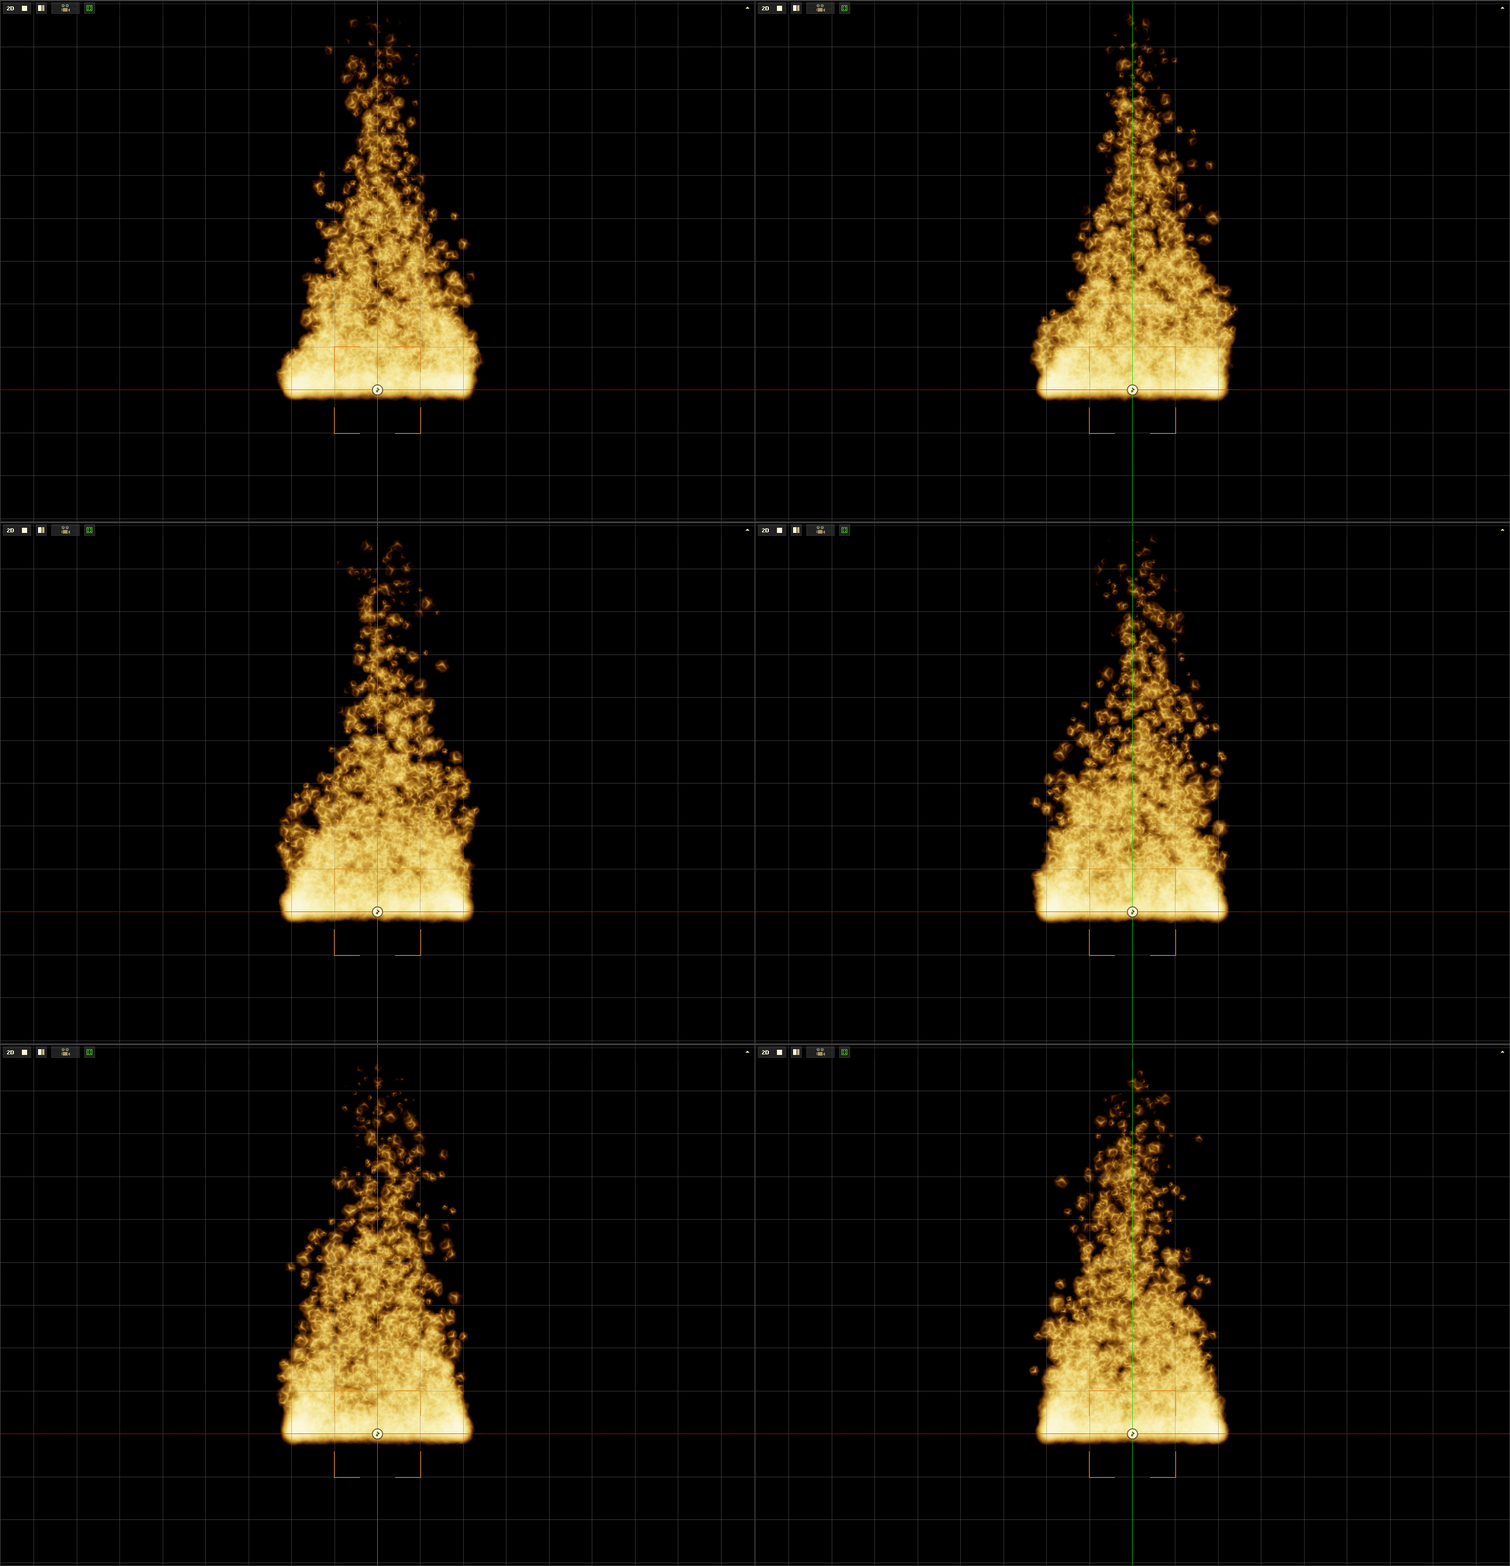
Adding the X-axis random force simulates air blowing our fire around a little bit. The negative growth shrinks the particles over their lifetime to simulate the flames shrinking as they get higher, we need to increase the initial particle size and emit rate to account for how much the campfire will be thinned out by the applied animations.
Particle Color Animator
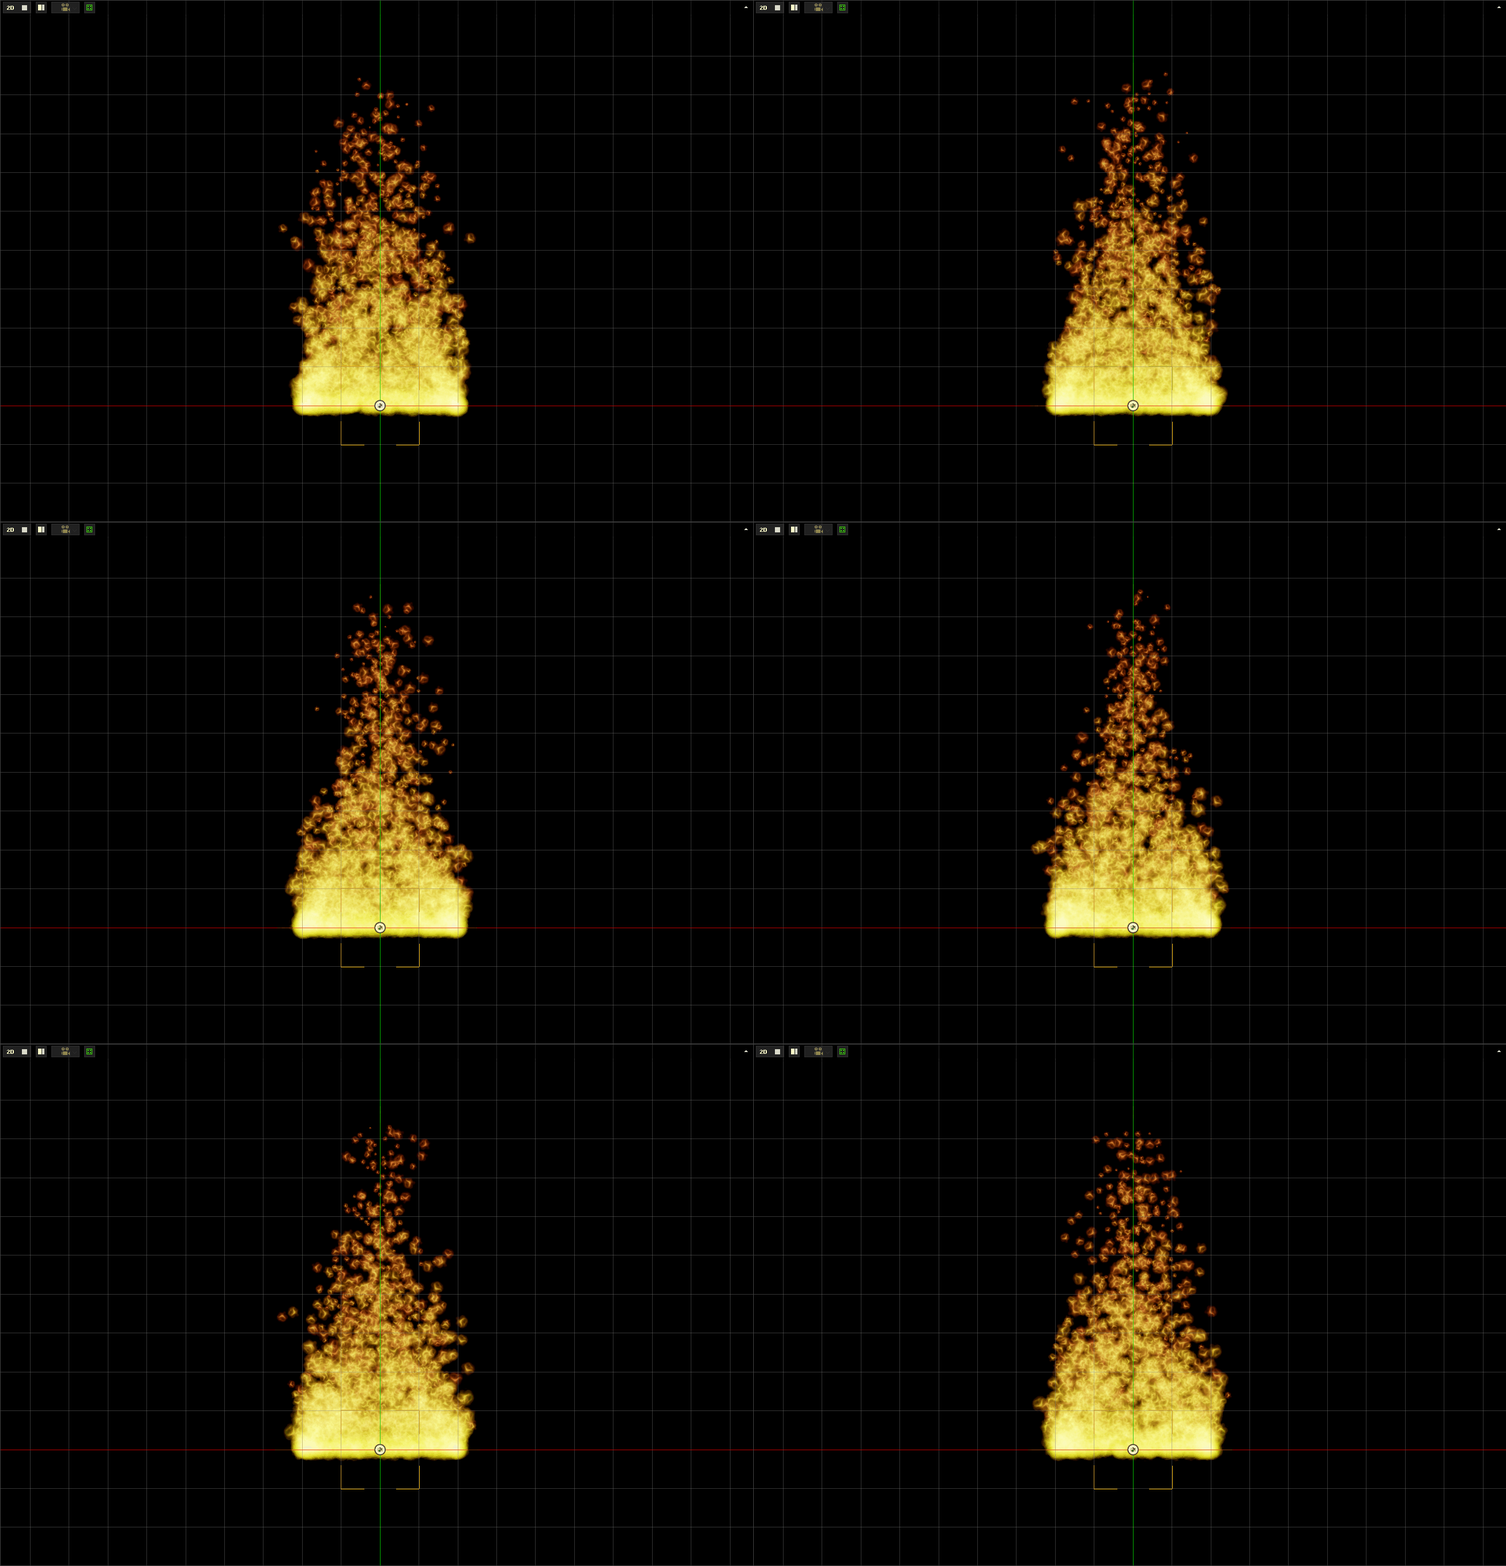
The last thing we need in this particle system is to change the color throughout each particle's lifetime. The ParticleColorAnimator allows you to choose a gradient which will change the color of the particles throughout their lifetime.
- Command : Add Resource
- Create a Gradient resource using the Default template template and name it
Fire - In the
Gradient Editor Double-Left-Clickto create a new point in the middle of the gradient
Left-Clickthe new point to edit it- Use the color picker to set the gradient point color to: to
[R: 252, G: 140, B: 9] Left-Clickthe left point to edit it- Use the color picker to set the gradient point color to: to
[R: 217, G: 183, B: 3] Left-Clickthe right point to edit it- Use the color picker to set the gradient point color to: to
[R: 181, G: 29, B: 9] - Use the
Gradient Editorto make the gradient look like the sample below (it does not need to be exact)

- In the
Properties Window - Under SpriteParticleSystem
- Set VertexColor to
[R: 255, G: 255, B: 255] - Under ParticleColorAnimator
- Set TimeGradient resource to
Fire
- Set TimeGradient resource to
Layering Particle Systems
While the particle system looks much more like fire than what we started with, it is still missing some crucial details. Smoke and sparks would make this look much more realistic, but we can't really make this one particle system look like a fire, sparks, and smoke.
The most common technique to conquer this issue is to create multiple particle systems that overlap. In this way, we can create distinct particle effects that layer on top of each other to create a single, complex system.
- Select : SpriteParticle object
- In the
Properties Window - Set Name to
Fire - Under SpriteParticleSystem
- Set PreviewInEditor checkBox to
True
By setting this to true, the particle system will always run and render in-editor without the game playing. So far in this lesson, the campfire particle system has always been selected so it has always been running. Now that we are creating a second system that we want to run and preview at the same time, we need to use PreviewInEditor checkBox.
- Command : CreateSpriteParticles
- In the
Properties Window - Rename the SpriteParticles object to
Sparks - Under SpriteParticleSystem
- Set PreviewInEditor checkBox to
True - Under Transform
- Set Translation to
[0,0,0] - Under SphericalParticleEmitter
- Set EmitVariance to
25 - Set Size to
0.03 - Set SizeVariance to
0.01 - Set Lifetime to
4 - Set LifetimeVariance to
2 - Set RandomVelocity to
[0, 0, 0] - Set EmitterSize to
[1.5, 0, 0] - Under LinearParticleAnimator
- Set Force to
[0, 2, 0] - Set RandomForce to
[0, 1, 0]
- Set Force to
- Under ParticleColorAnimator
- Set TimeGradient resource to
Fire
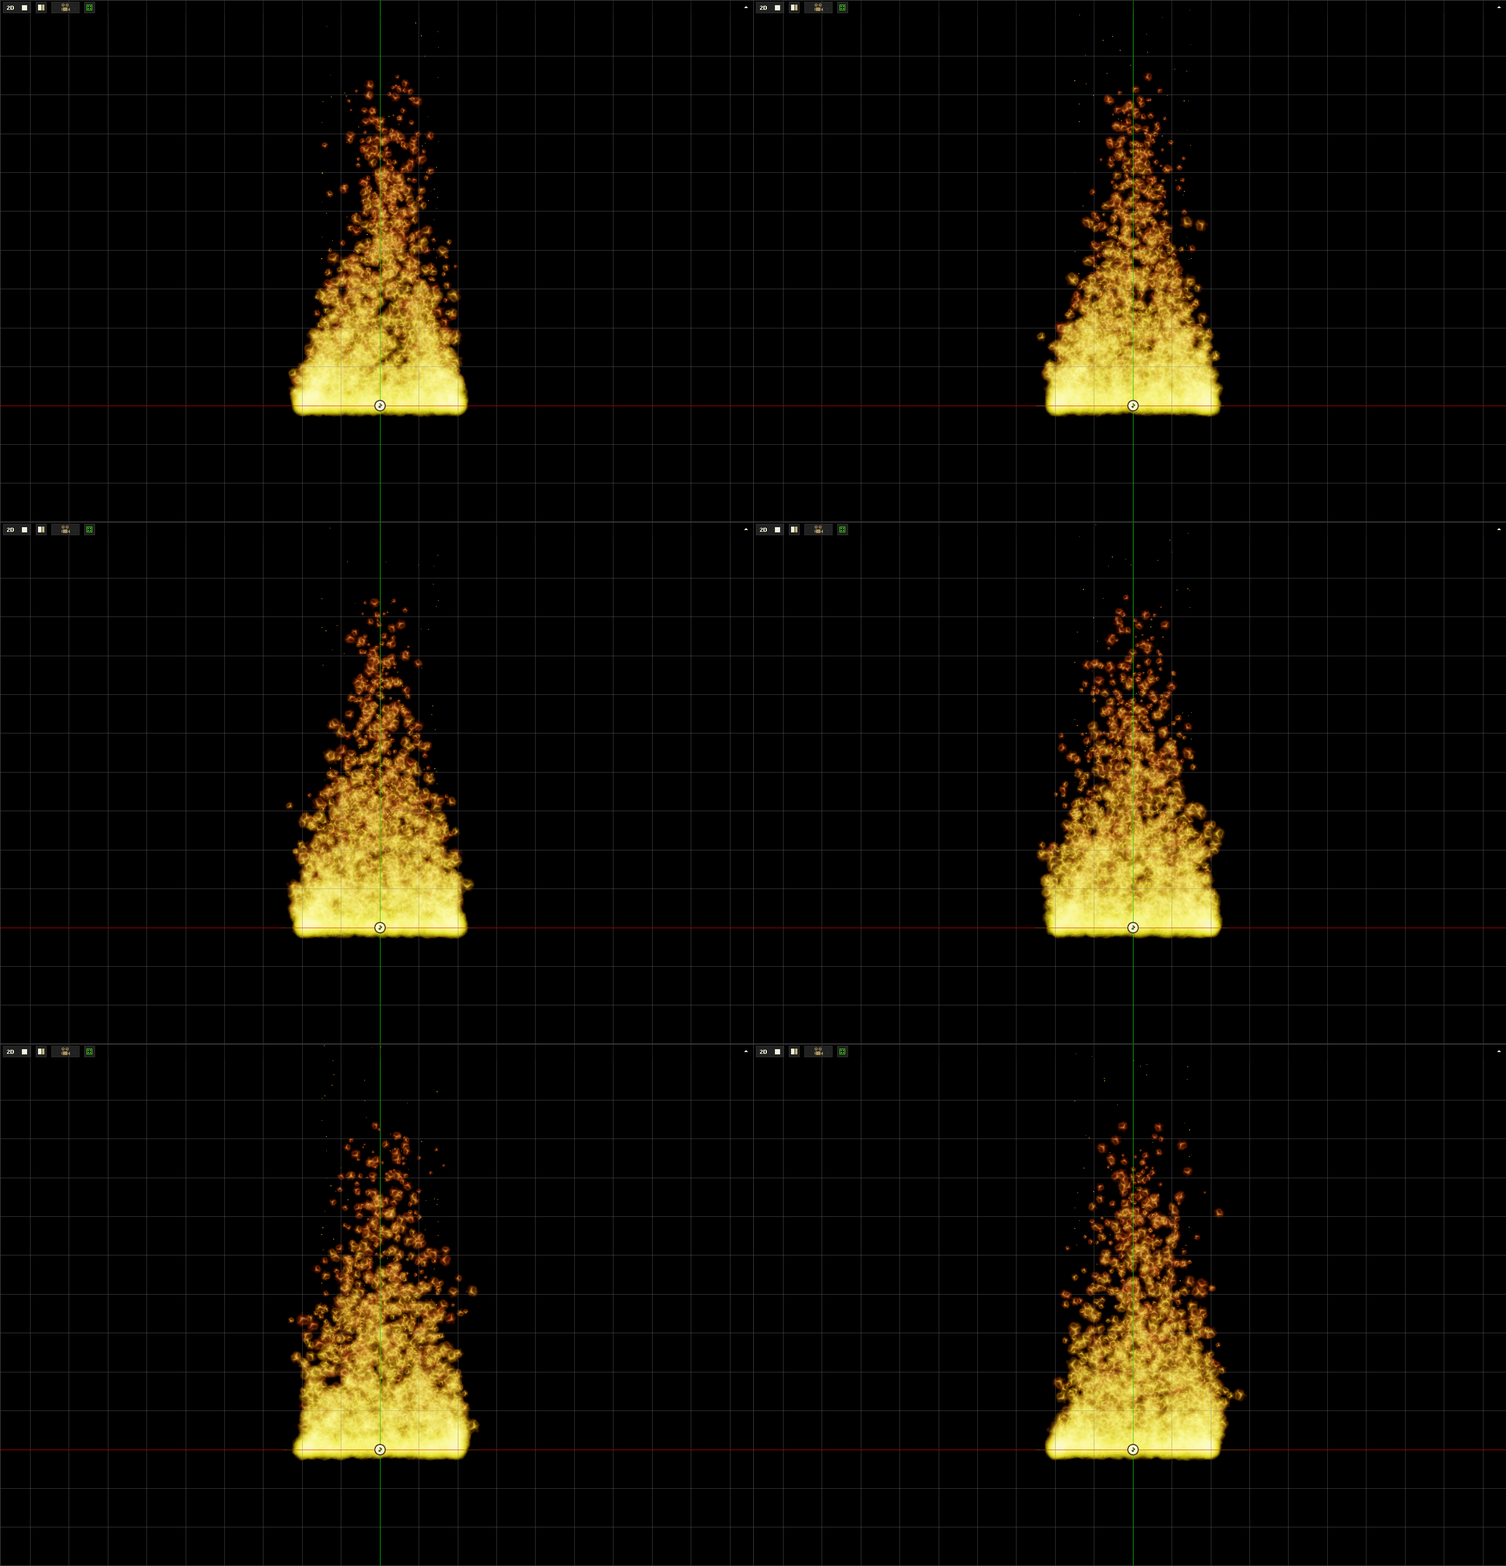
We have the particles layers, but sparks tend to be affected more by wind than flames are. Sparks also tend to leave small light trails behind. So, let's make both of things happen.
- In the
Properties Window - Add Component : ParticleWander
- Under ParticleWander
- Set WanderStrength to
0.5 - Under SpriteParticleSystem
- Set GeomteryMode enum to Beam
- Set BeamVelocityScale to
2
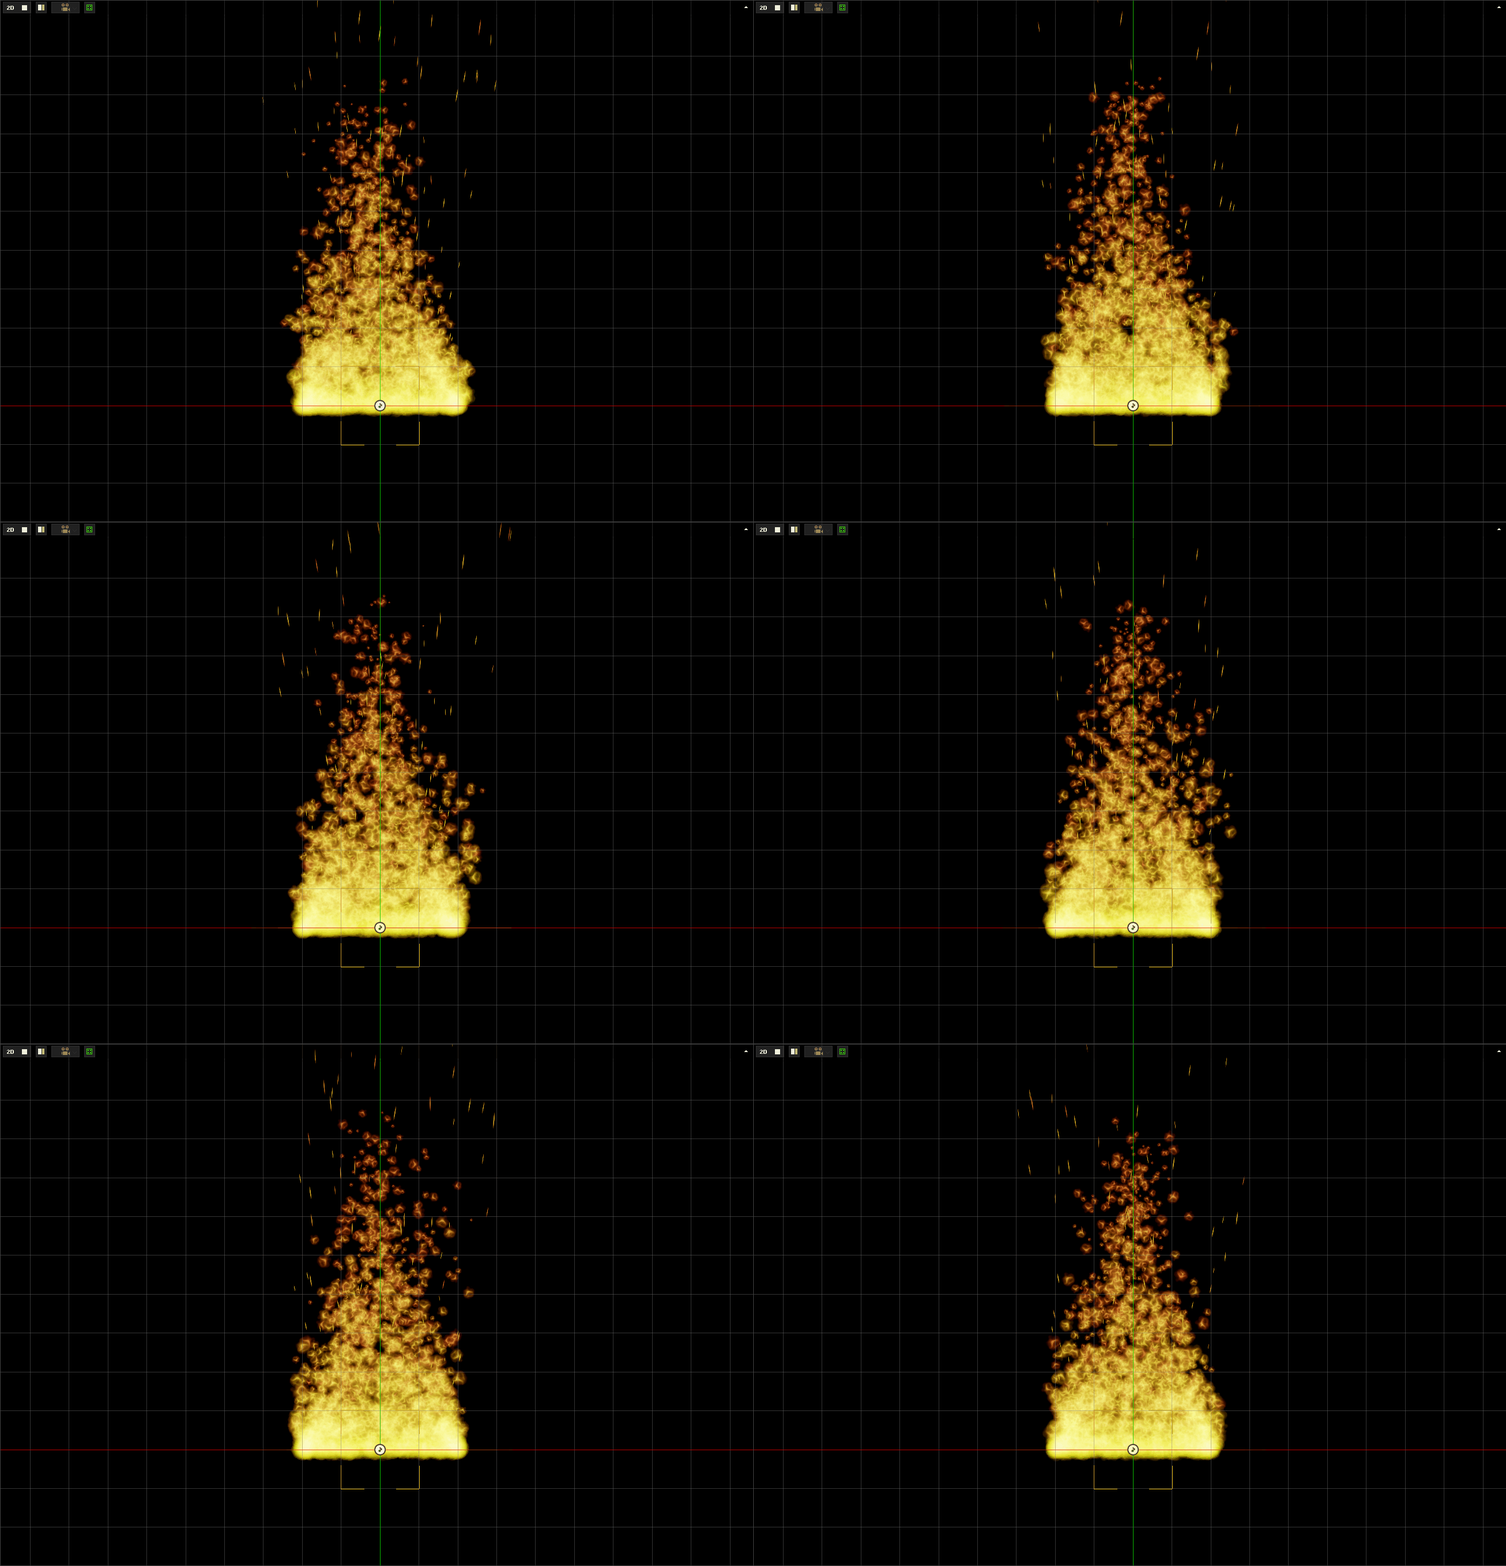
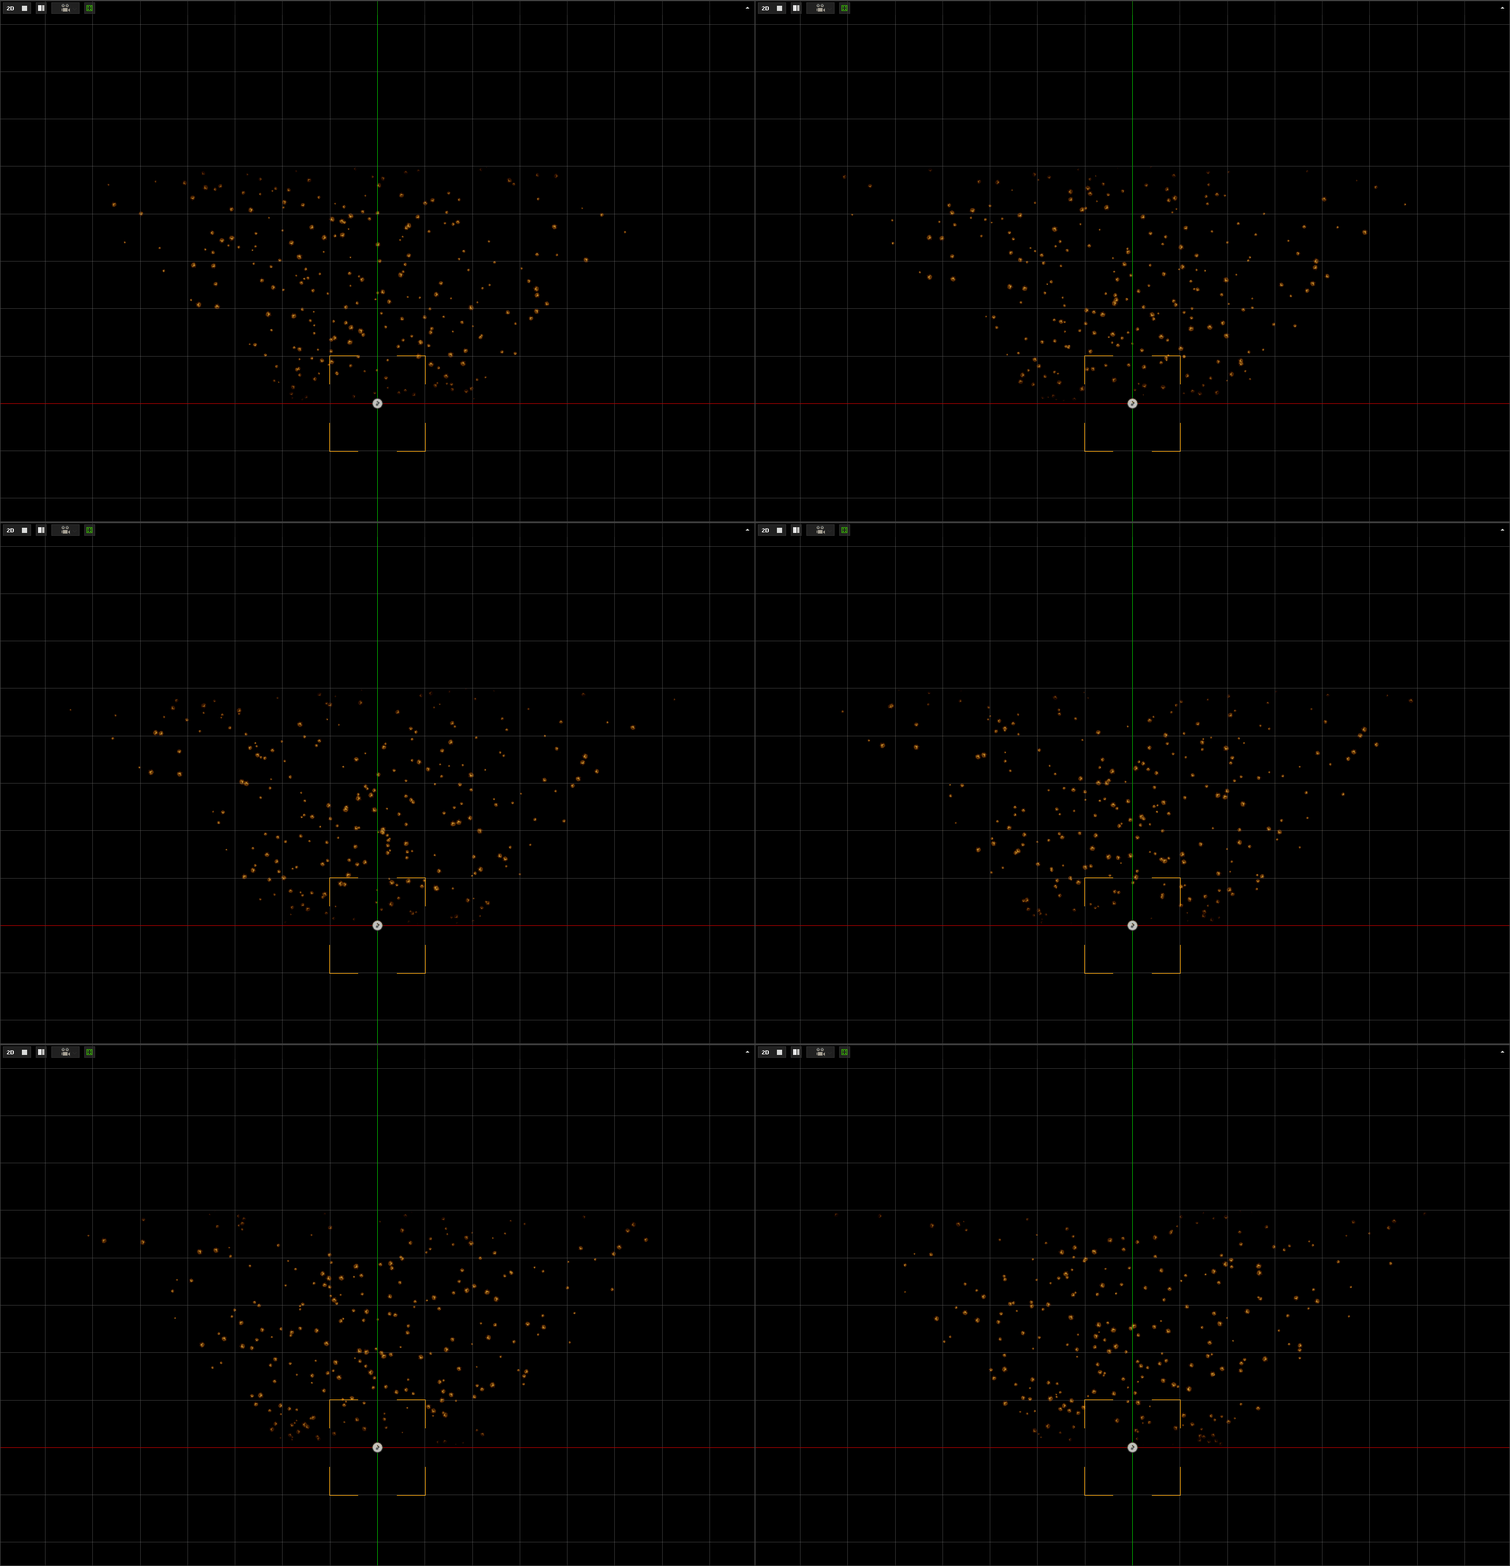
By adding wander each particle now picks a slightly different random direction from the frame previous and is propelled in that direction in addition to the constant upward force being applied. This allows us to make the sparks vary side-to-side and up and down while still consistently moving up. By changing the geometry mode to beam we scale the sparks based on their individual velocity vector. This allows for the simulation of the sparks streaking through the air.
Related Materials
Manual
Reference
Classes
- Transform
- SpriteParticleSystem
- SphericalParticleEmitter
- LinearParticleAnimator
- ParticleColorAnimator
- ParticleAttractor
- ParticleWander
Commands
Enums
Development Task
- T1179