This lesson covers levels in the Zilch Engine.
Learning Objectives
- Creating new levels
- Loading and reloading levels
- Setting the StartingLevel
Level Setup
- Command : New Project
- Create a new project using the {nav icon=clone, name=Empty 2D Project} template
What is a Level?
A Level resource is a resource that stores a list of objects. These objects are created when the level is loaded.
Creating a New Level
Levels are added to the project in basically the same way as any other resource: by adding a resource using one of the pre-defined resource templates.
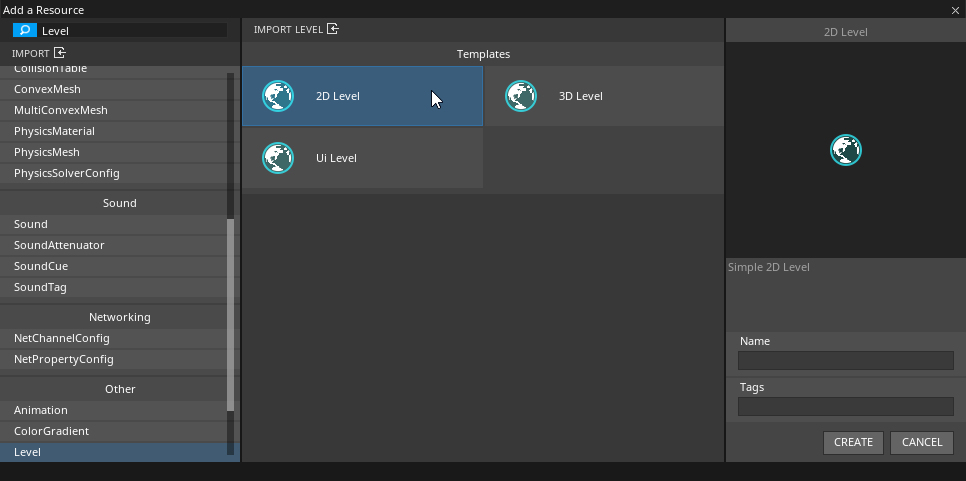
Zilch's Level templates
Zilch's built-in Level templates are like shortcuts for creating levels of different kinds: they've already got the important cogs, like renderers and cameras, and they're pre-configured to be suitable for the chosen type of level. The {nav icon=clone, name="2D Level"} template provides a forward renderer and an orthographic camera, perfect for a simple 2D game.
- Create a Level resource using the {nav icon=clone, name="2D Level"} template and name it
Level1 - Select : Renderer object
- In the
Properties Window - Under
ForwardRenderer - Set ClearColor to
[R:16, G:78, B:32, A:1.00] - Command : CreateSpriteText
- In the
Properties Window - Rename SpriteText object to
LevelNameText - Under Transform
- Set Translation to
[0, 5, 0] - Under SpriteText
- Set Text to
- Level 1 - - Set PixelsPerUnit to
32
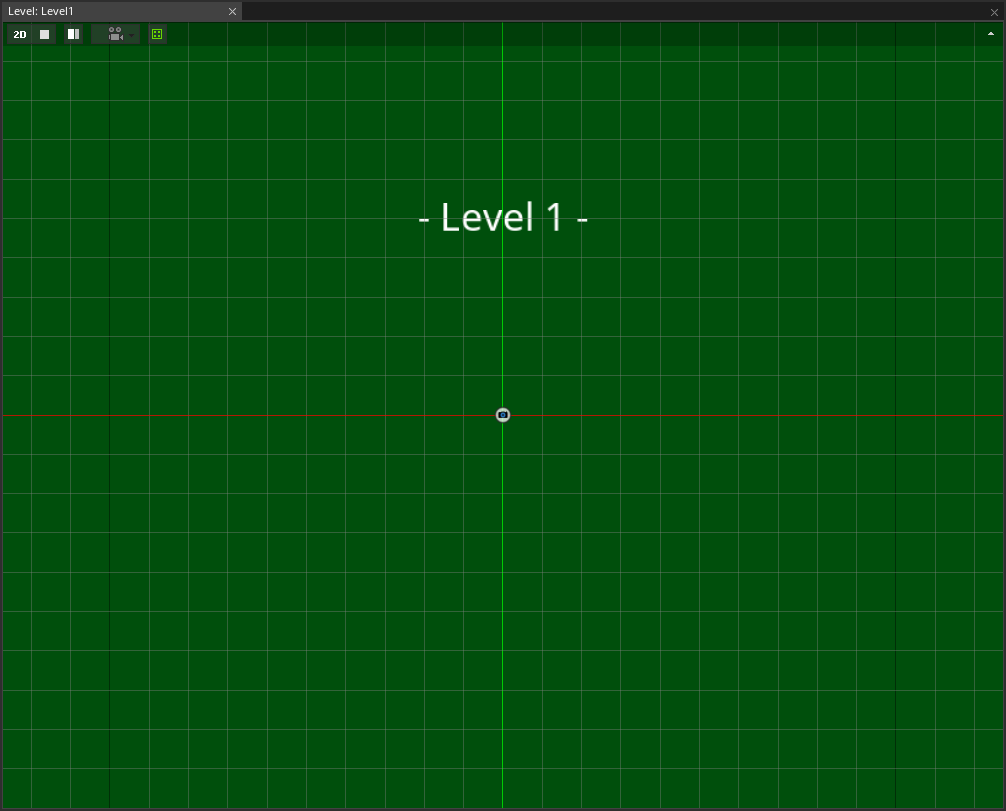
Level 1
(NOTE) A Closer Look:
Take a look at the Objects Window:
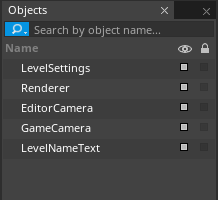 This is the list of objects in this level. In a sense, this list is this level, since a level is basically a list of objects. These objects are stored in the Level resource resource, listed as they are here, each with its properties as set in the
 Properties Window. When the level is loaded, each of these objects is created and initialized.
Creating a Player
There's no sense in having a level if there's no player, eh?
- Command : Add Resource
- Create a NadaScript resource using the Component template template and name it
KeyboardMovement - Update the
KeyboardMovementscript to the following:
class KeyboardMovement : NadaComponent
{
  [Dependency] var Transform : Transform;

  [Property]
  var UpKey    : Keys = Keys.Up;
  [Property]
  var DownKey  : Keys = Keys.Down;
  [Property]
  var RightKey : Keys = Keys.Right;
  [Property]
  var LeftKey  : Keys = Keys.Left;
  [Property]
  var Speed : Real = 8;
  [Property]
  var MinBounds : Real3 = Real3(-12, -8, 0.5);
  [Property]
  var MaxBounds : Real3 = Real3( 12,  8, 0.5);

  function Initialize(init : CogInitializer)
  {
    Zilch.Connect(this.Space, Events.LogicUpdate, this.OnLogicUpdate);
  }

  function OnLogicUpdate(event : UpdateEvent)
  {
    var movement = Real3.Zero;

    if (Zilch.Keyboard.KeyIsDown(this.UpKey))
      movement += Real3.YAxis;
    if (Zilch.Keyboard.KeyIsDown(this.DownKey))
      movement -= Real3.YAxis;
    if (Zilch.Keyboard.KeyIsDown(this.RightKey))
      movement += Real3.XAxis;
    if (Zilch.Keyboard.KeyIsDown(this.LeftKey))
      movement -= Real3.XAxis;

    var newPosition = this.Transform.LocalTranslation + movement * this.Speed * event.Dt;
    this.Transform.LocalTranslation = Math.Clamp(newPosition, this.MinBounds, this.MaxBounds);
  }
}
In the
Properties WindowRename Sprite object to
PlayerUnder Transform
Set Translation to
[0, 0, 0.5]Under Sprite
Set VertexColor to
[R:64, G:255, B:160, A:1.00]Set SpriteSource to
CircleBorderedAdd Component :
SphereColliderUnder SphereCollider
Set Ghost checkBox to
trueAdd Component :
RigidBodyUnder RigidBody
Set DynamicState enum to
KinematicAdd Component :
KeyboardMovement
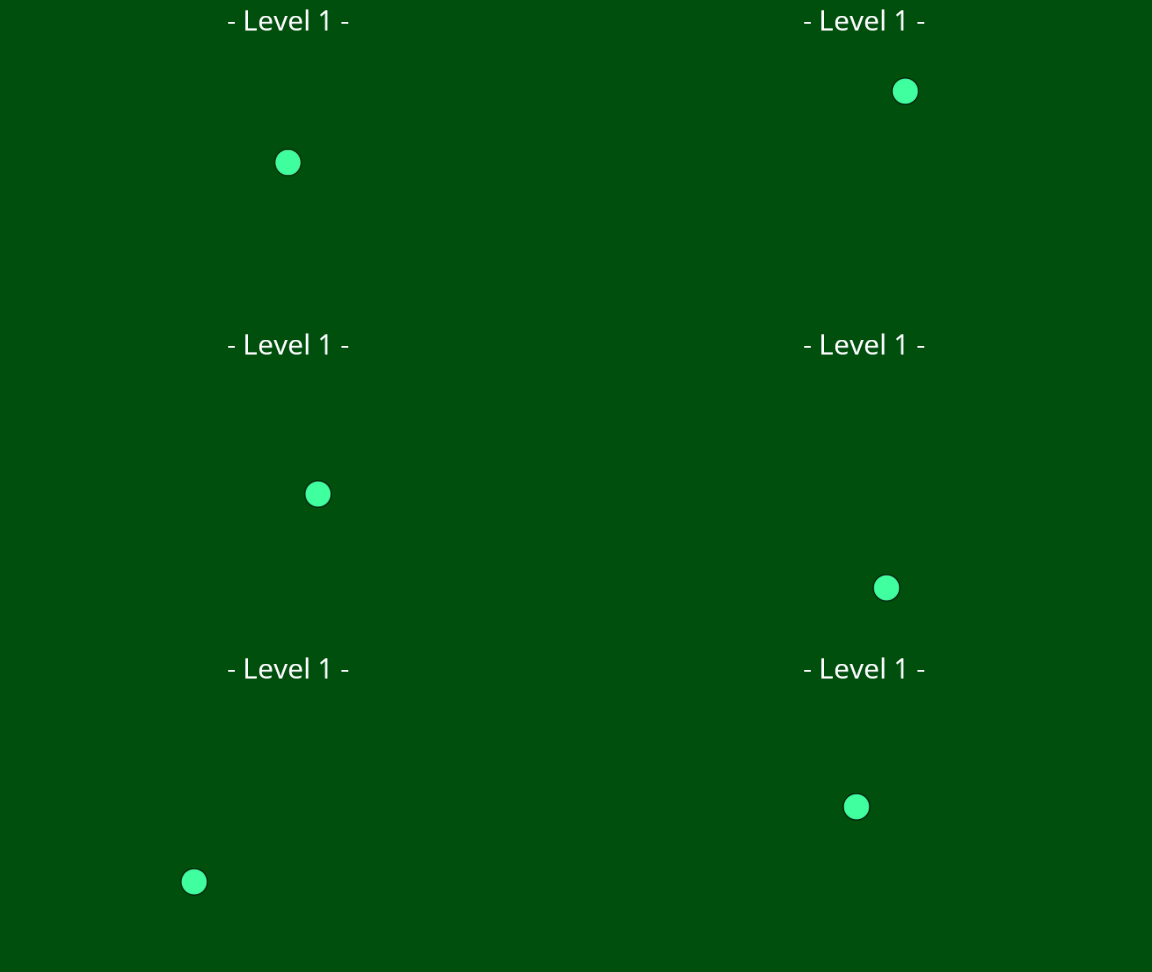
Player moving around in Level 1
You can move the player with the arrow keys.
Now let's make a Level 2 to go to from Level 1.
Creating Another Level
- In the
Library Window - Under the Level tag
- {nav icon=mouse-pointer, name="Right click"} the
Level1Level resource - Select Duplicate to create a copy of
Level1 - Rename the
Level1Copy1Level resource toLevel2 - Open the
Level2Level resource
Level 2 should be visually distinct from Level 1.
- Select : LevelNameText object
- In the
Properties Window - Under
SpriteText - Set Text to
- Level 2 - - Select : Renderer object
- In the
Properties Window - Under
ForwardRenderer - Set ClearColor to
[R:48, G:59, B:84, A:1.00]
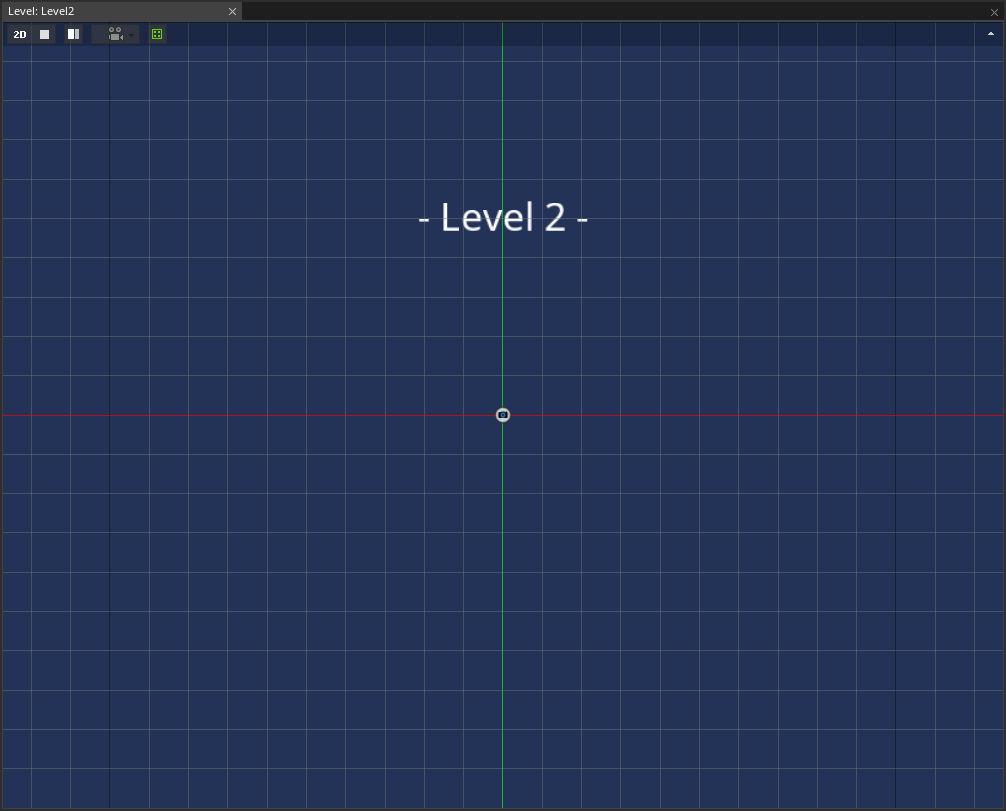
Level 2
Now let's make some way of going between Level 1 and Level 2.
Loading a Level in the Game
Going from one level to another is as simple as calling the space's LoadLevel function. Let's make a door: an object that calls that function when the player touches it.
- Command : Add Resource
- Create a NadaScript resource using the Component template template and name it
LoadLevelOnCollisionStarted - Update the
LoadLevelOnCollisionStartedscript to the following:
class LoadLevelOnCollisionStarted : NadaComponent
{
  [Property]
  var LevelToLoad : Level;

  function Initialize(init : CogInitializer)
  {
    Zilch.Connect(this.Owner, Events.CollisionStarted, this.OnCollisionStarted);
  }

  function OnCollisionStarted(event : CollisionEvent)
  {
    // If the other object in this collision has a KeyboardMovement component,
    // then it must be the player
    if (event.OtherObject.KeyboardMovement != null)
      this.Space.LoadLevel(this.LevelToLoad);
  }
}
- Command : CreateSprite
- In the
Properties Window - Rename Sprite object to
Door - Under Transform
- Set Translation to
[-5, 3, 0] - Set Scale to
[2, 3, 1] - Under Sprite
- Set VertexColor to
[R:230, G:23, B:57, A:1.00] - Add Component :
BoxCollider - Under BoxCollider
- Set Ghost checkBox to
true - Add Component :
LoadLevelOnCollisionStarted - Under
LoadLevelOnCollisionStarted - Set LevelToLoad resource to
Level1
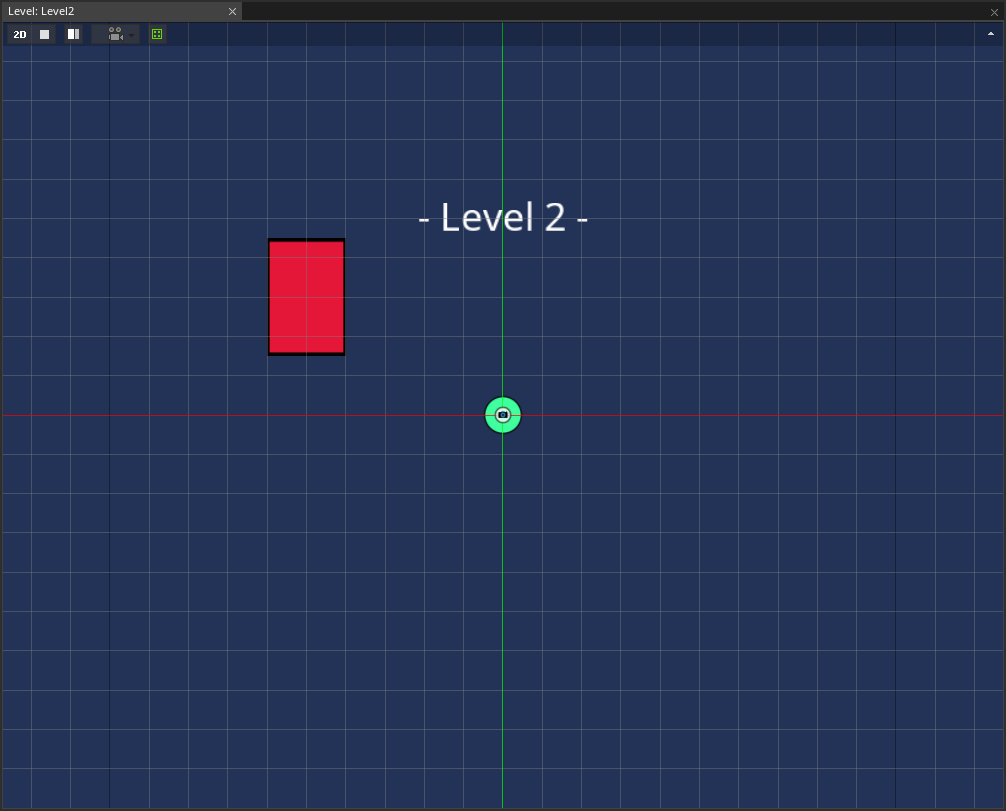
Level 2 now has a door
- Command : Copy the Door object
- Open the Level resource named
Level1 - Command : Paste the Door object
- In the
Properties Window - Under Transform
- Set Translation to
[5, -4, 0] - Under
LoadLevelOnCollisionStarted - Set LevelToLoad resource to
Level2
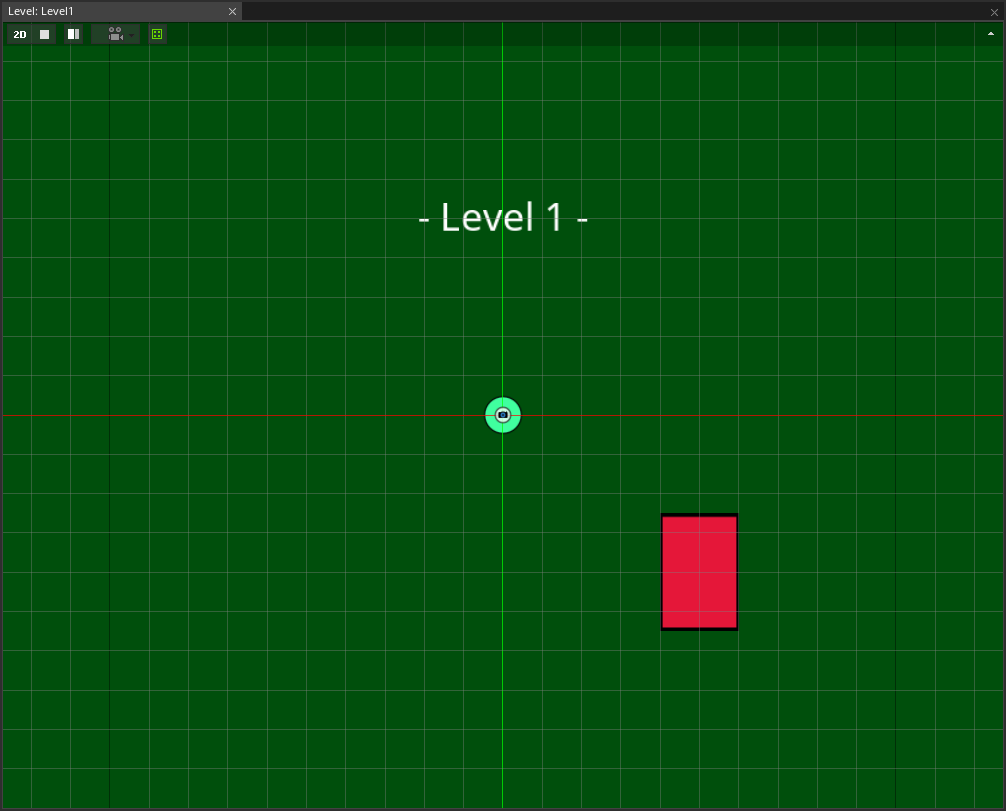
Level 1 now has a door

If you move the player to the door, the other level is loaded.
(NOTE) A Closer Look: When the player touches the door in Level 1, Level 2 is loaded. So what happens to Level 1? When a space's LoadLevel function is called, first, all the objects in that space are destroyed: the player, the door, the camera, the renderer, all of them. Then, all the objects in Level 2 are created. This happens every time a space changes levels.
Reloading a Level
Just as the space has a function to load a level, it also has a function to reload the current level.
- Command : Add Resource
- Create a NadaScript resource using the Component template template and name it
ReloadLevelOnKeyDown - Update the
ReloadLevelOnKeyDownscript to the following:
class ReloadLevelOnKeyDown : NadaComponent
{
  function Initialize(init : CogInitializer)
  {
    Zilch.Connect(Zilch.Keyboard, Events.KeyDown, this.OnKeyDown);
  }

  function OnKeyDown(event : KeyboardEvent)
  {
    if (event.Key == Keys.R && event.CtrlPressed)
      this.Space.ReloadLevel();
  }
}
Calling the ReloadLevel function does the same thing as calling the LoadLevel function and passing in the current level.
- Command : Select the Space
- In the
Properties Window - Add Component :
ReloadLevelOnKeyDown - Command : PlayGame
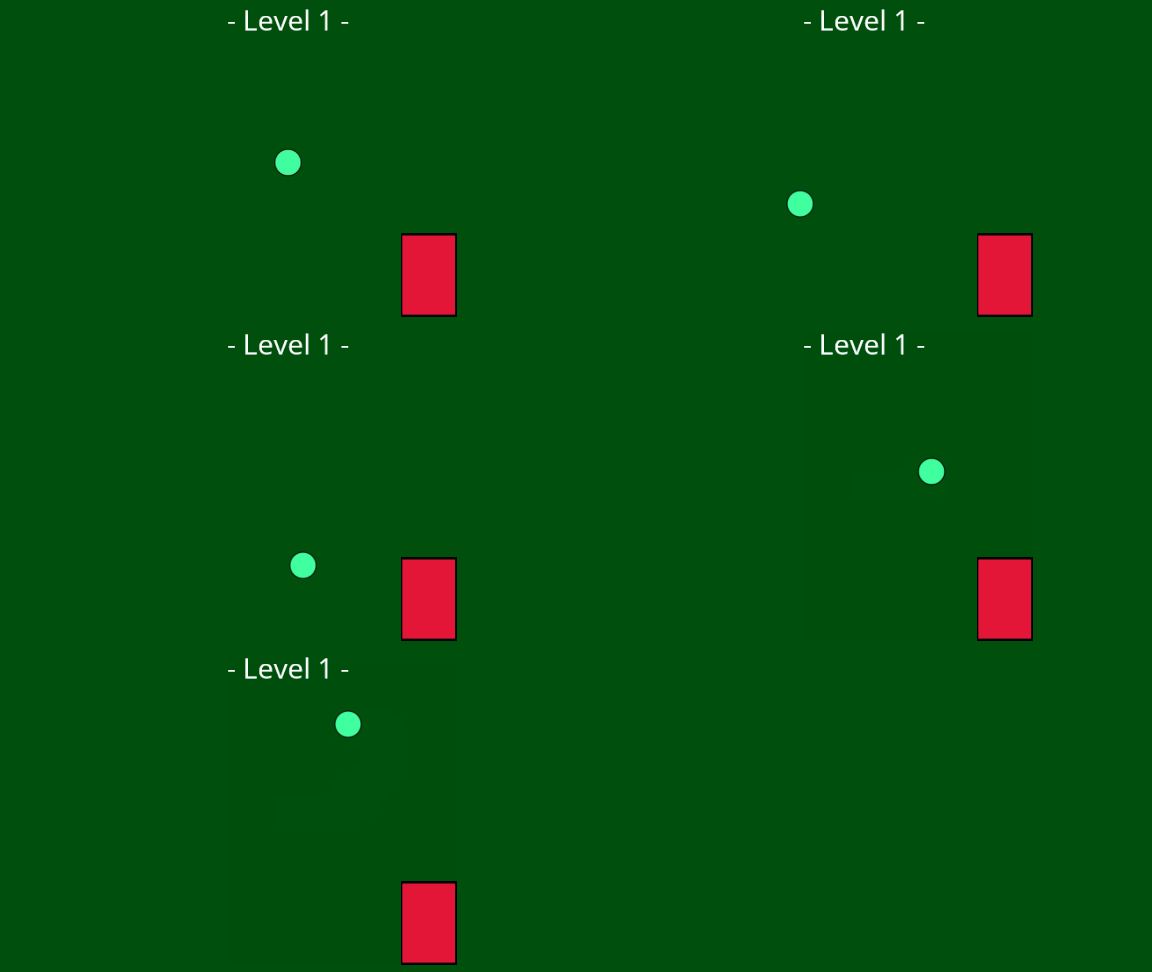
You can now reload the level by pressing key Ctrl + R.
(NOTE)A Closer Look: Reloading a level is just the same as loading it again, so it goes through the same process. First, everything present is destroyed. Then, everything in the level is created anew. This means that all of its objects, and all of their components, are reinitialized. However, this does not destroy the space that contains the level, which is only initialized when it is created, and destroyed when the user explicitly destroys it in script (or when the game ends).
Setting a Game's Starting Level
When a Zilch game is played in the editor, the default game setup loads the level that is currently being edited. When the game is exported, however, this isn't necessarily the first level to be loaded. As a matter of fact, there is a component on the GameSession aptly named DefaultGameSetup, which manages this.
- Command : Select the Game
- In the
Properties Window - Expand DefaultGameSetup
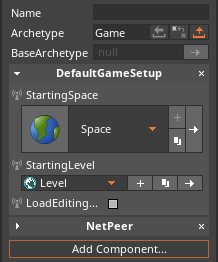
Here, we can see some useful properties: StartingSpace enum specifies the archetype to use for creating the game's default space. StartingLevel enum determines which level is loaded into that space after it's created. LoadEditingLevel checkBox tells the engine whether it should override the starting level when the game is being run in the editor, and instead load the level that's being edited.
Let's make a new level, a title screen, and set it as the starting level.
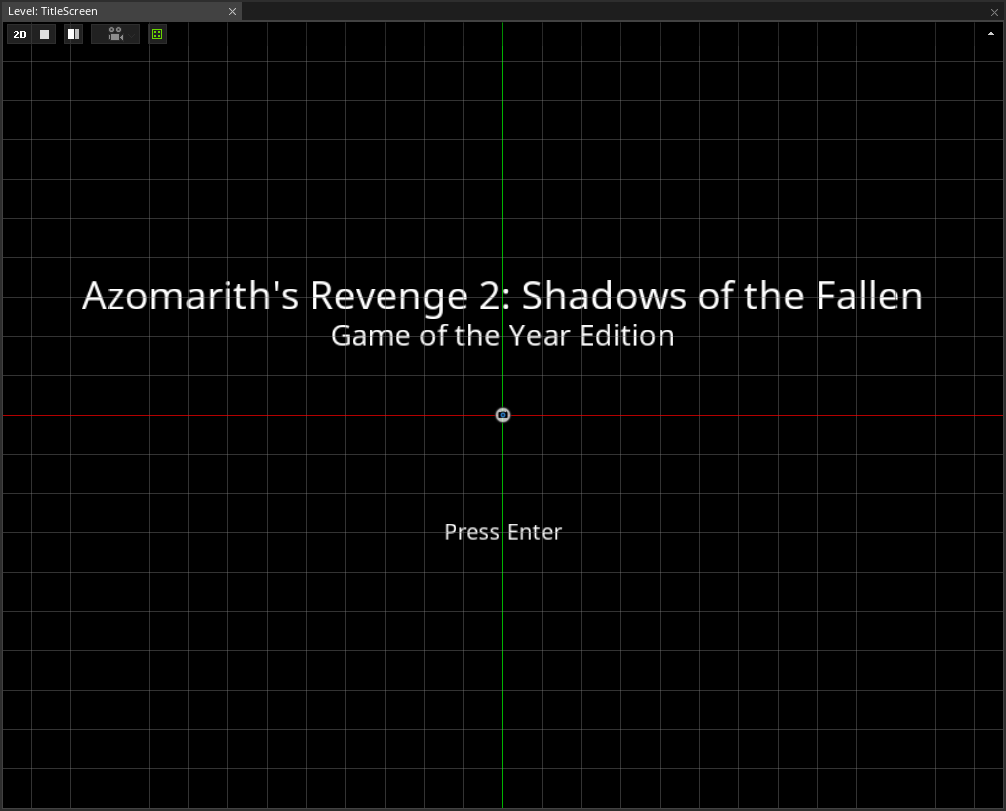
Creating a Title Screen
- Command : Add Resource
- Create a Level resource using the {nav icon=clone, name="2D Level"} template and name it
TitleScreen - Command : CreateSpriteText
- In the
Properties Window - Under Transform
- Set Translation to
[0, 3, 0] - Under SpriteText
- Set Text to
Azomarith's Revenge 2: Shadows of the Fallen - Set PixelsPerUnit to
32 - Command : CreateSpriteText
- In the
Properties Window - Under Transform
- Set Translation to
[0, 2, 0] - Under SpriteText
- Set Text to
Game of the Year Edition - Set FontSize to
24 - Set PixelsPerUnit to
32 - Command : CreateSpriteText
- In the
Properties Window - Under Transform
- Set Translation to
[0, -3, 0] - Under SpriteText
- Set Text to
Press Enter - Set FontSize to
18 - Set PixelsPerUnit to
32
- Command : Select the Game
- In the
Properties Window - Under DefaultGameSetup
- Set StartingLevel enum to
TitleScreen - Set LoadEditingLevel checkBox to
false - Open the Level resource named
Level1 - Command : PlayGame
Even though we're editing Level 1, the editor loads the title screen, thanks to how the DefaultGameSetup has been configured.
Next, we need a component to load Level 1 from the title screen.
- Open the Level resource named
TitleScreen - Command : Add Resource
- Create a NadaScript resource using the Component template template and name it
LoadLevelOnKeyDown - Update the
LoadLevelOnKeyDownscript to the following:
class LoadLevelOnKeyDown : NadaComponent
{
  [Property]
  var LevelToLoad : Level = Level.Level1;
  [Property]
  var Key : Keys = Keys.Enter;

  function Initialize(init : CogInitializer)
  {
    Zilch.Connect(Zilch.Keyboard, Events.KeyDown, this.OnKeyDown);
  }

  function OnKeyDown(event : KeyboardEvent)
  {
    if (event.Key == this.Key)
      this.Space.LoadLevel(this.LevelToLoad);
  }
}
- Select : LevelSettings object
- In the
Properties Window - Add Component :
LoadLevelOnKeyDown - Open the Level resource named
Level1 - Command : PlayGame
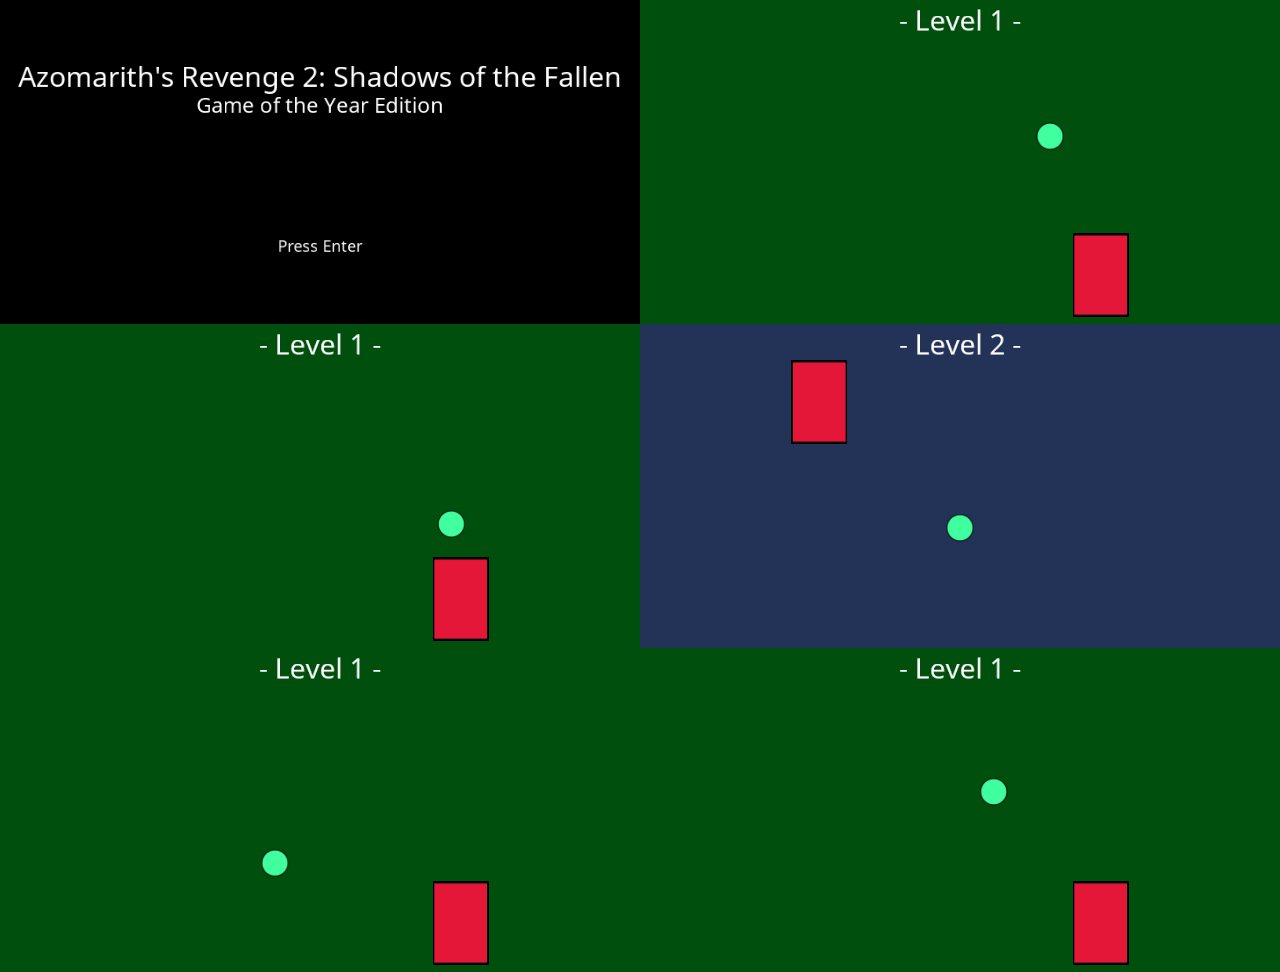
The game starts with the title screen, then goes to Level 1
Now the game always starts with the title screen, and from there goes into Level 1 via the Enter key.
Related Materials
Manual
Reference
Classes
Commands
Development Task
- {T1172}