This lesson focuses on teaching the basics of physics effects and components.
Learning Objectives
- GravityEffect and DragEffect components
- Apply / Ignore physics effects on objects
- Basic uses of
name=LevelSettings, icon=cog
Level Setup
- Command : New Project
- Create a new project using the {nav icon=clone, name=Empty 2D Project} template
- Command : CreateSprite
- Add Component : RigidBody
- Command : PlayGame
GravityEffect
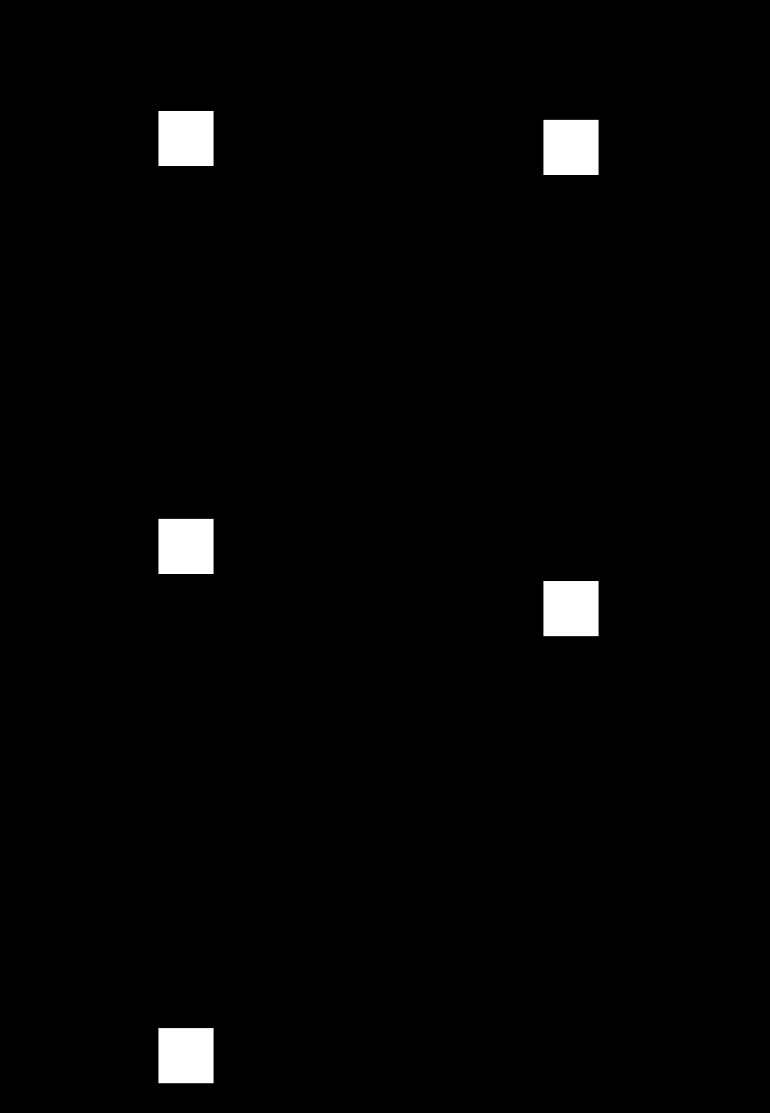
When running the game, we can see the square object falling. As we mentioned in previous tutorials, the RigidBody component allows an object to be subjected by physics forces. However, it is not the one responsible for the object falling.
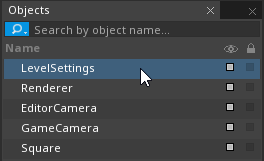
Let's take a look at the LevelSettings object in our level:
- In the
Objects window - Select : LevelSettings object
- In the
Properties window - Under GravityEffect
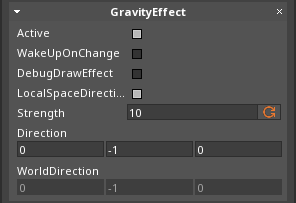
| Common GravityEffect Properties | |
|---|---|
| Active checkBox | Whether this component applies force or not |
| Strength | The magnitude of the force applied |
| Direction | The direction which force is applied (normalized) |
| LocalSpaceDirection checkBox | Whether the specified direction is local (true) or global (false) |
- In the
Properties window - Under GravityEffect
- Set Active checkBox to
false - Command : PlayGame

Notice that the Sprite object isn't being affected by gravity anymore. That's because components that produce physics effects, when attached to the LevelSettings object object, will apply that effect to all objects within the Space.
Let's try and move the Sprite object in other ways:
- Select : Sprite object object
- In the
Properties Window - Under RigidBody
- Set Velocity to
[3.0, 0.0, 0.0] - Command : PlayGame
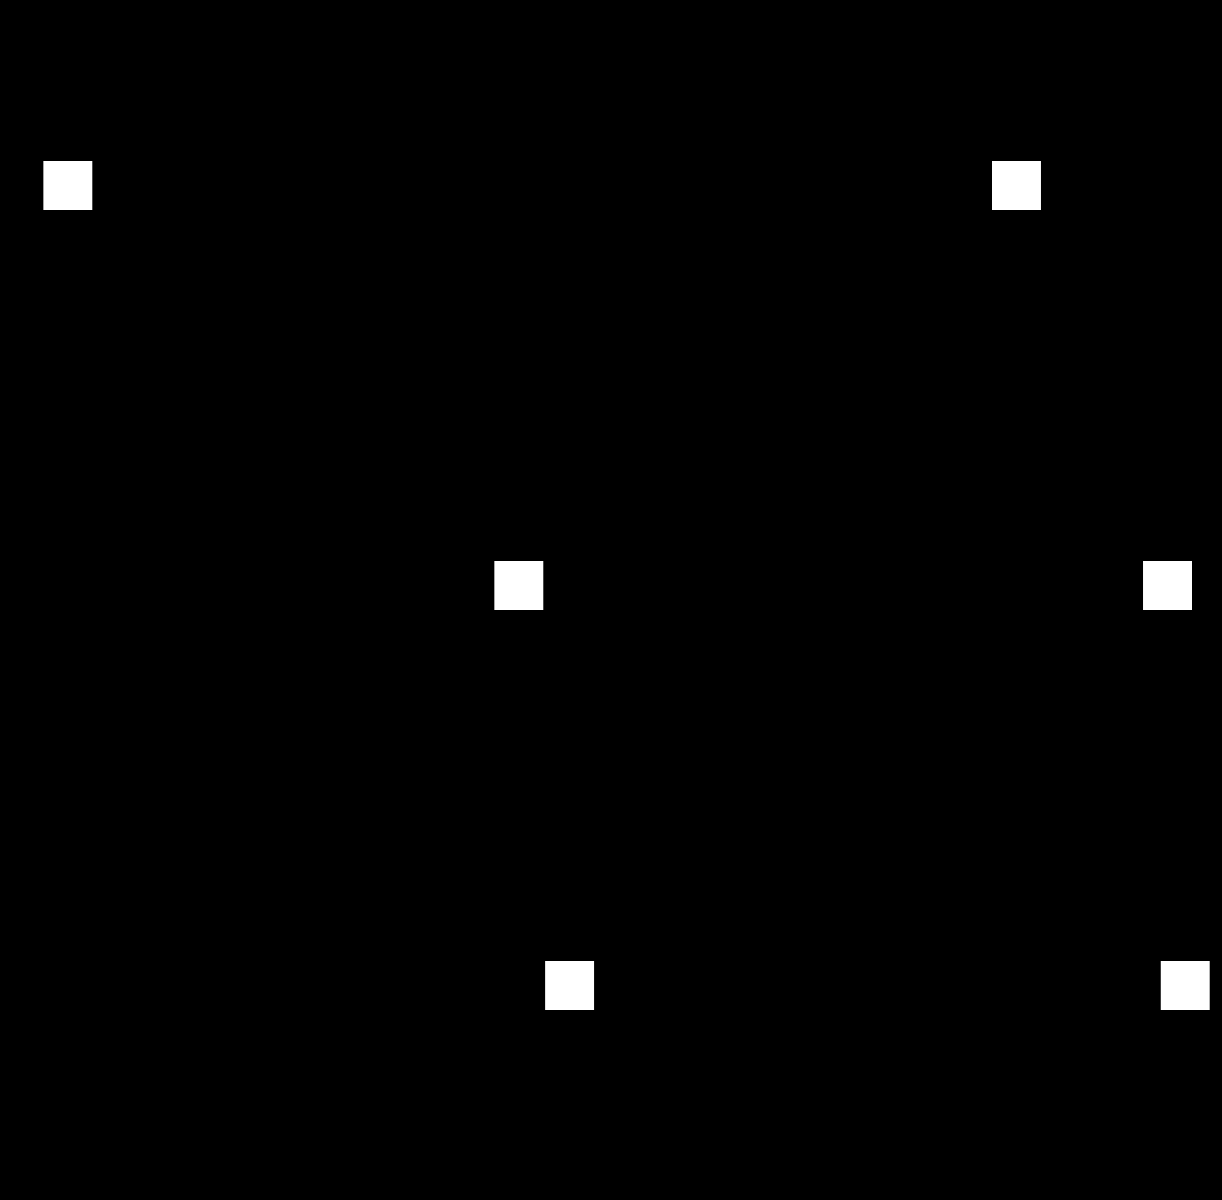
The Sprite object appears to be moving in the desired direction and still isn't affected by gravity but it slowed down and stopped. But according to Newton's first law of motion; an object retains its movement at a constant velocity unless acted upon by an external force. So what external force caused our object to stop?
DragEffect
Let's take a look again at the LevelSettings object:
- Select : LevelSettings object
- In the
Properties Window - Under DragEffect
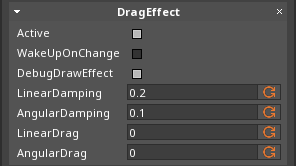
- Set Active checkBox to
false
- Set Active checkBox to
| Common DragEffect Properties | |
|---|---|
| Active checkBox | Whether this component applies force or not |
| LinearDamping | The amount of damping applied to the object's velocity |
| AngularDamping | The amount of damping applied to the object's angular velocity |
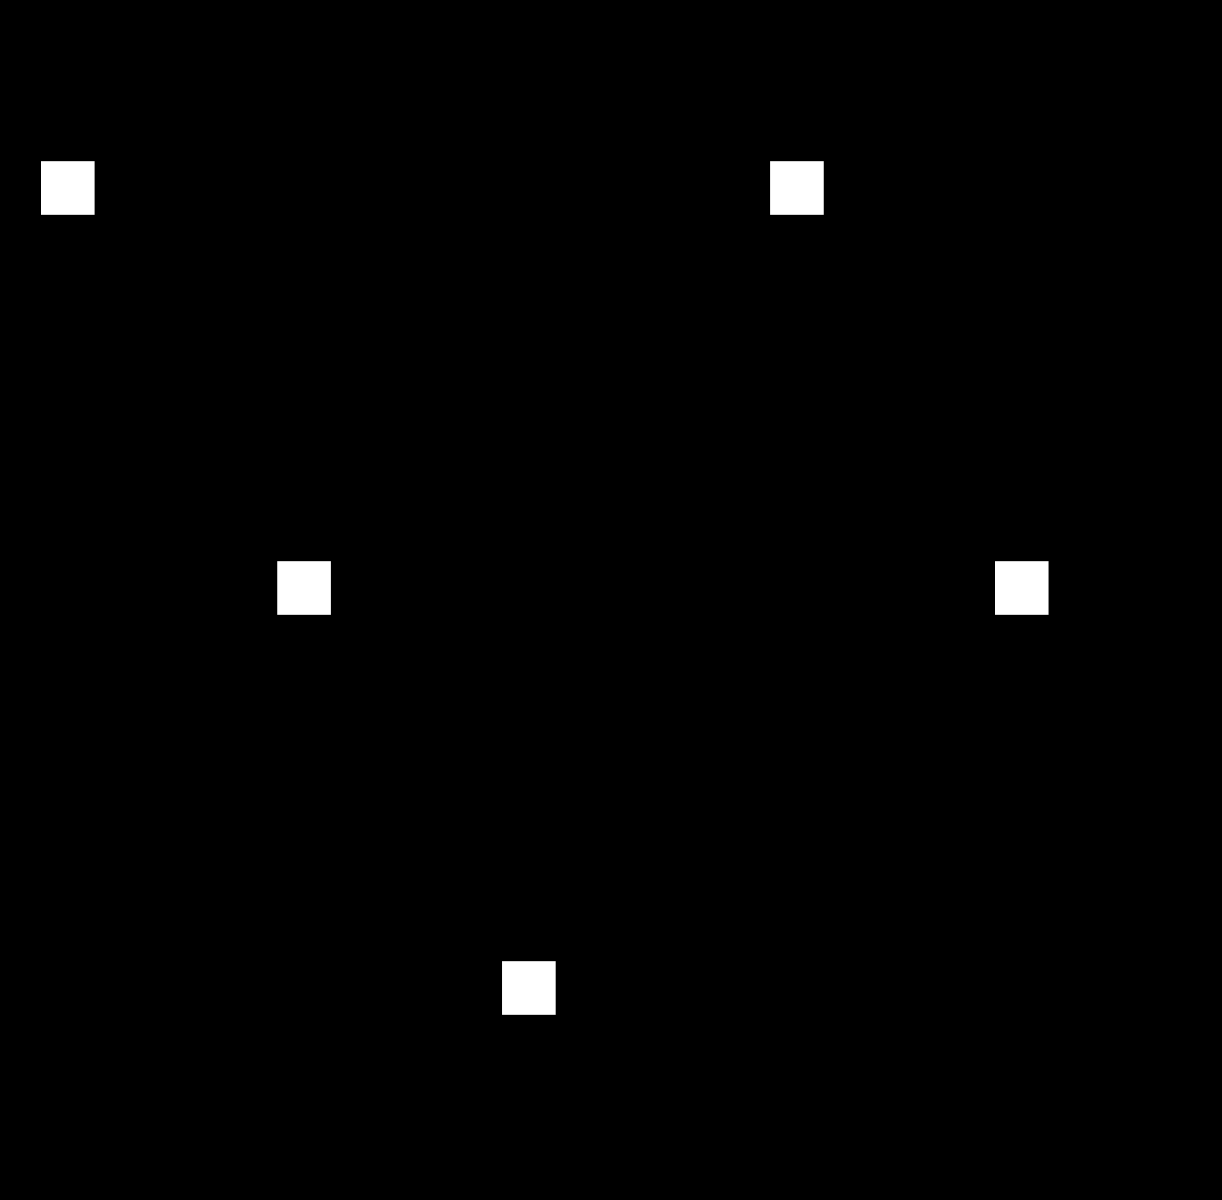
The DragEffect exists to simulate air resistance and other forces that would prevent your object from moving indefinitely.
Adding Physics Effects to Objects
These effects can also be applied to individual objects, let's take a look:
- Select : Sprite object
- Add Component : GravityEffect
- Add Component : DragEffect
- Command : PlayGame

Now we get the same result we had initially, but we could tweak individual gravity and drag effects per object.
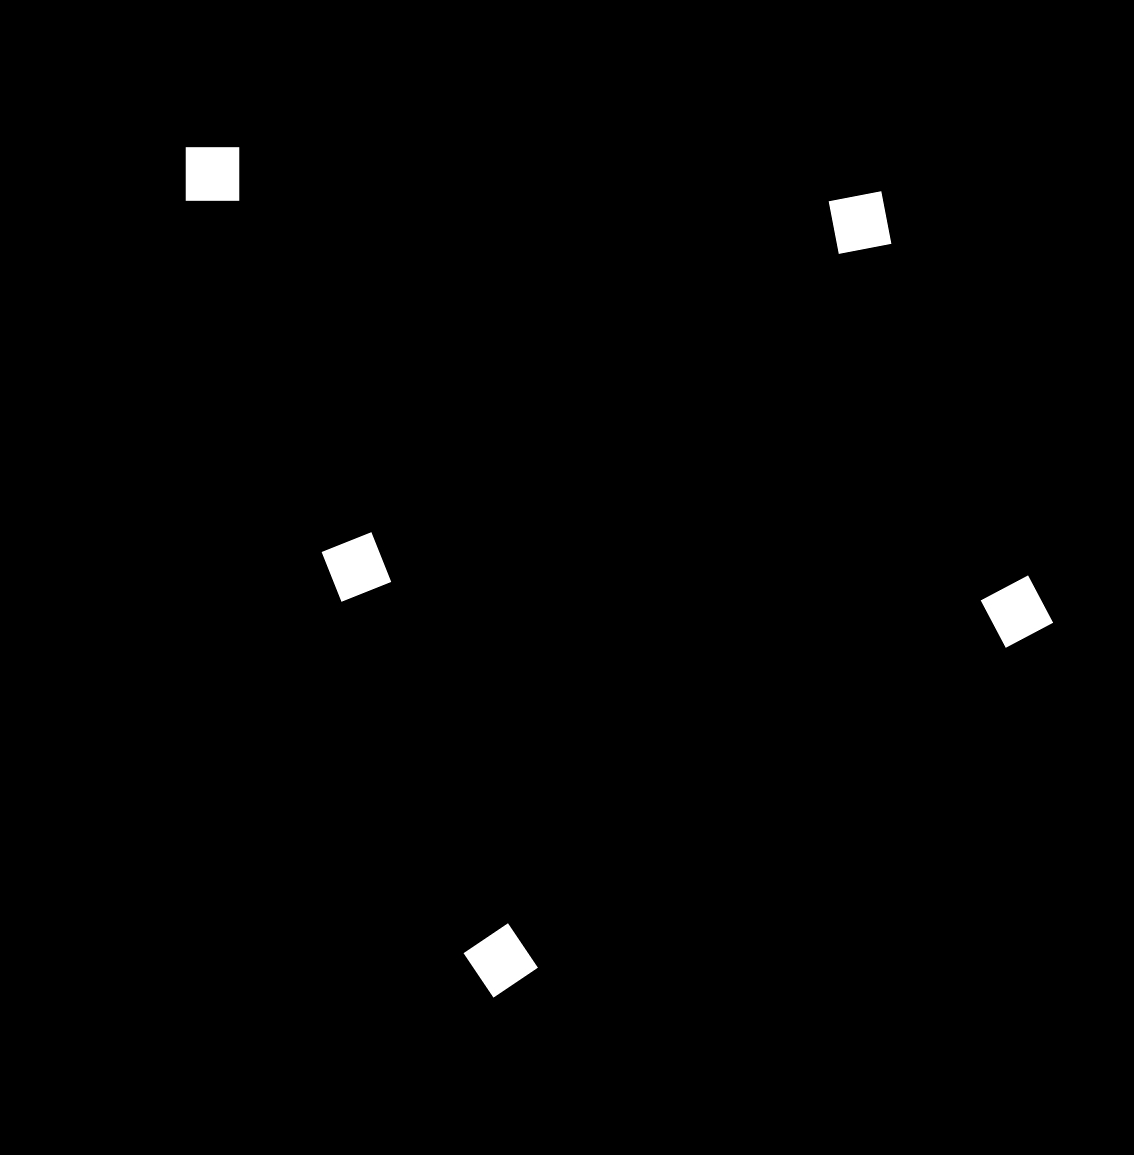
WARNING: GravityEffect (and some other PhysicsEffects) have the LocalSpaceDirection checkBox property set to true by default. This means that, as the object rotates, the "down direction" will be constantly changing. Set LocalSpaceDirection checkBox to false to avoid this behavior.
IgnoreSpaceEffects
Lastly, let's say you wanted all objects in your level to be affected by gravity except for a few. You could turn off the GravityEffect on LevelSettings object and add a GravityEffect component to every object that needs it but that would be a lot of work.
Alternatively, you could leave the GravityEffect on LevelSettings object on and just add the IgnoreSpaceEffects component to the objects that you don't want gravity on:
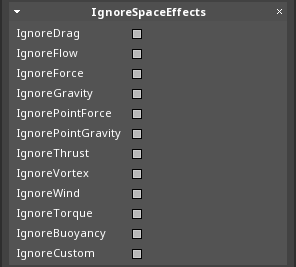
NOTE: The IgnoreSpaceEffects component will only stop physics effects attached to LevelSettings object or Space to affect the object; if the object has a GravityEffect component or any other physics effects components on itself, they will not be ignored!
Region
The region component can be used to apply any physics effects (Gravity, Drag, etc) to a specific zone. It works by using a Collider (which it has a dependency on) as a trigger volume to determine whether objects are inside it and then applies the specified force effects.
- Command : CreateSprite
- In the
Property Window - Rename Sprite object to
RegionEffect - Under Transform
- Set Scale to
[5, 5, 5] - Add Component : BoxCollider
- Under BoxCollider
- Set Ghost checkBox to
true - Add Component : Region
NOTE: Experiment by adding the ForceEffect , BuoyancyEffect and WindEffect
Related Materials
Manual
Code Reference
Classes
- Transform
- RigidBody
- BoxCollider
- Region
- GravityEffect
- DragEffect
- ForceEffect
- BuoyancyEffect
- WindEffect